
Back in iOS 8, Apple introduced the option to use third-party keyboards on iPhone, and since then, there have been a ton of third-party keyboards available such as Gboard, AudioShot, SwiftKey, Slated, and many more. However, adding and even using these keyboards can be kind of tricky.
If you've never tried using a third-party keyboard before, a good one in the iOS App Store to test out would be Gboard (free), which is made by Google. It also comes baked into the main Google app (also free), which is nice if you don't want to feel like you have to banish your keyboard apps into a hidden folder somewhere.
Gboard is one of the best third-party options available, and there are a lot of cool things you can do with it that Apple's stock QuickType keyboard can't match. But if you like variety, SwiftKey (free) is a good one. Swype ($0.99) was very popular but was discontinued in Feb. 2018.
Step 1: Add Keyboards to Your iPhone
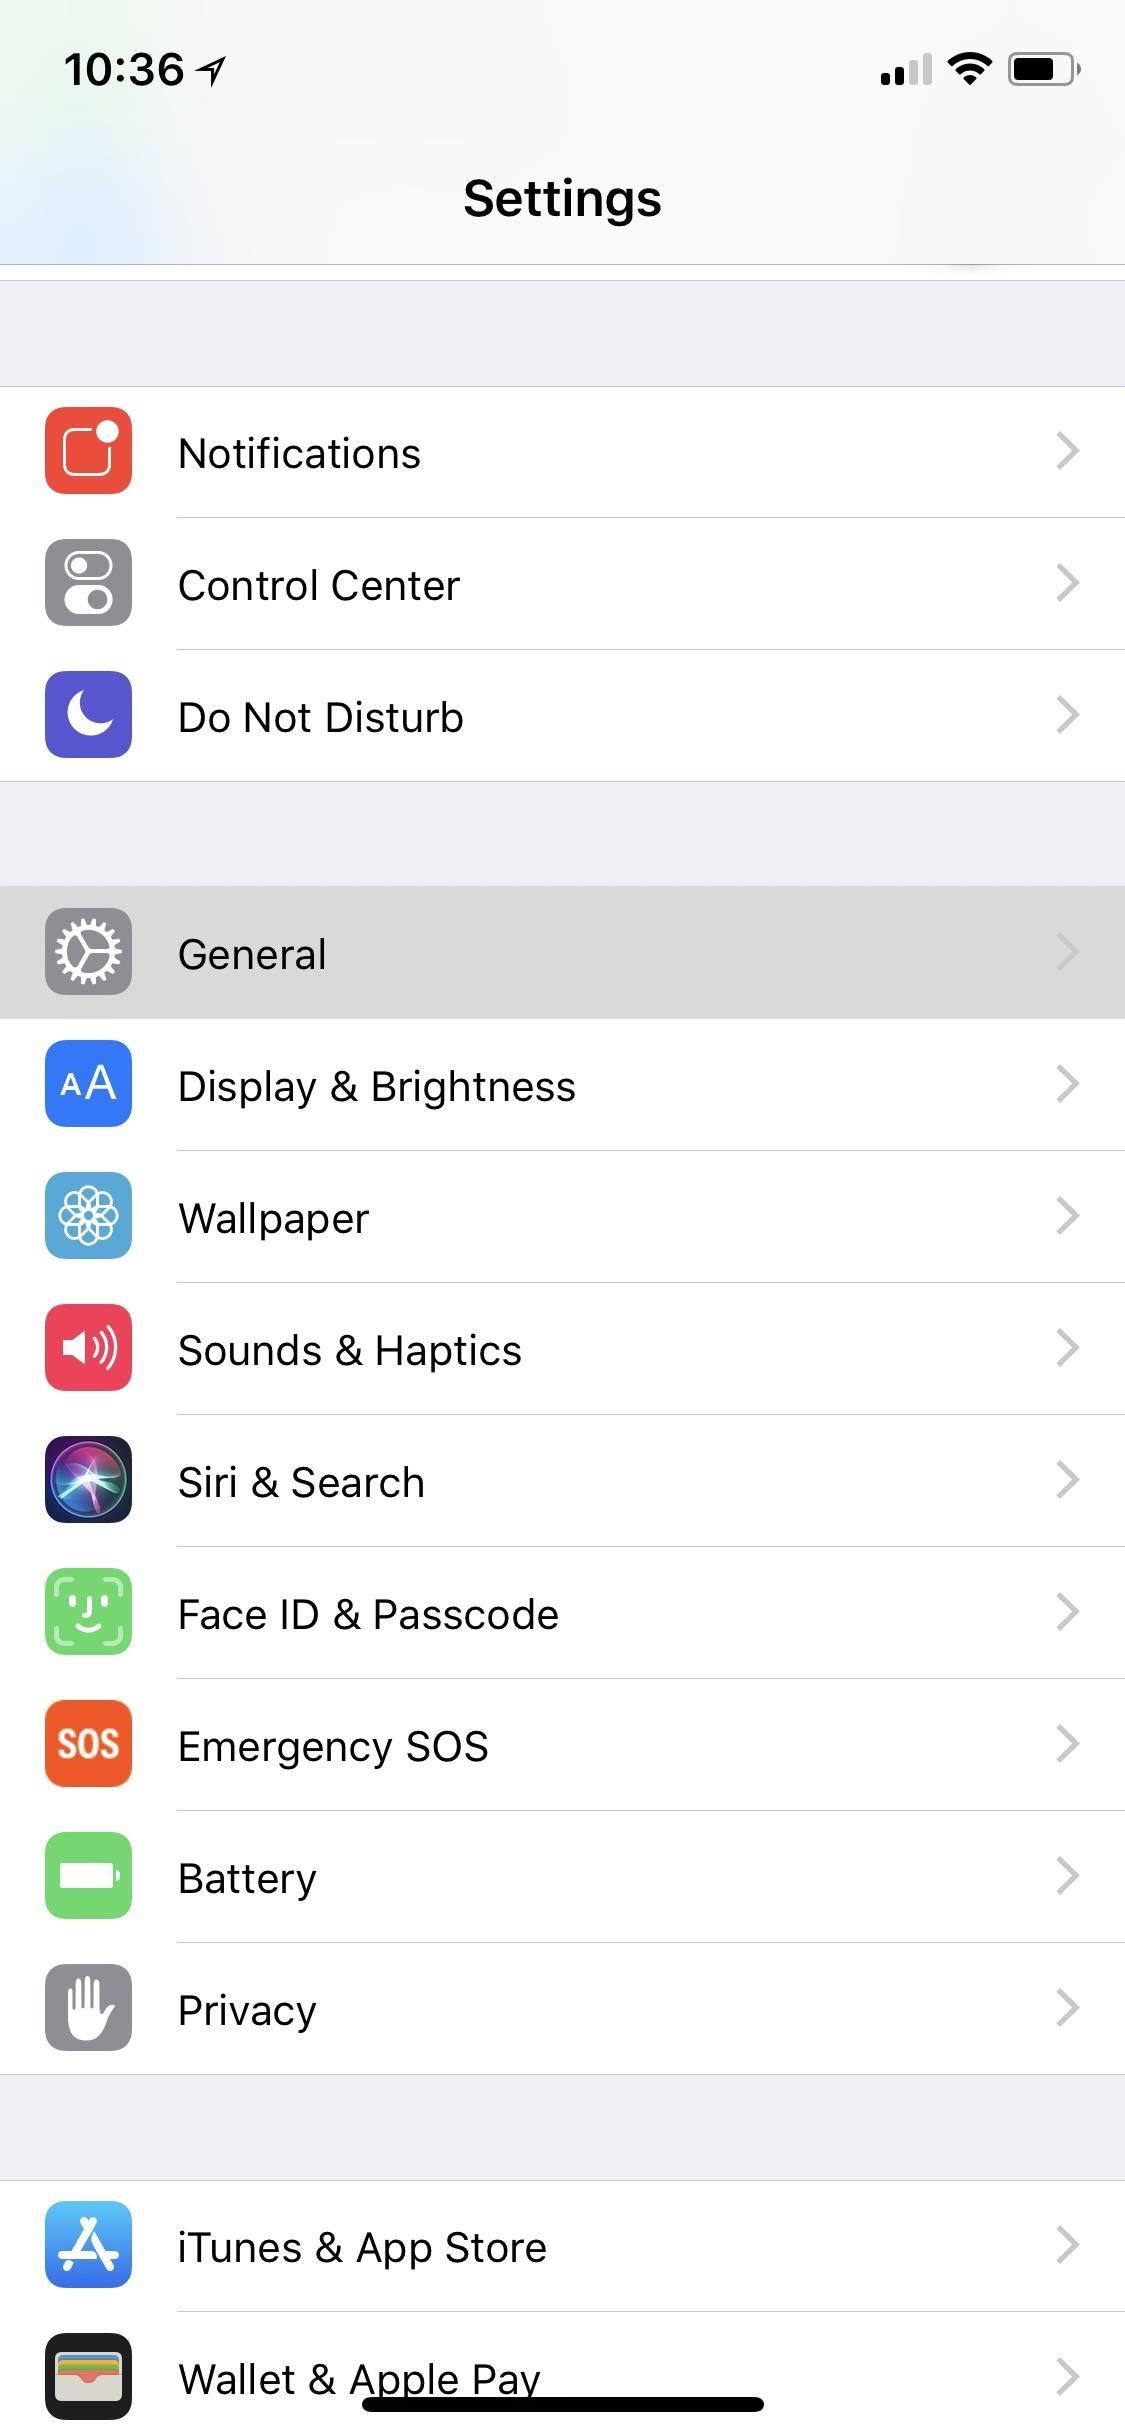
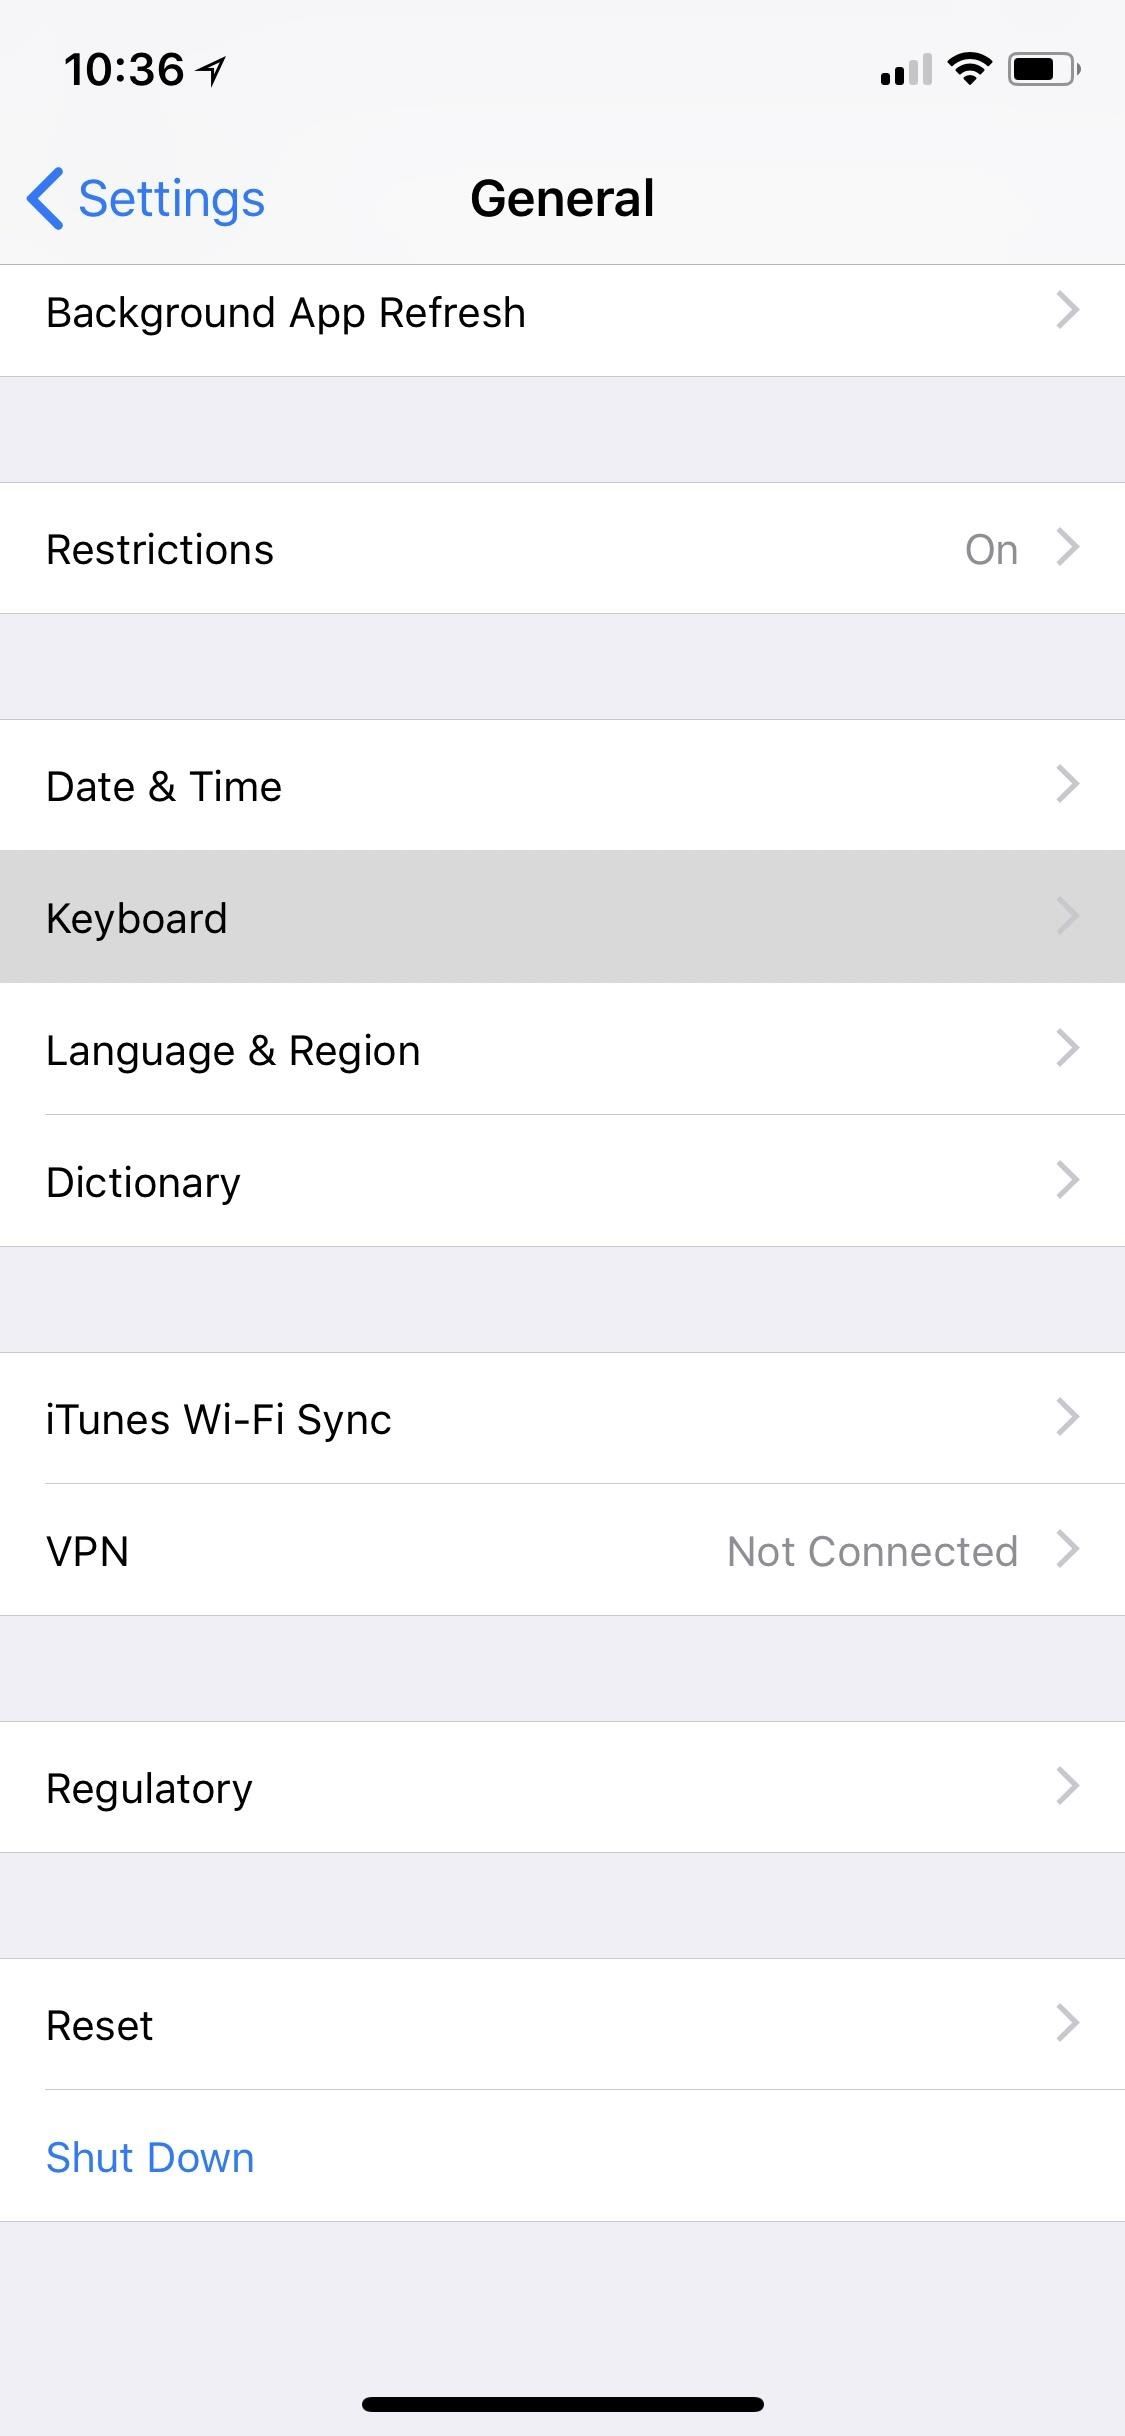
Once you have a few third-party keyboards installed that you want to test out, dive into your Settings app and go to General –> Keyboard –> Keyboards. This menu will show you all of the keyboards you currently have in use, as well as give you the option to add more.
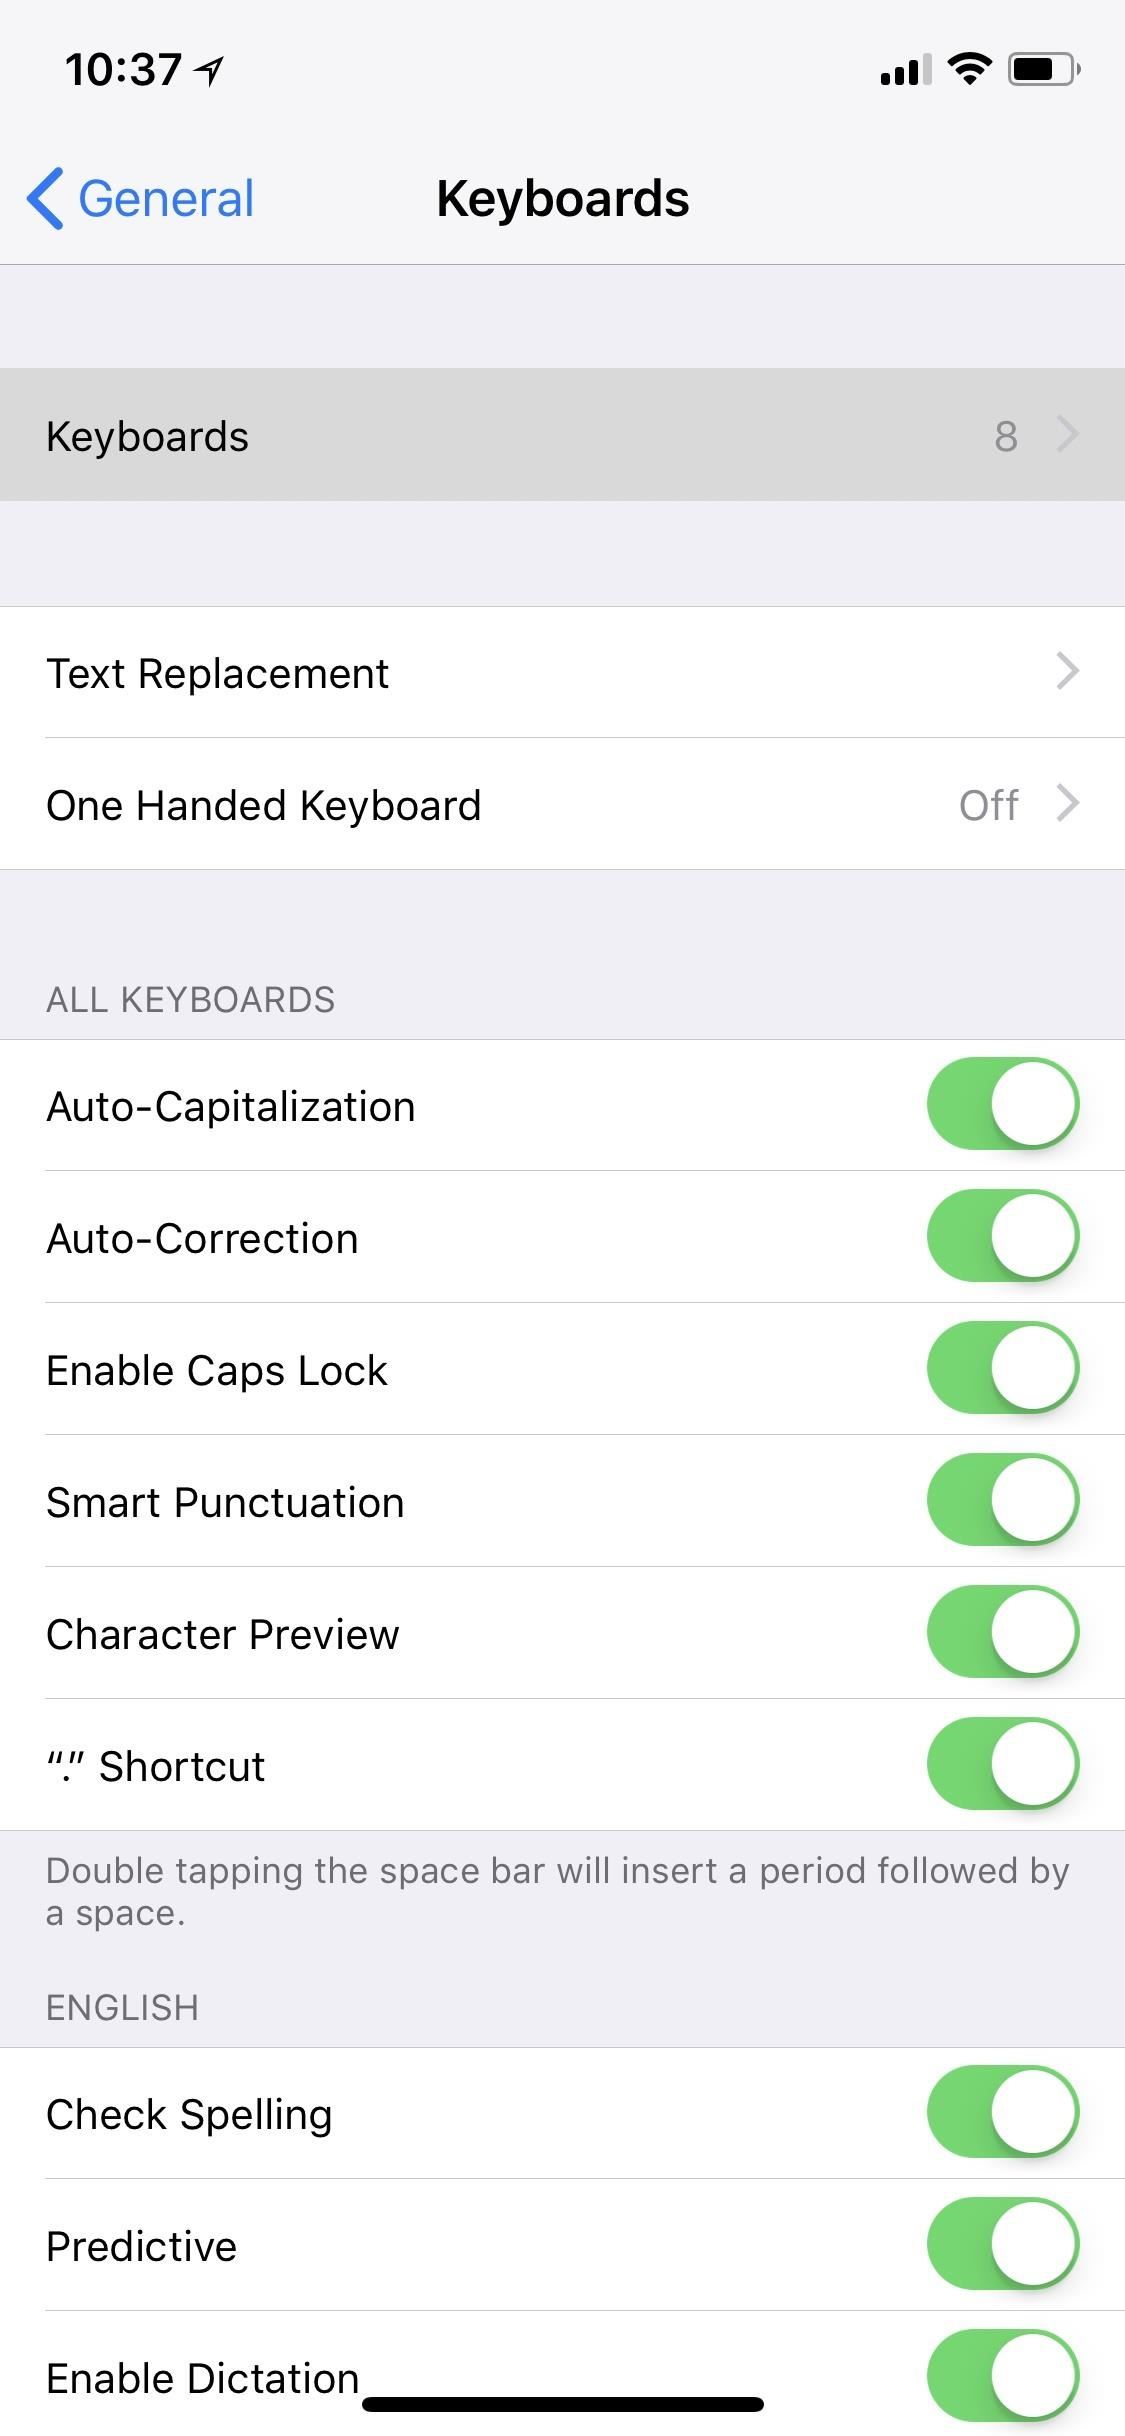
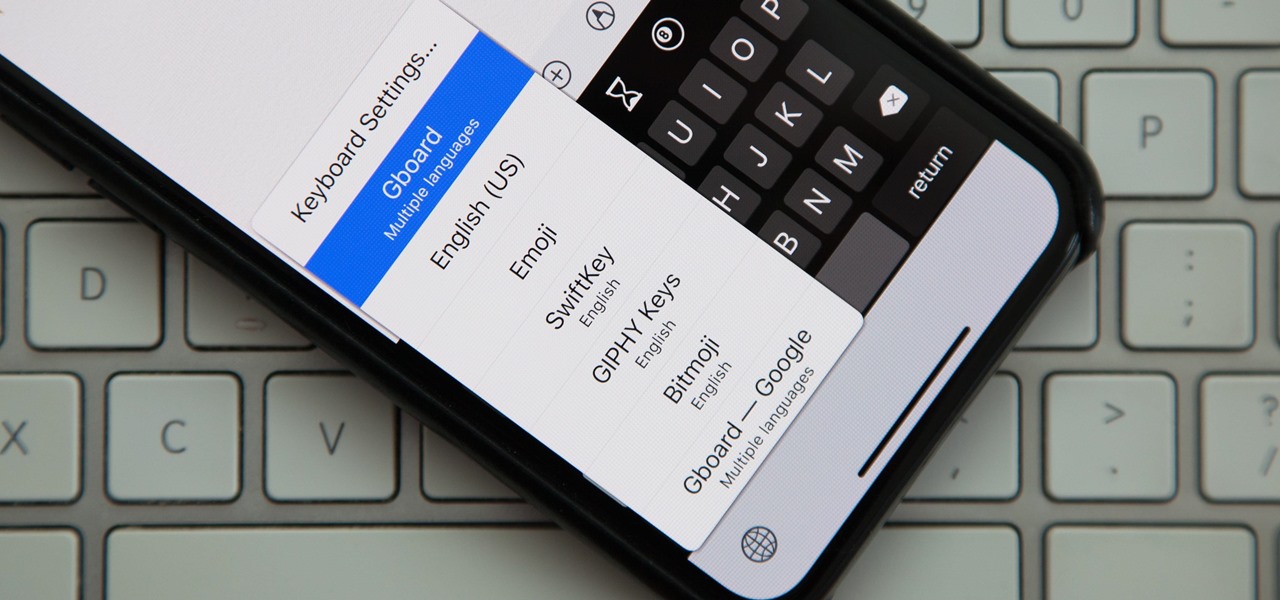
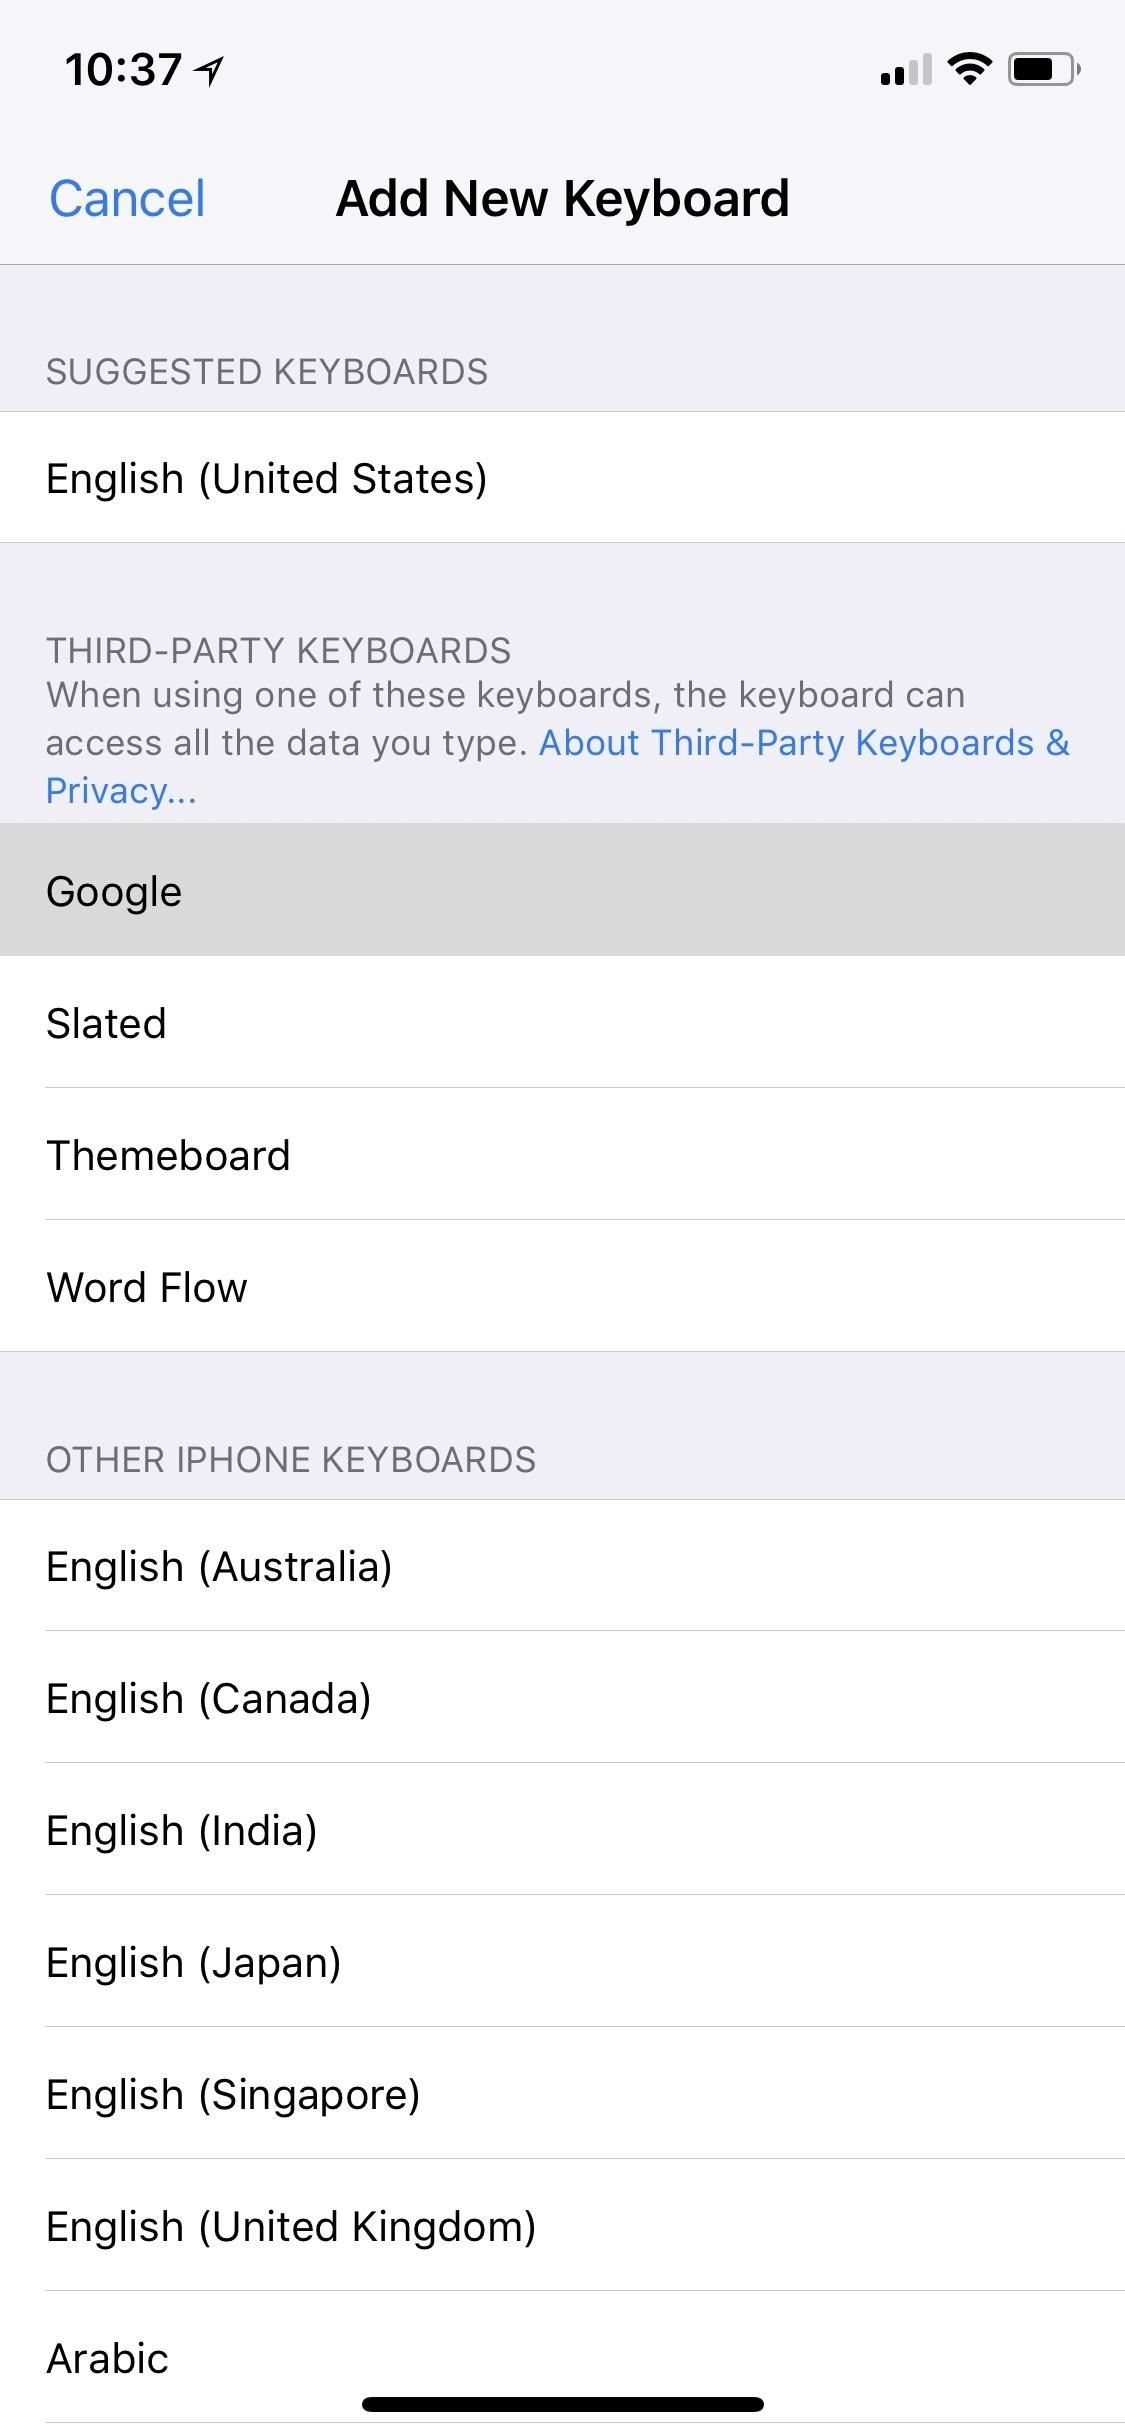
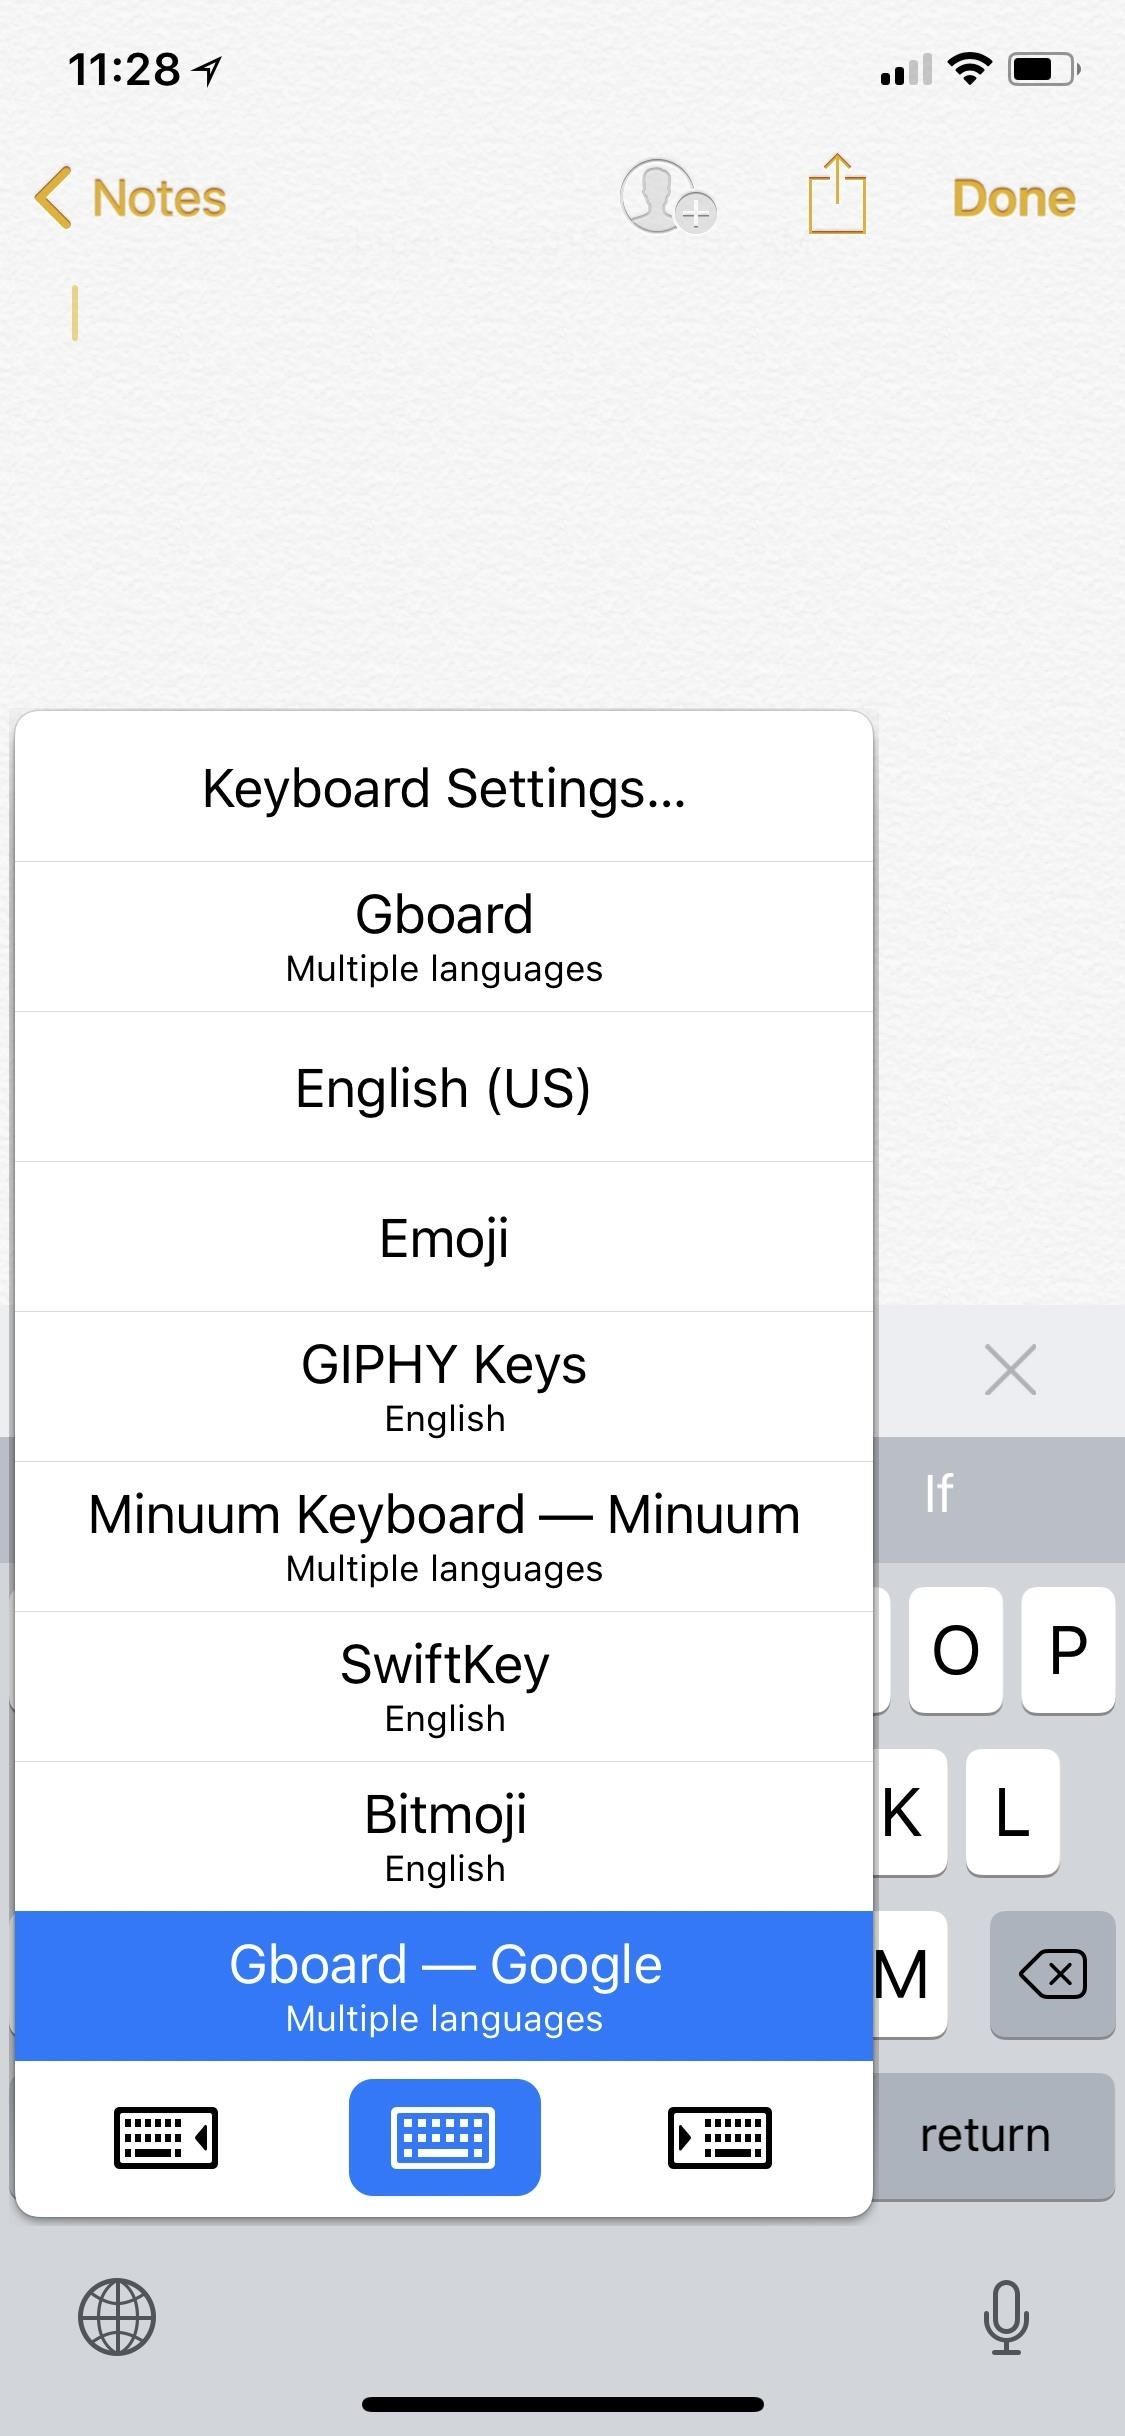
Here, select "Add New Keyboard" under the list of currently in-use keyboards, then tap on the name of the keyboard you'd like to add under the Third-Party Keyboards heading. These are all of the third-party keyboards you've installed from the iOS App Store but have no enabled yet.
The ones listed below Other iPhone Keyboards are variations of Apple's keyboard in different languages, though, you could also find the "Emoji" keyboard here if you haven't already enabled it.

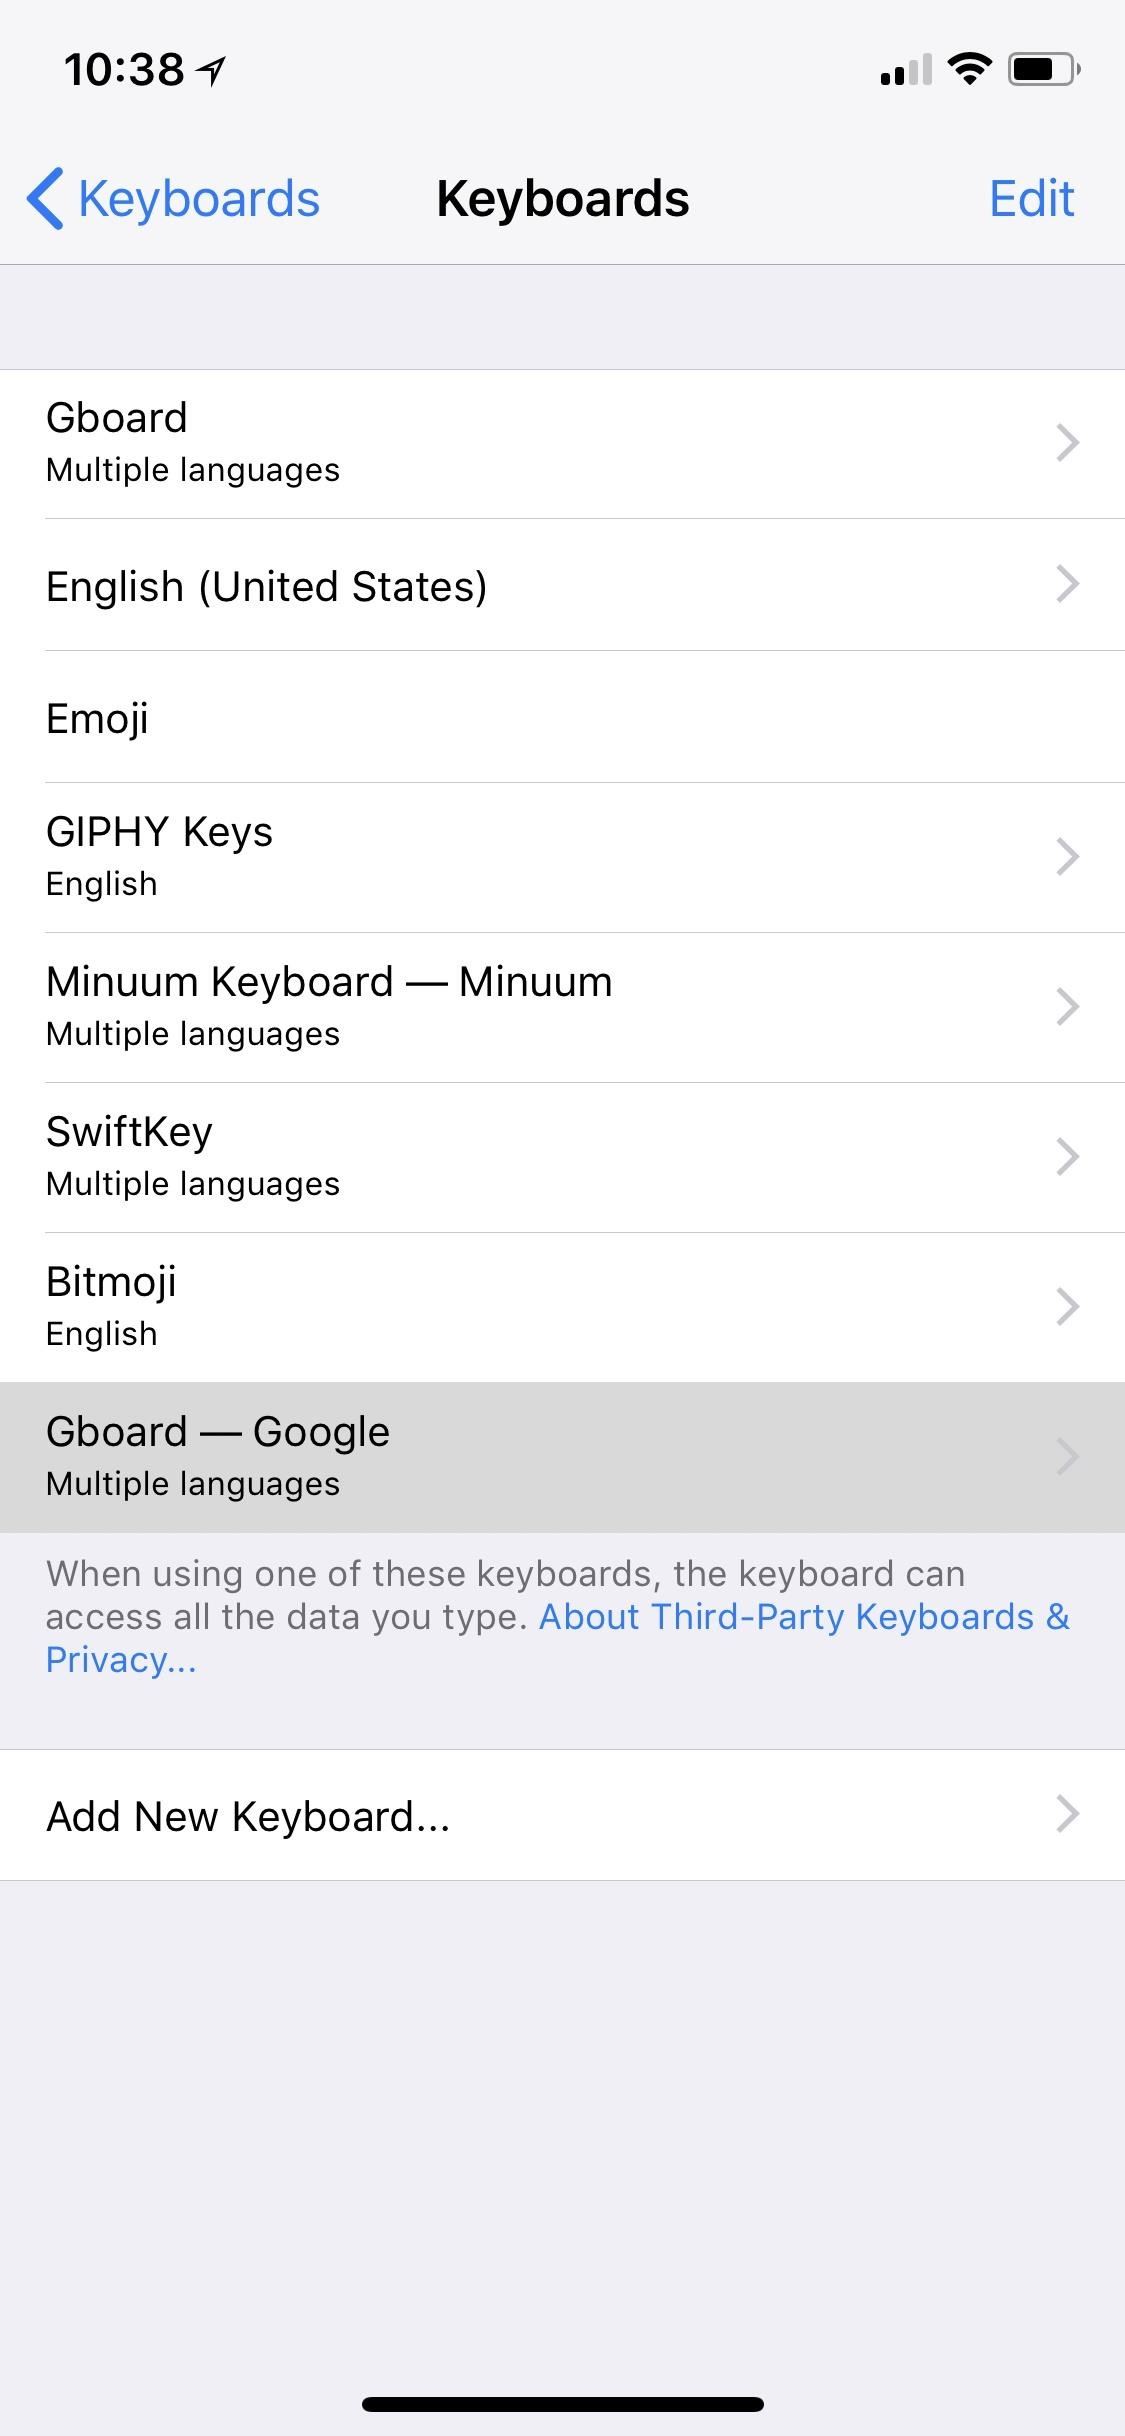
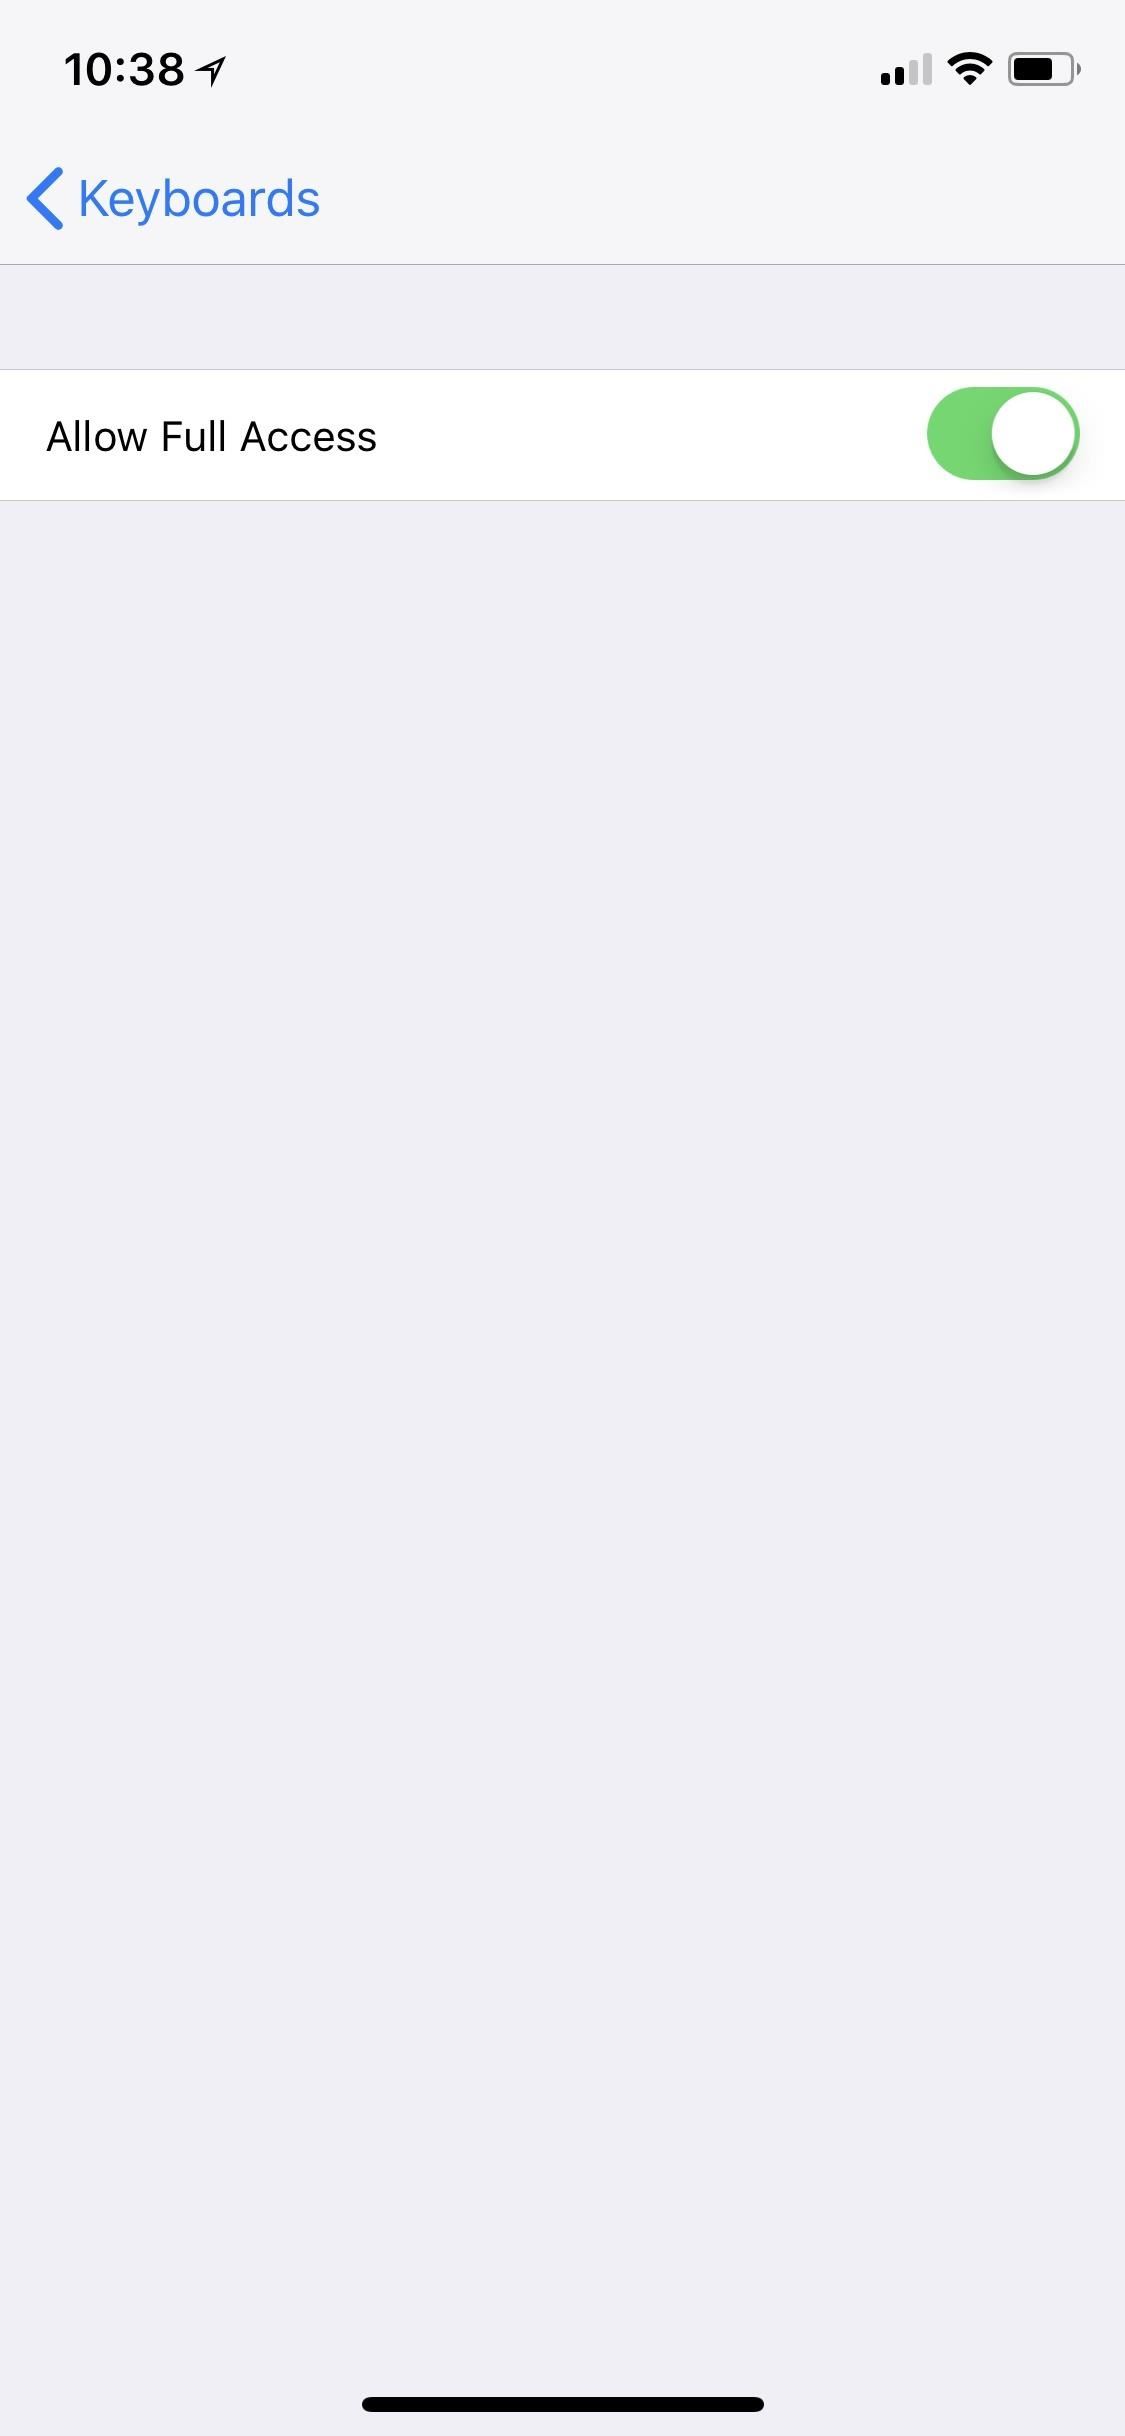
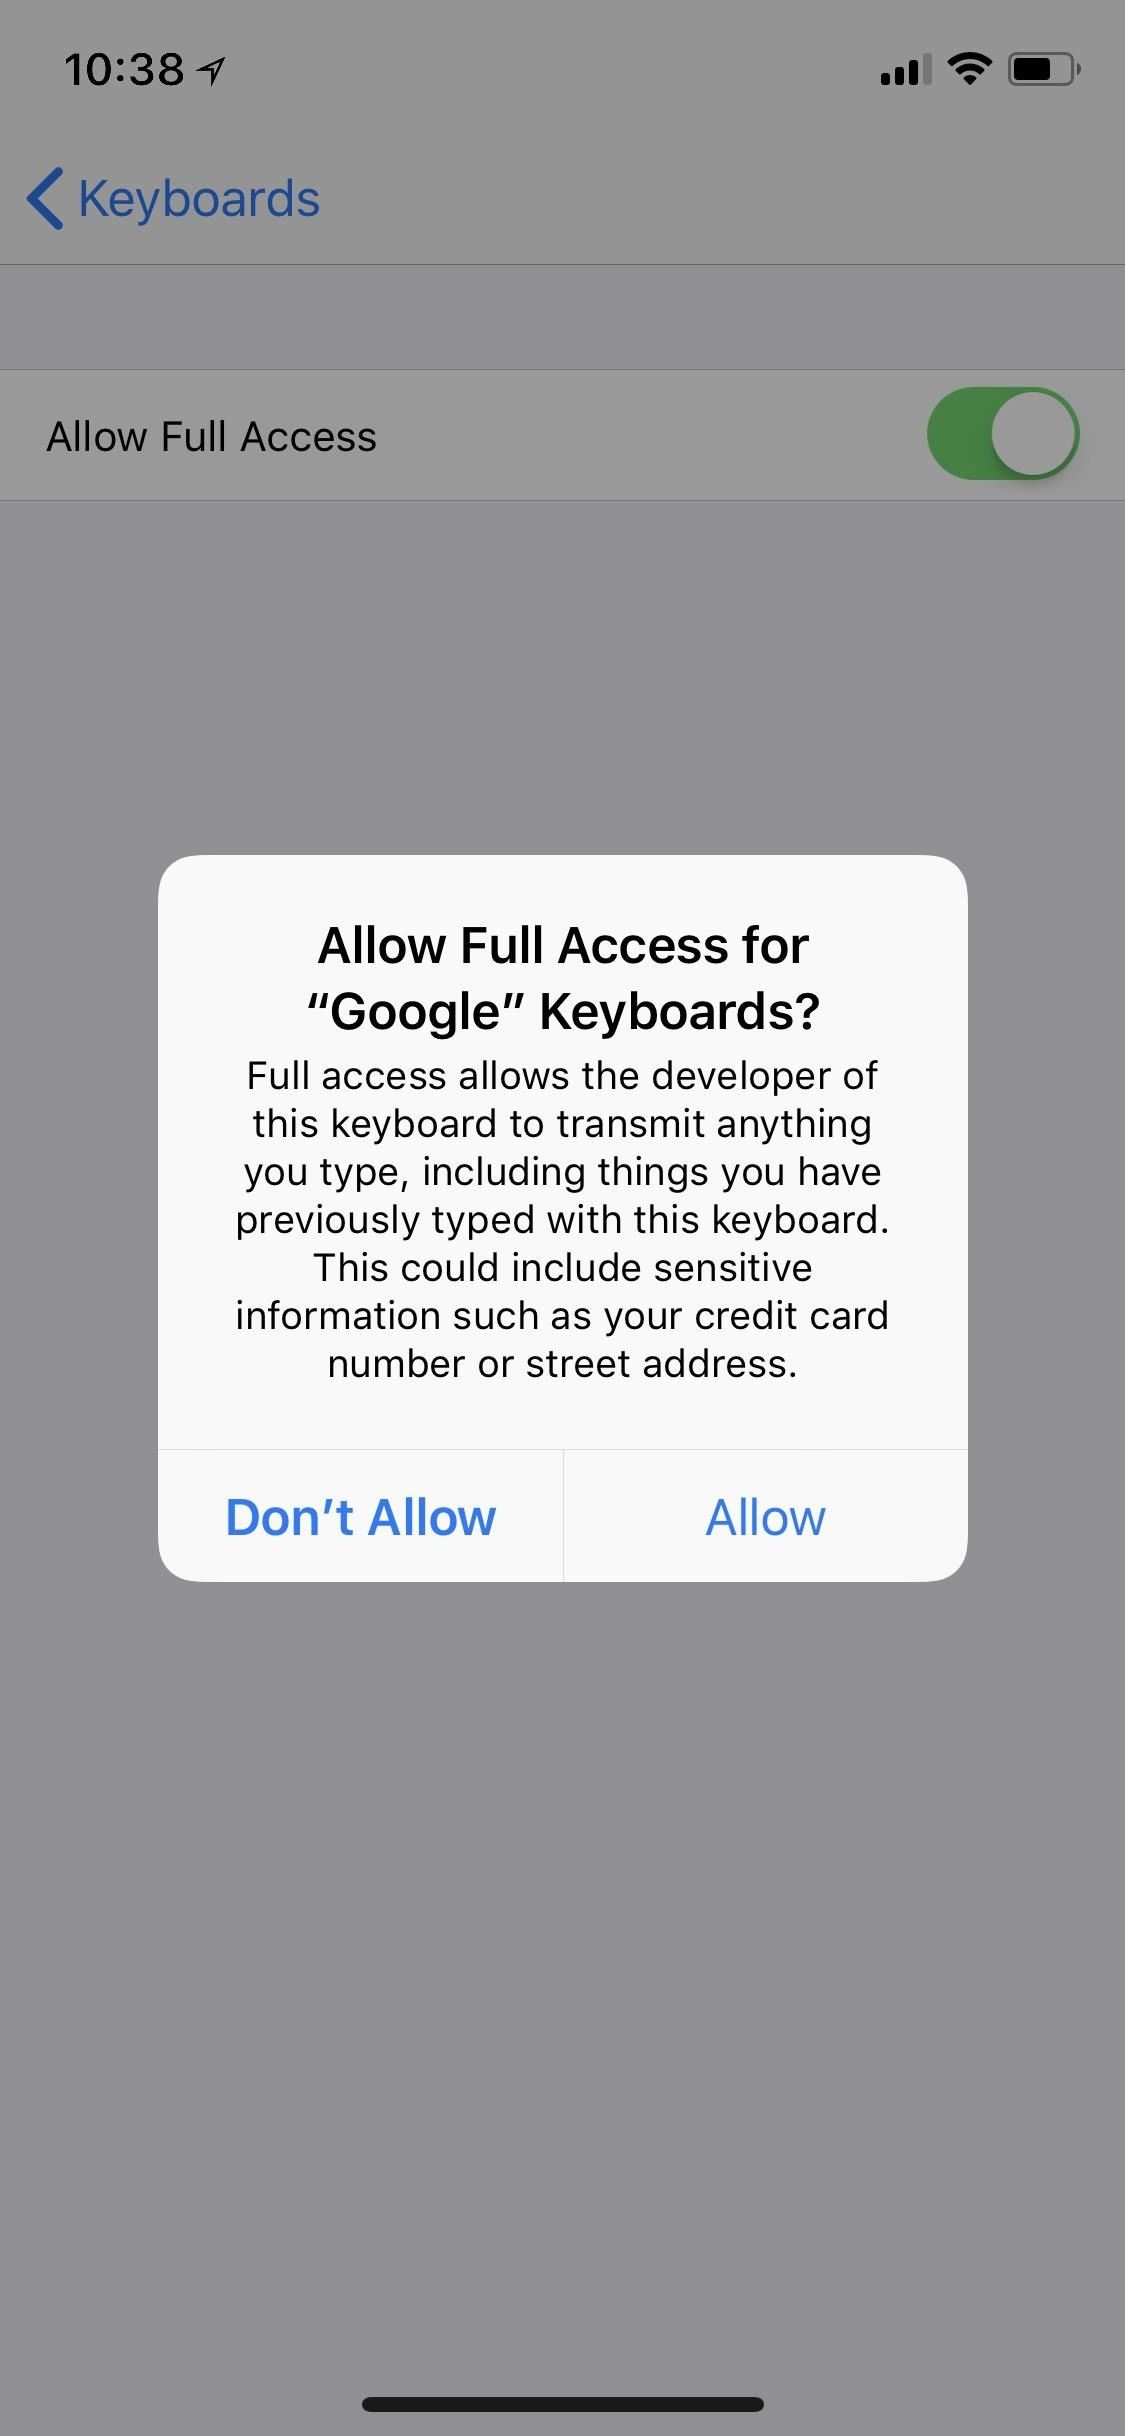
Once you've chosen one, you'll be kicked back to your list of active keyboards. In order to get the most out of it, you'll need to tap on its name from this list, then toggle on "Allow Full Access." A popup may appear from Apple asking you if you're sure you want to do so. Just tap "Allow" on the prompt.
This gives the keyboard access to things like location services and your address book, as well as lets the keyboard collect your keystrokes and other input events to their servers for processing, among other things.
While that may sound slightly scary, it's pretty much needed to make sure that your keyboard will act as intended. For instance, one of the biggest features in Gboard is Google Search built right in. Without full access, you could not search the web, find GIFs, share YouTube videos and locations, or use dictation, to name just a few.
If you forget to give it full access, your keyboard will probably remind you while using it, and the keyboard will probably lose most of its functionality without it. So, just get it out of the way now so you're not annoyed later.
Step 2: Select the Keyboard You Want to Use
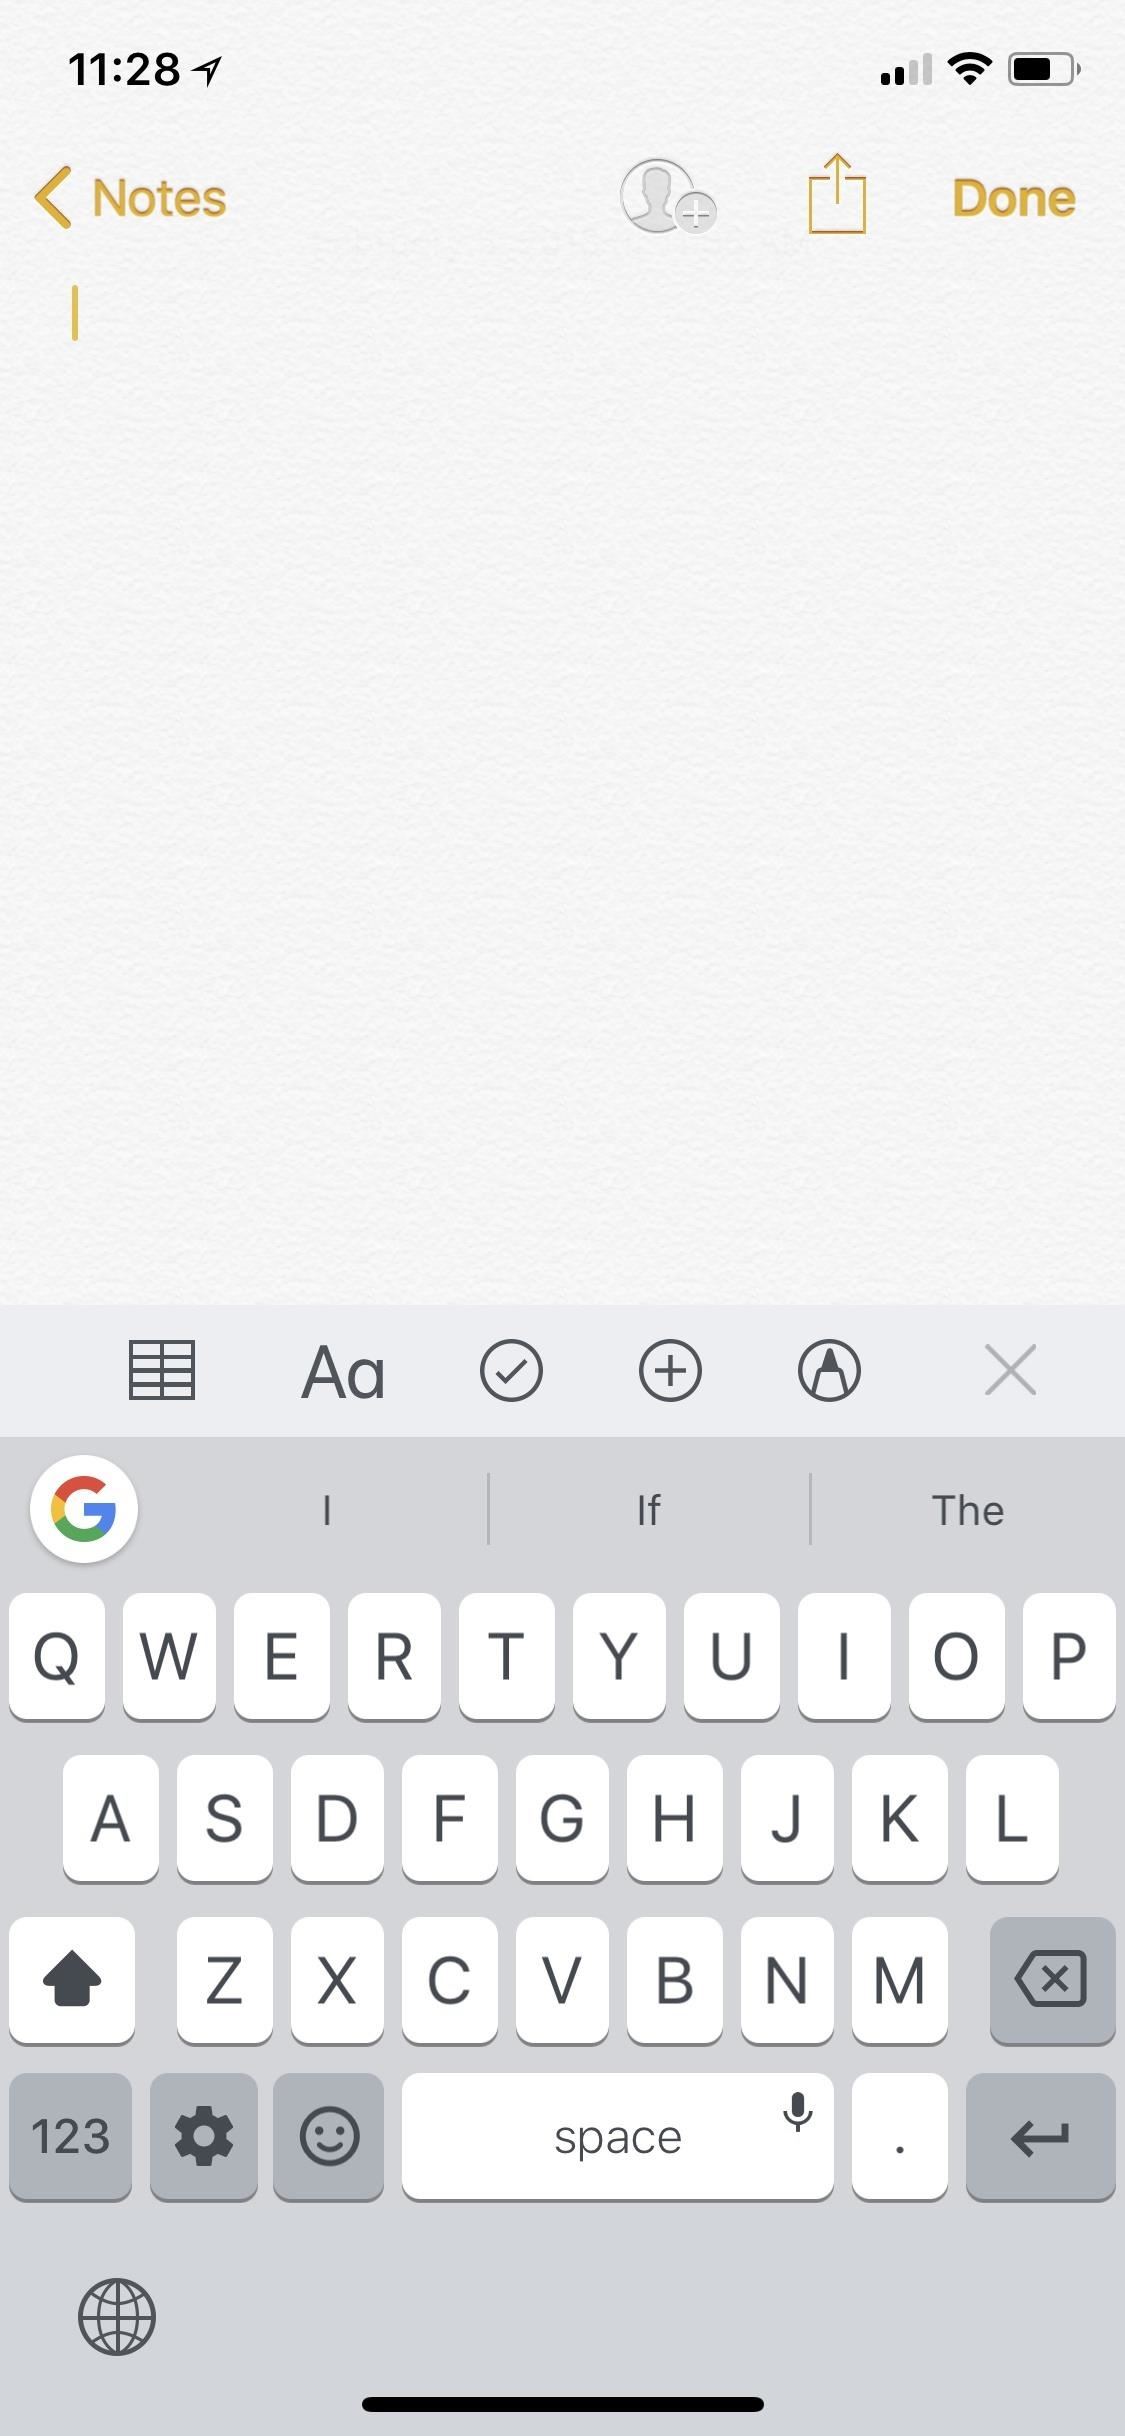
The easiest way to switch between your keyboards is to tap-and-hold on the globe icon in the bottom left. The first time you do this, you may receive a message explaining how the globe icon works. But when you tap-and-hold, a list of all your active keyboards will appear, and you can just tap the one you want.

Step 3: Go Back to the Last Used Keyboard
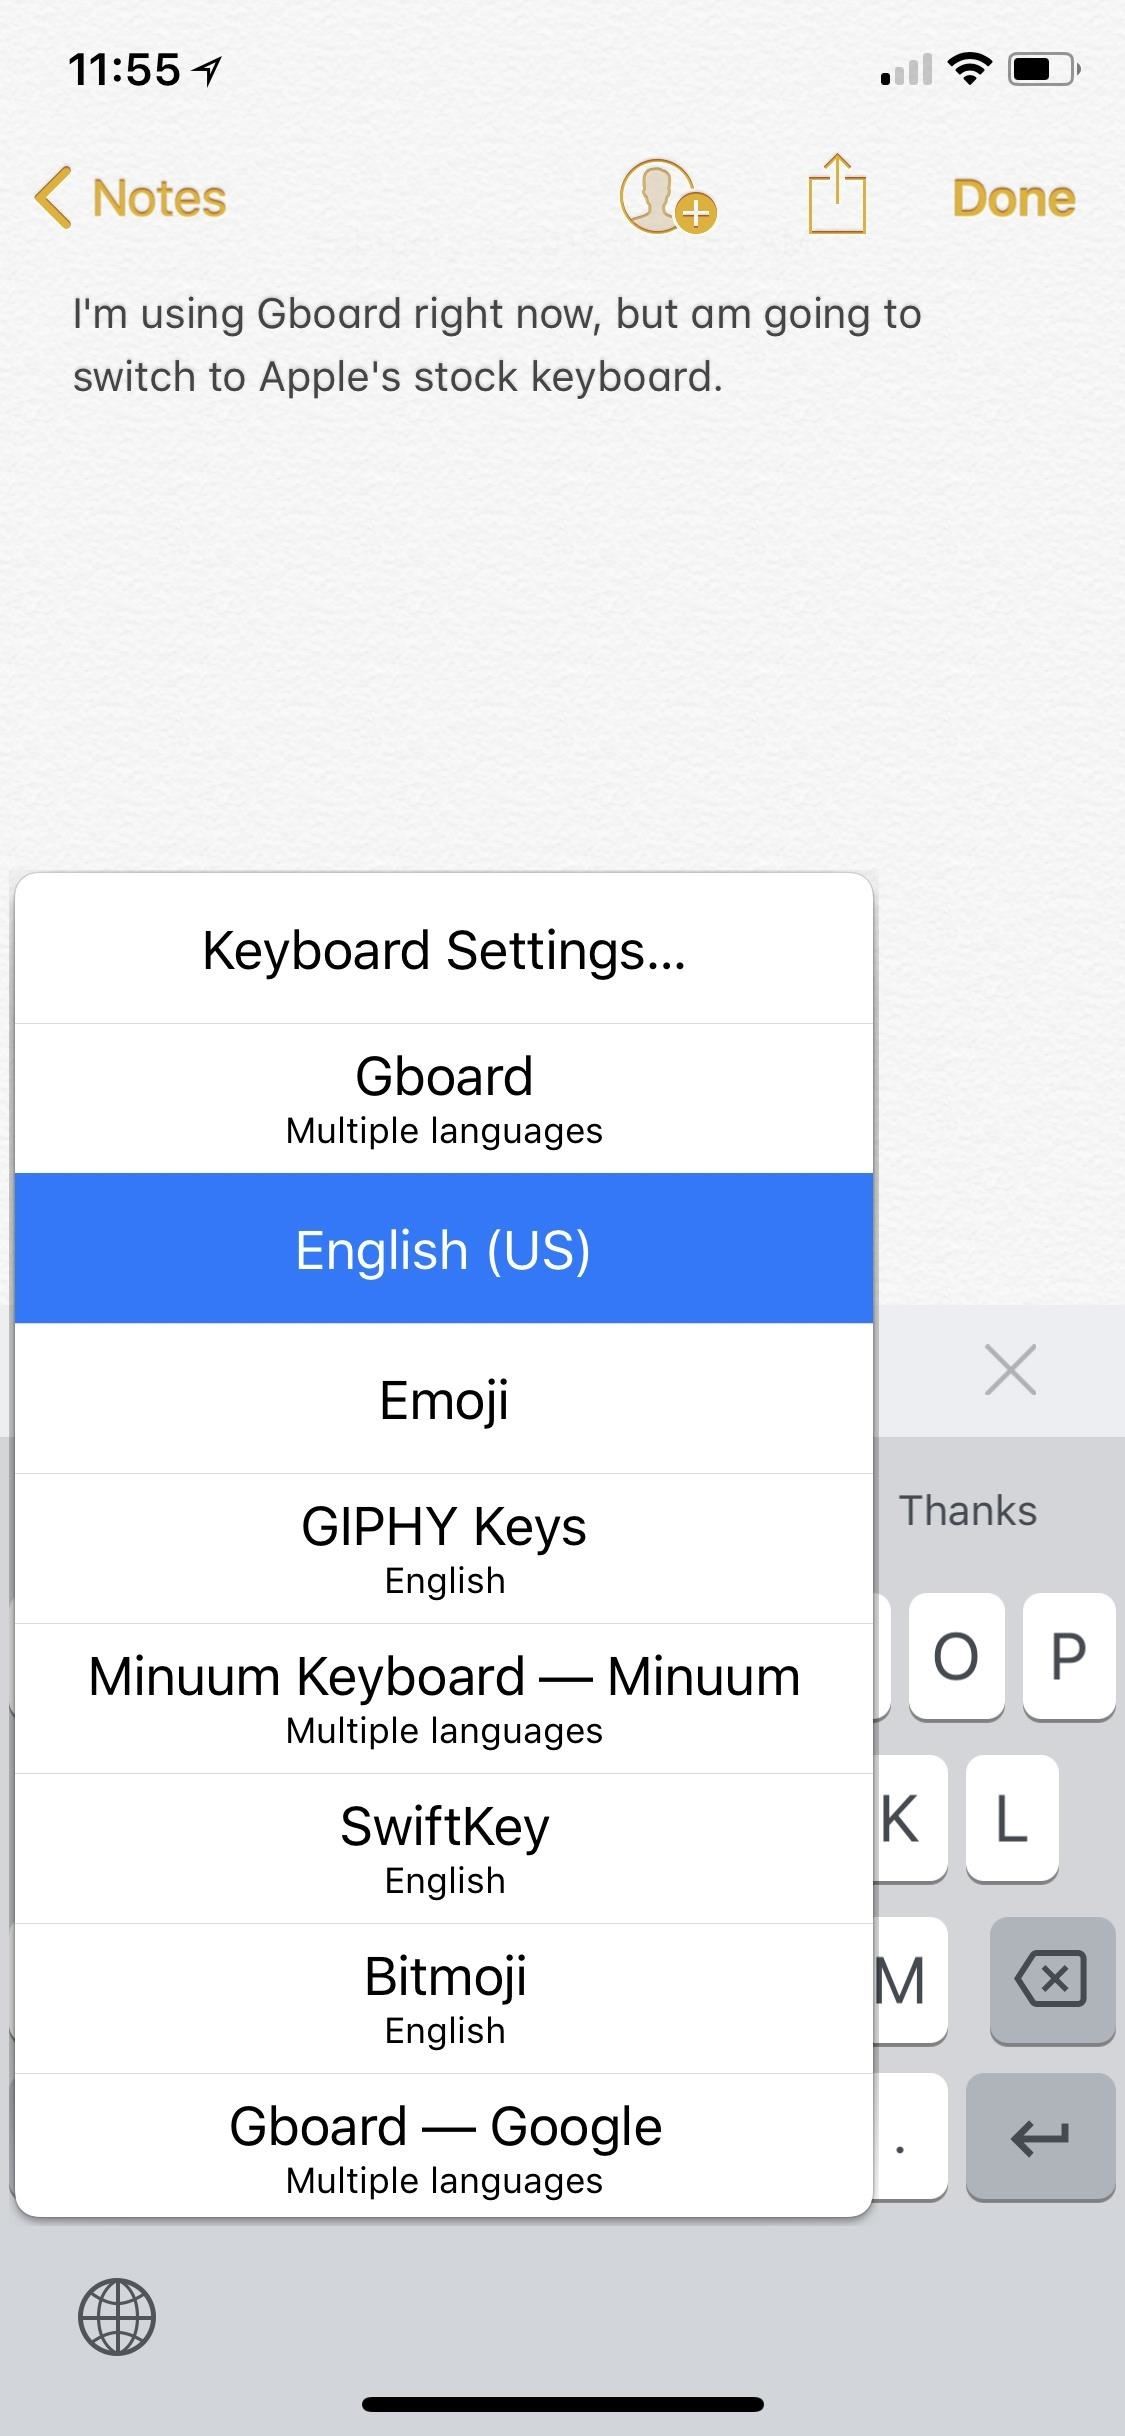
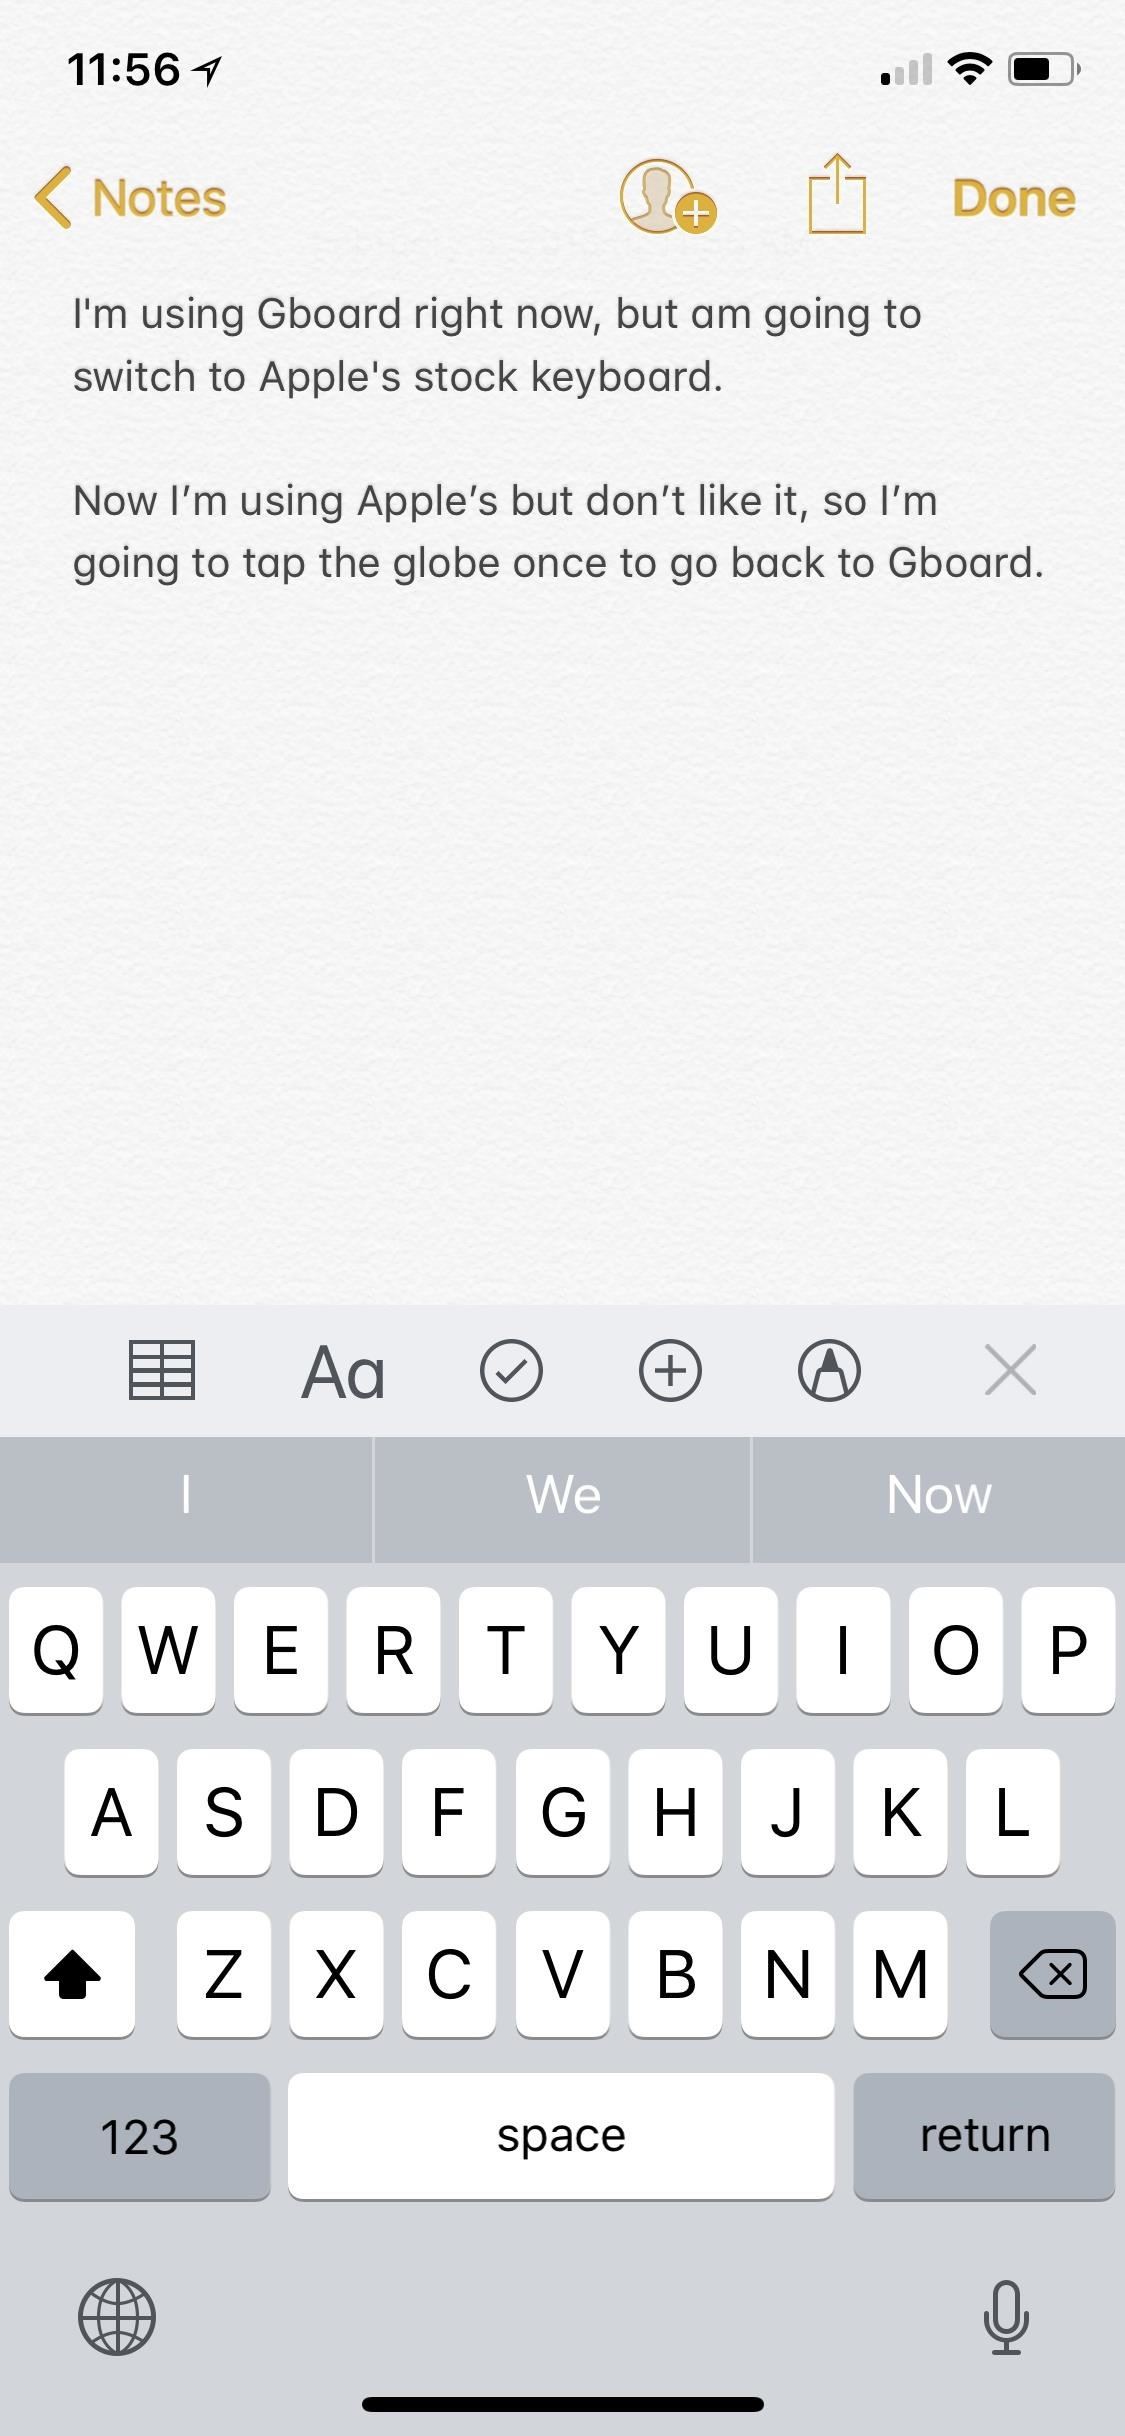
If you've just used one keyboard, then started using another keyboard, then decided you want to go back to the one you were using before, tapping once on the globe icon will return you to the last used keyboard. For instance, if I was using Gboard, then switched to try out the default "English (US)" keyboard but didn't like it, I could tap once on the globe to go right back to Gboard.
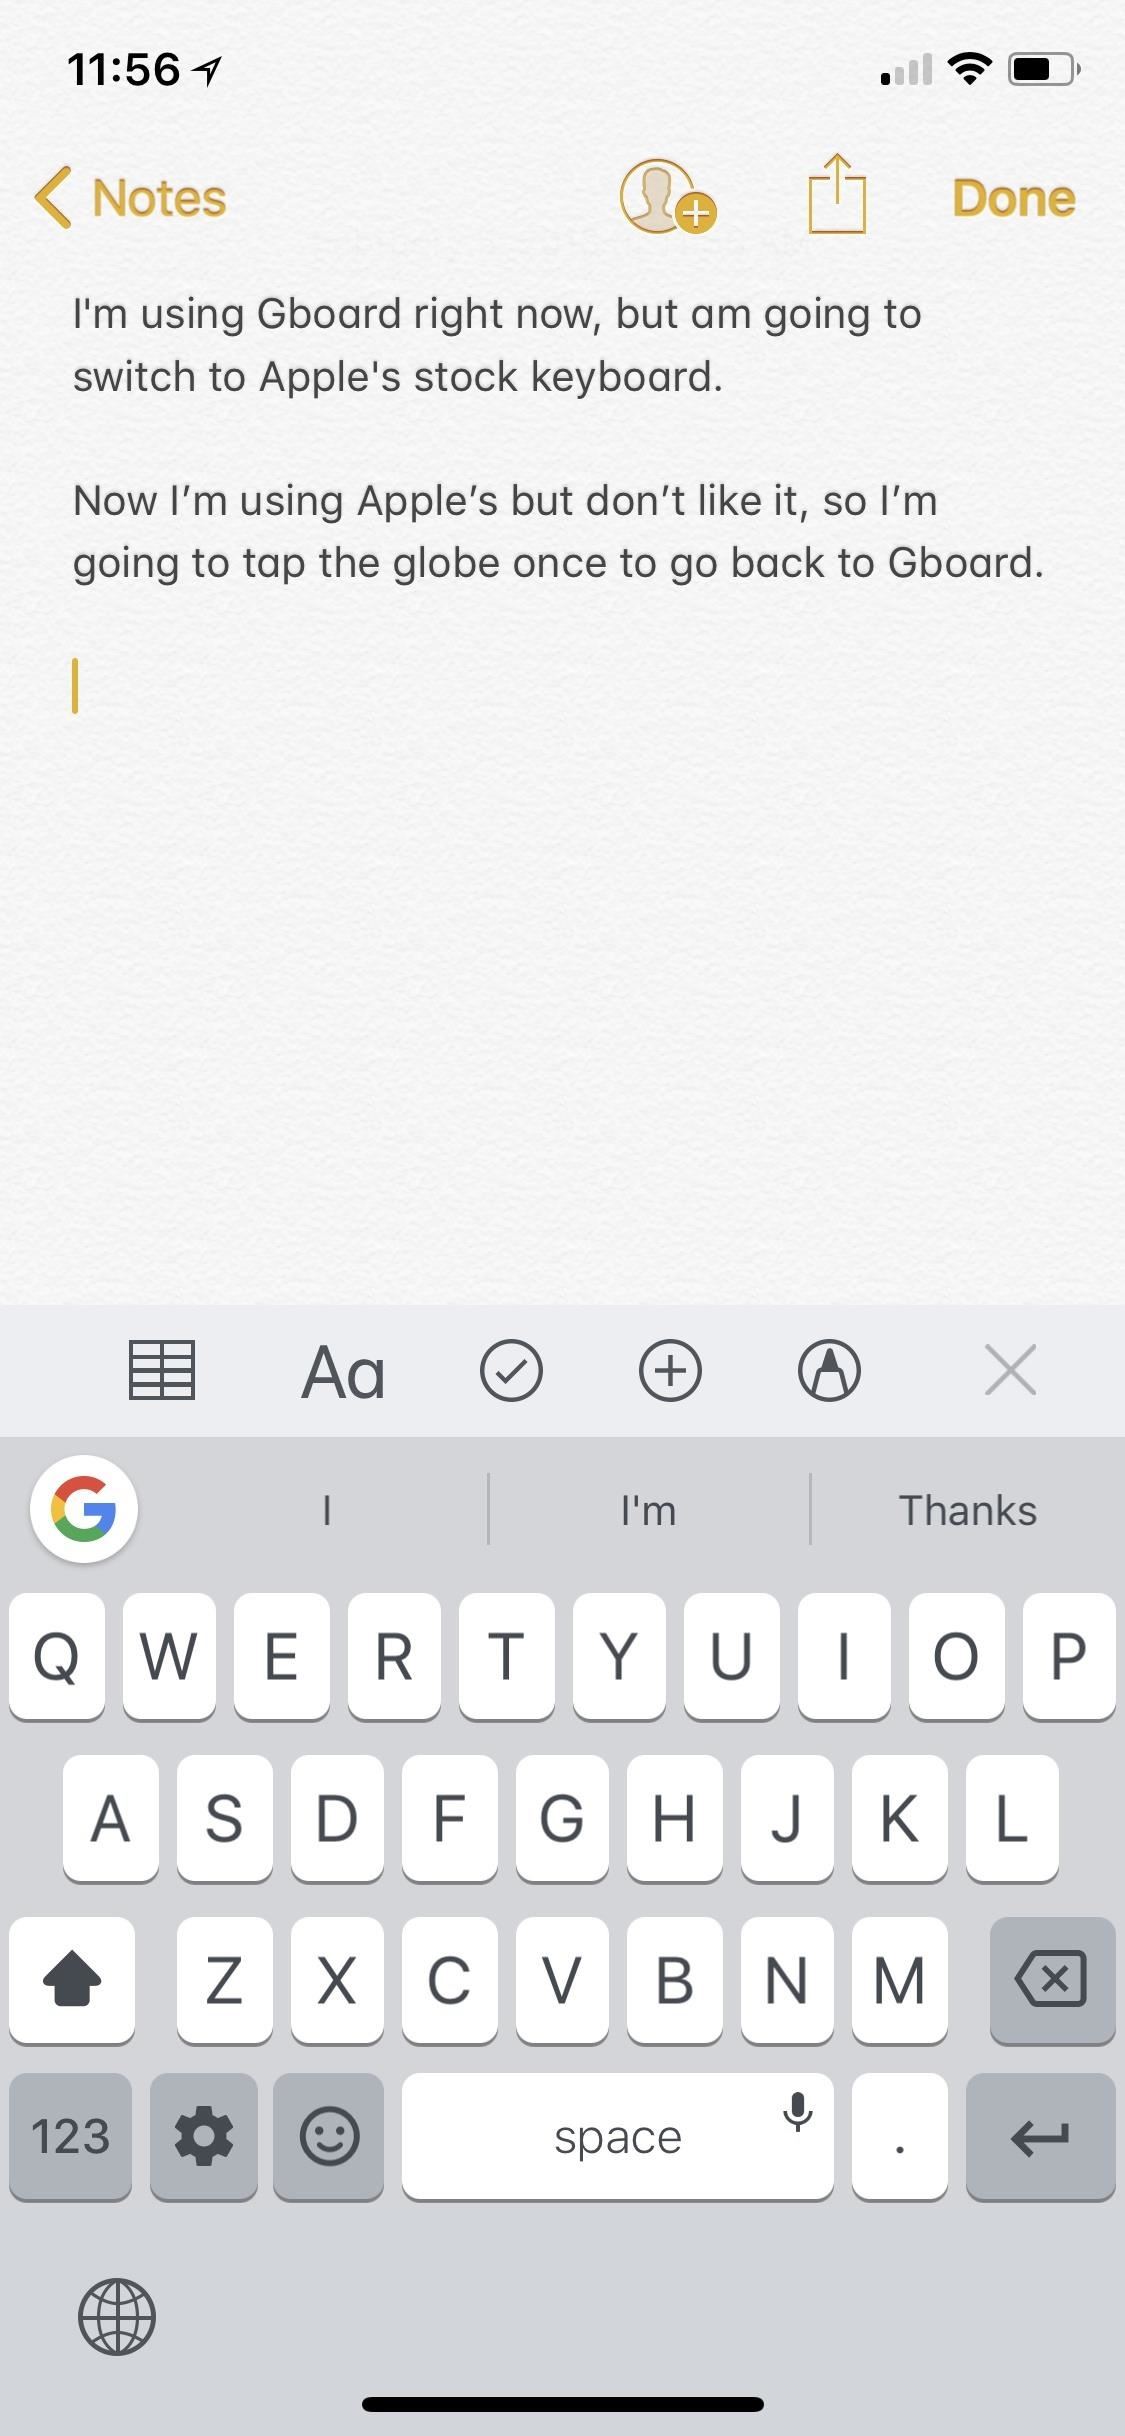
Note that if you used the "Emoji" keyboard, the globe icon may turn into an "ABC" icon to indicate going back to a text-based keyboard. The "ABC" icon will still work the same as the globe icon.
Step 4: Rotate Through All Your Keyboards
Yes, there is one more use for the globe icon. If you tap once, it will go back to your last use keyboard, if one was used recently. If not, or one subsequent tap of the globe icon, each new tap will rotate you through all of the keyboards you have active in the order they appear in.
Note that if you used the "Emoji" keyboard, the globe icon may turn into an "ABC" icon to indicate going back to a text-based keyboard. The "ABC" icon will still work the same as the globe icon, so just keep tapping on "ABC" to rotate through the keyboards. It will eventually go back to a globe icon.
Step 5: Reorder Your Quick Select Menu
There is no way to add a "default" keyboard in iOS, as it simply remembers the last one you used for each particular instance. For example, if you use SwiftKey in one message thread, it'll show you that keyboard each time by default in that one thread. If you use the stock keyboard in another message thread, it'll show you that one by default next time for that thread only.
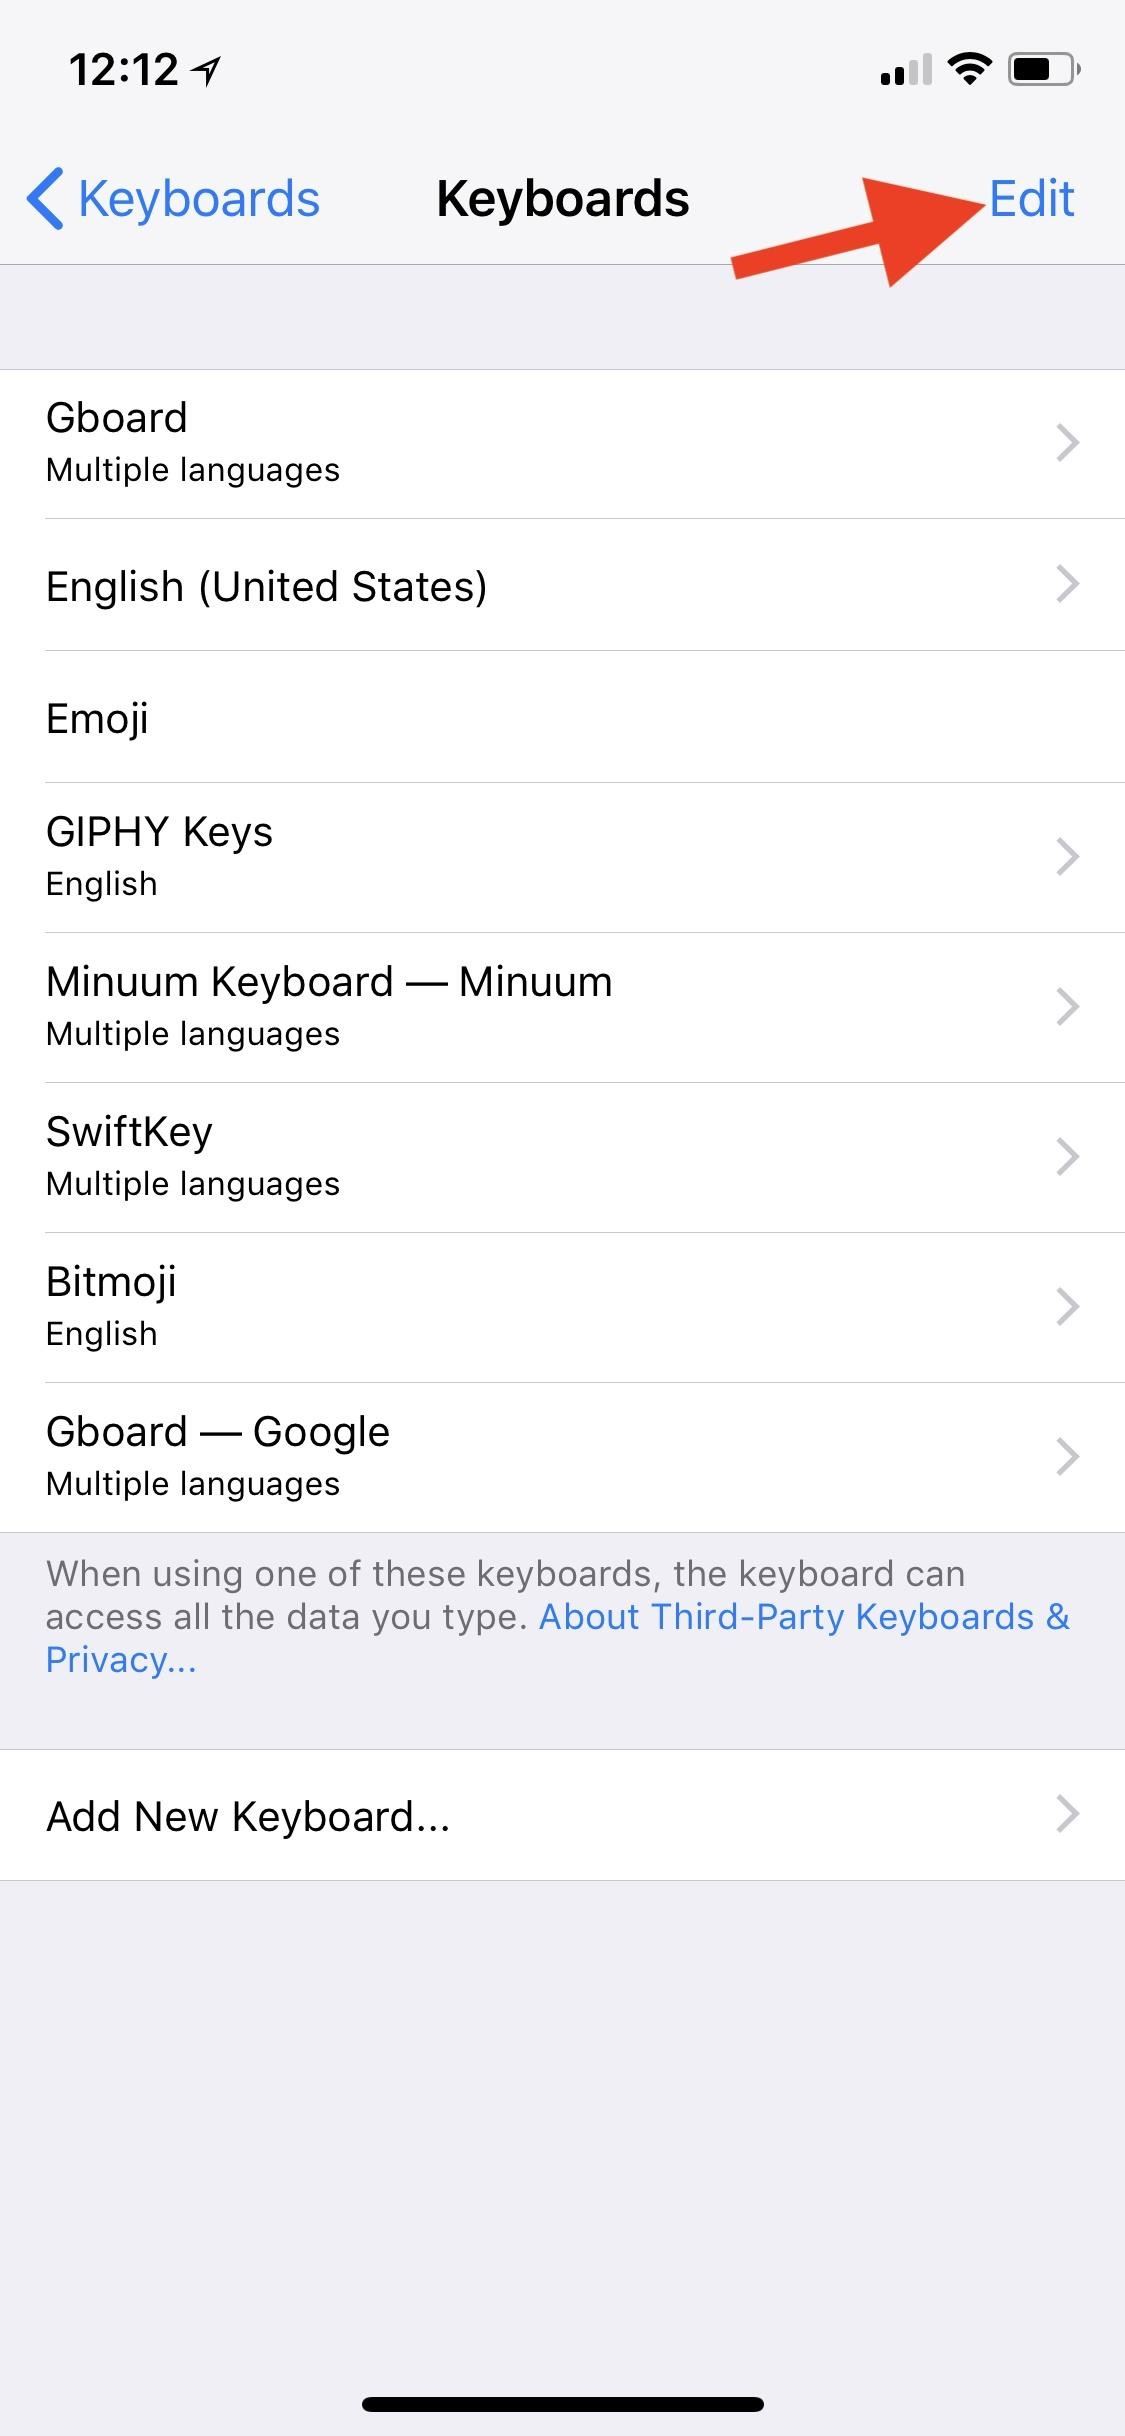
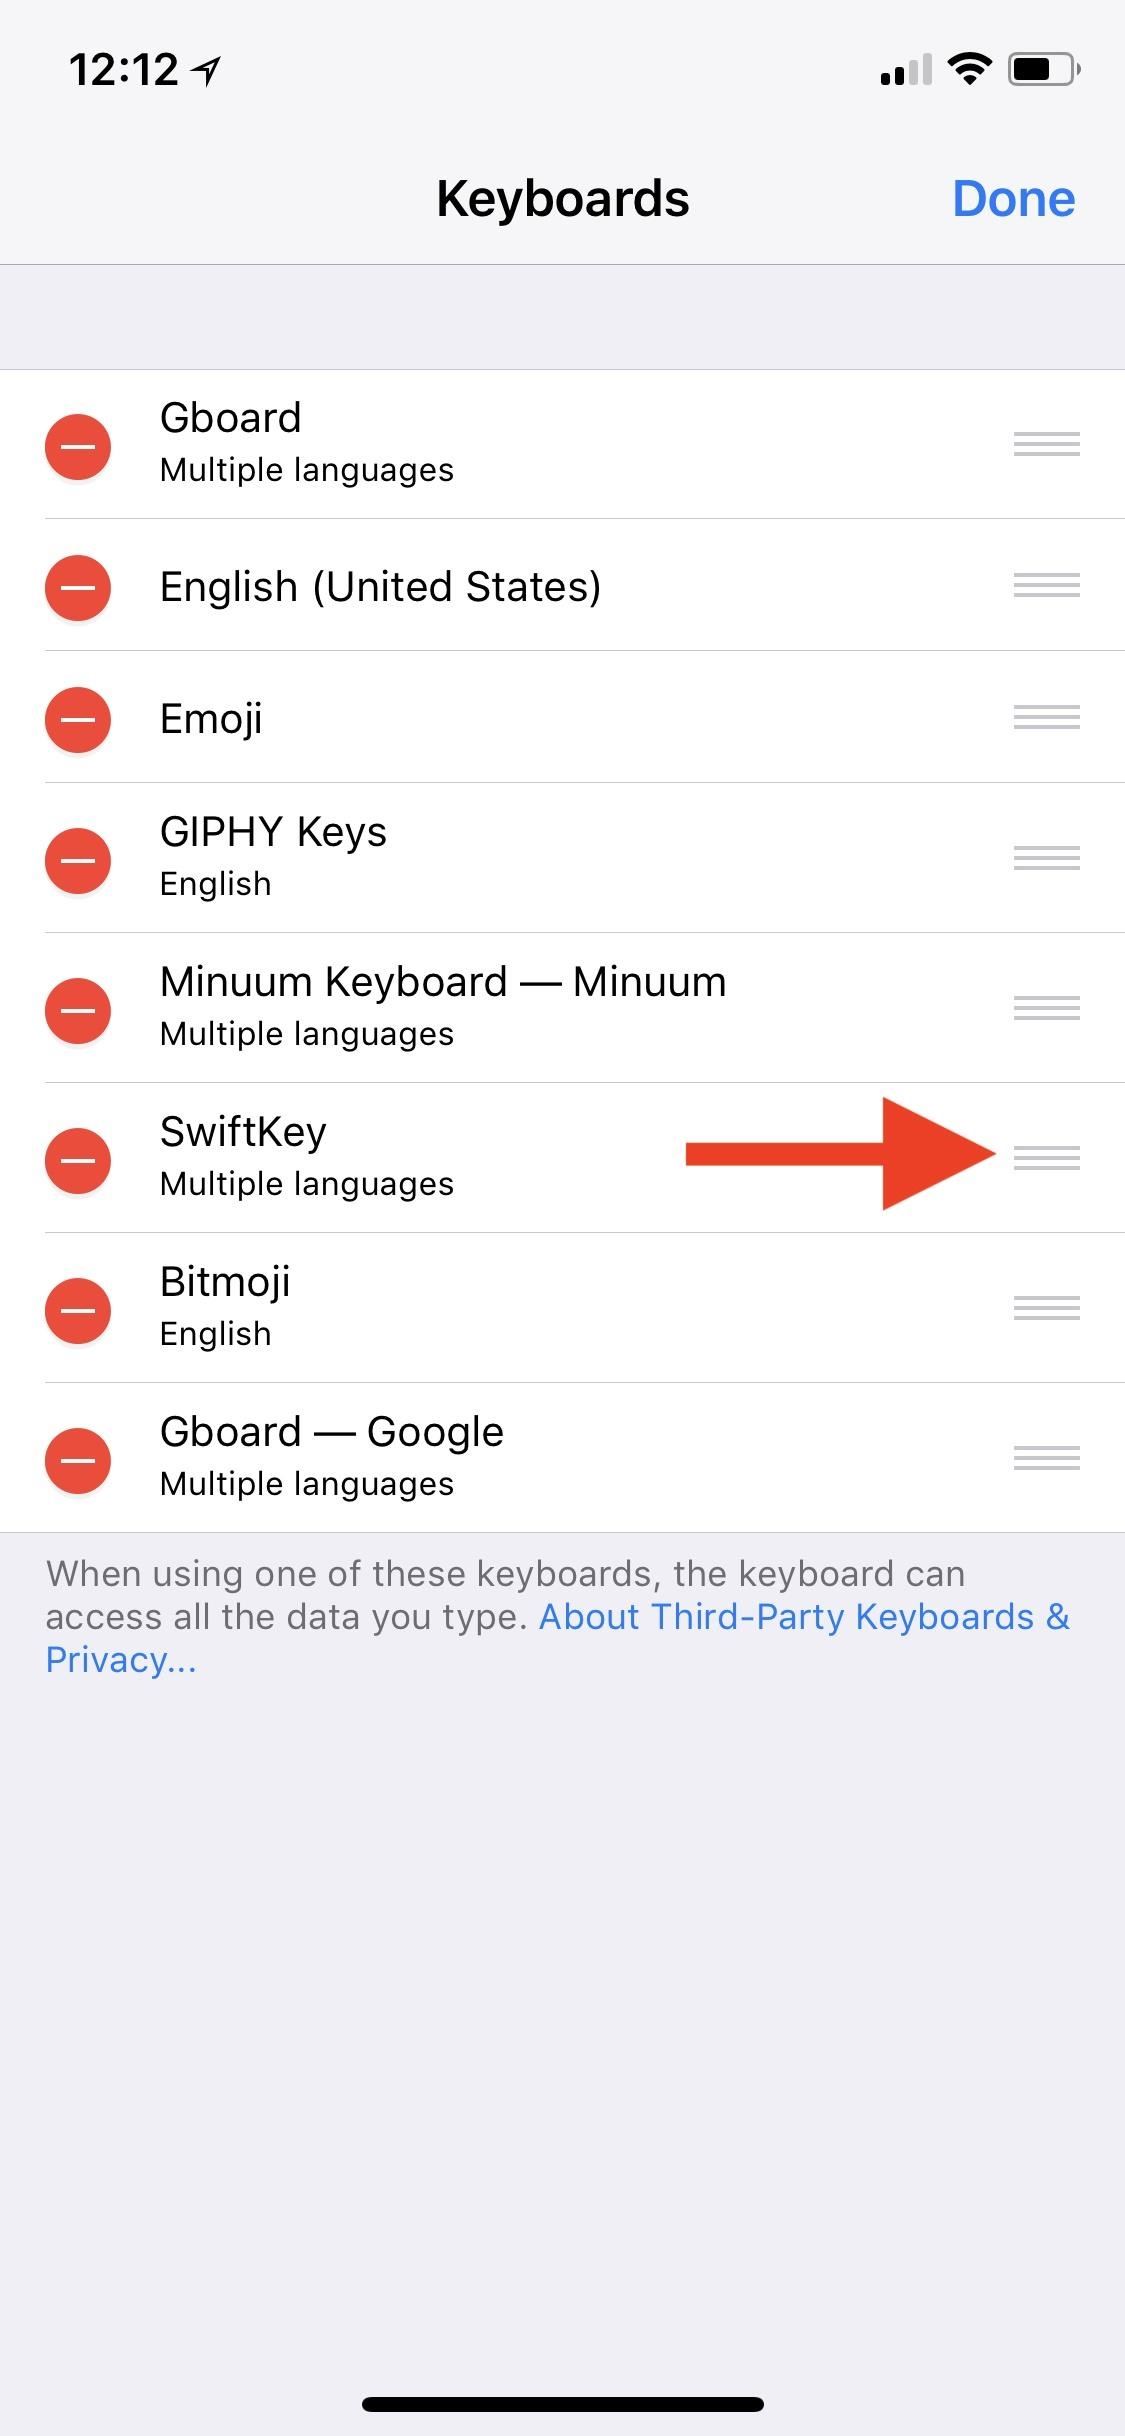
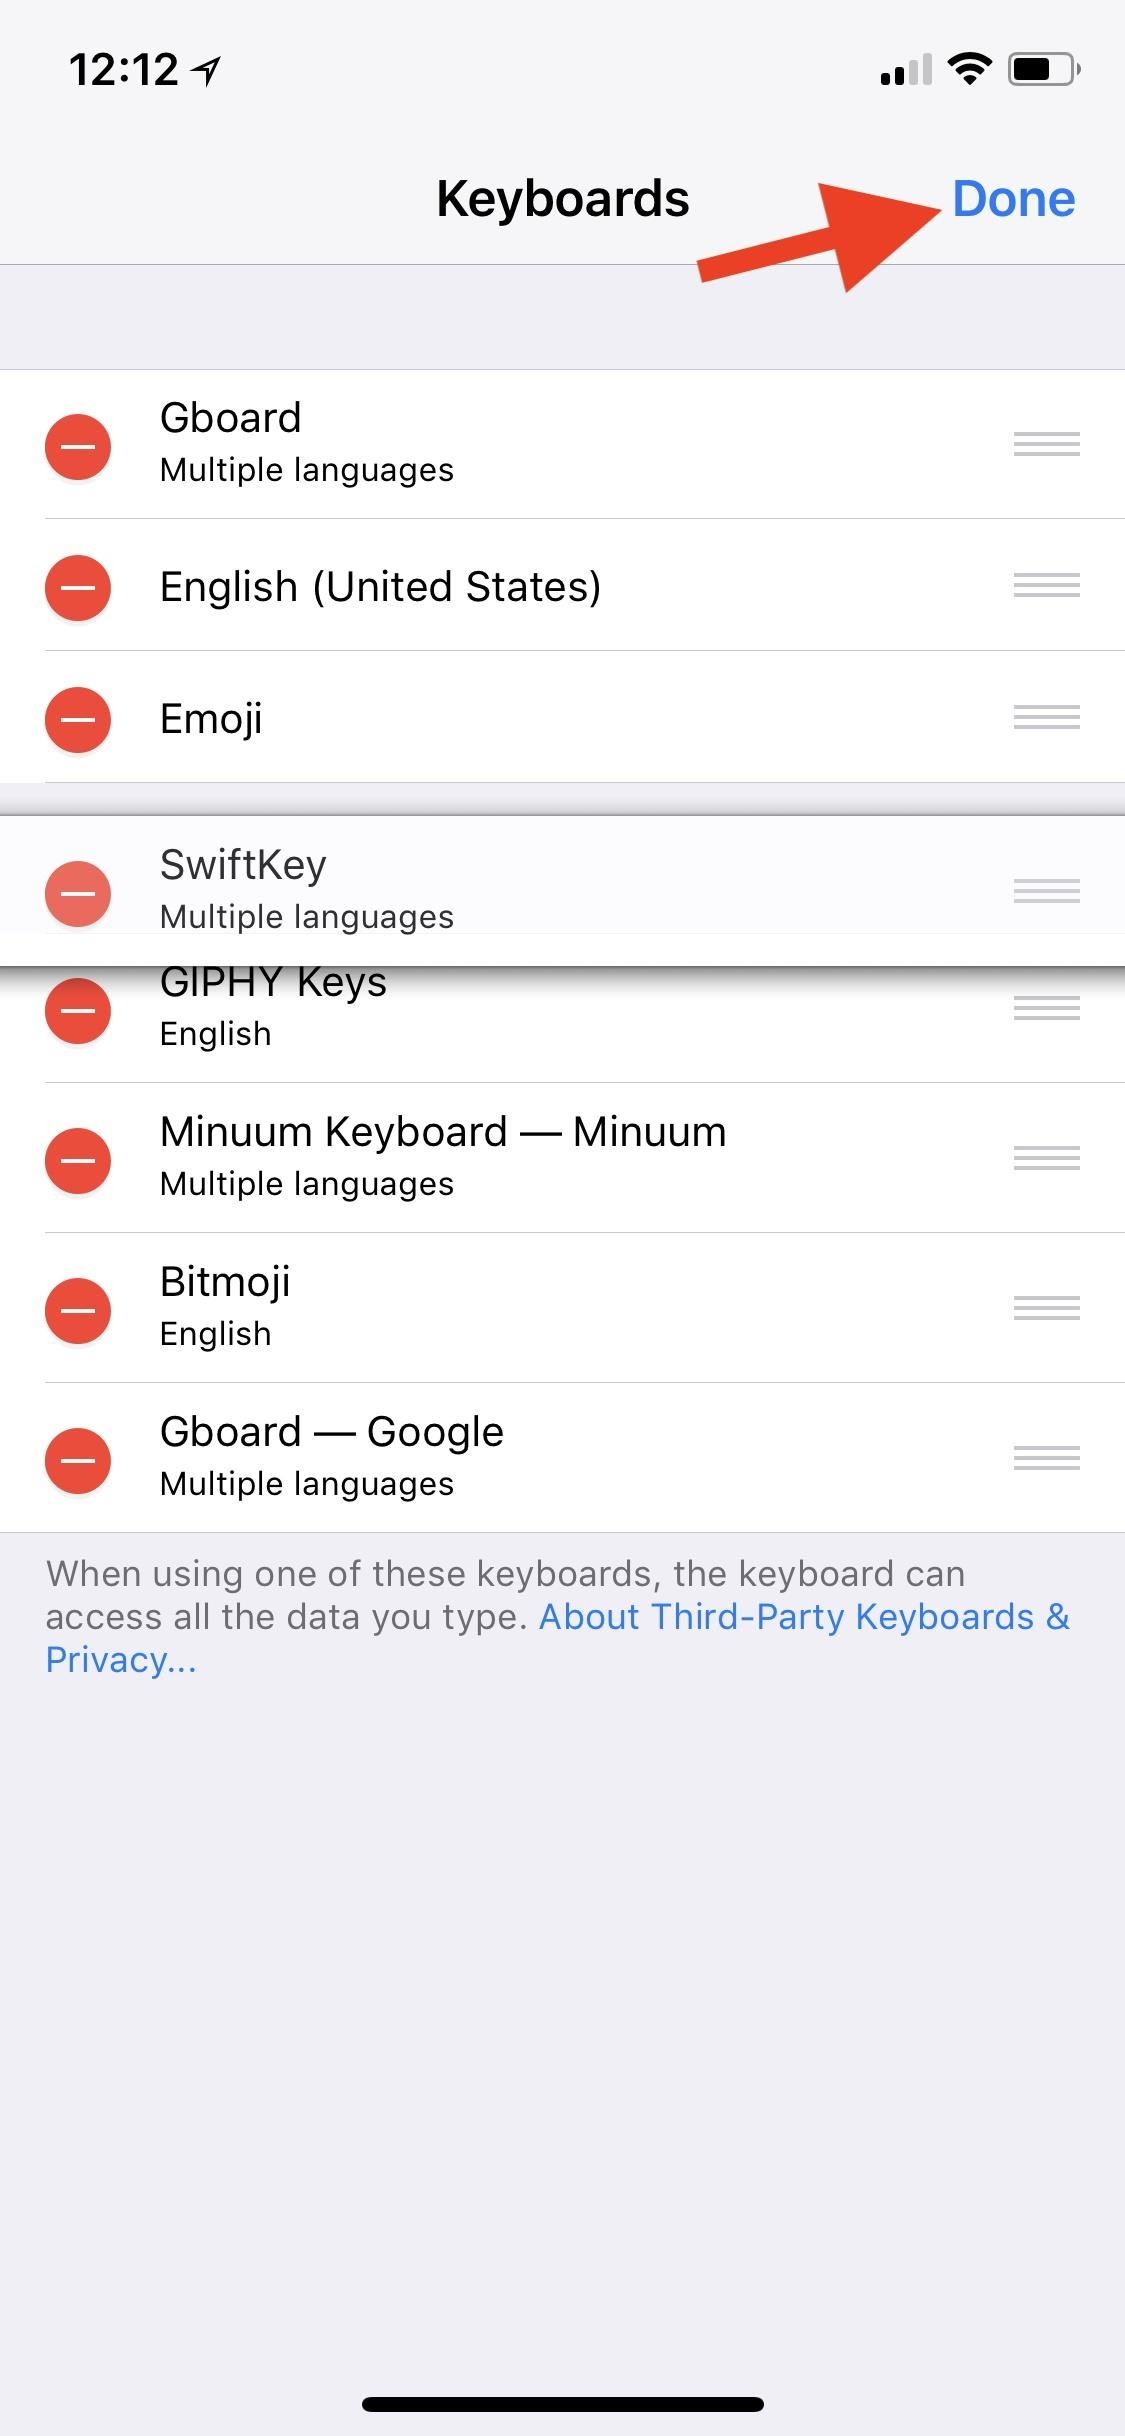
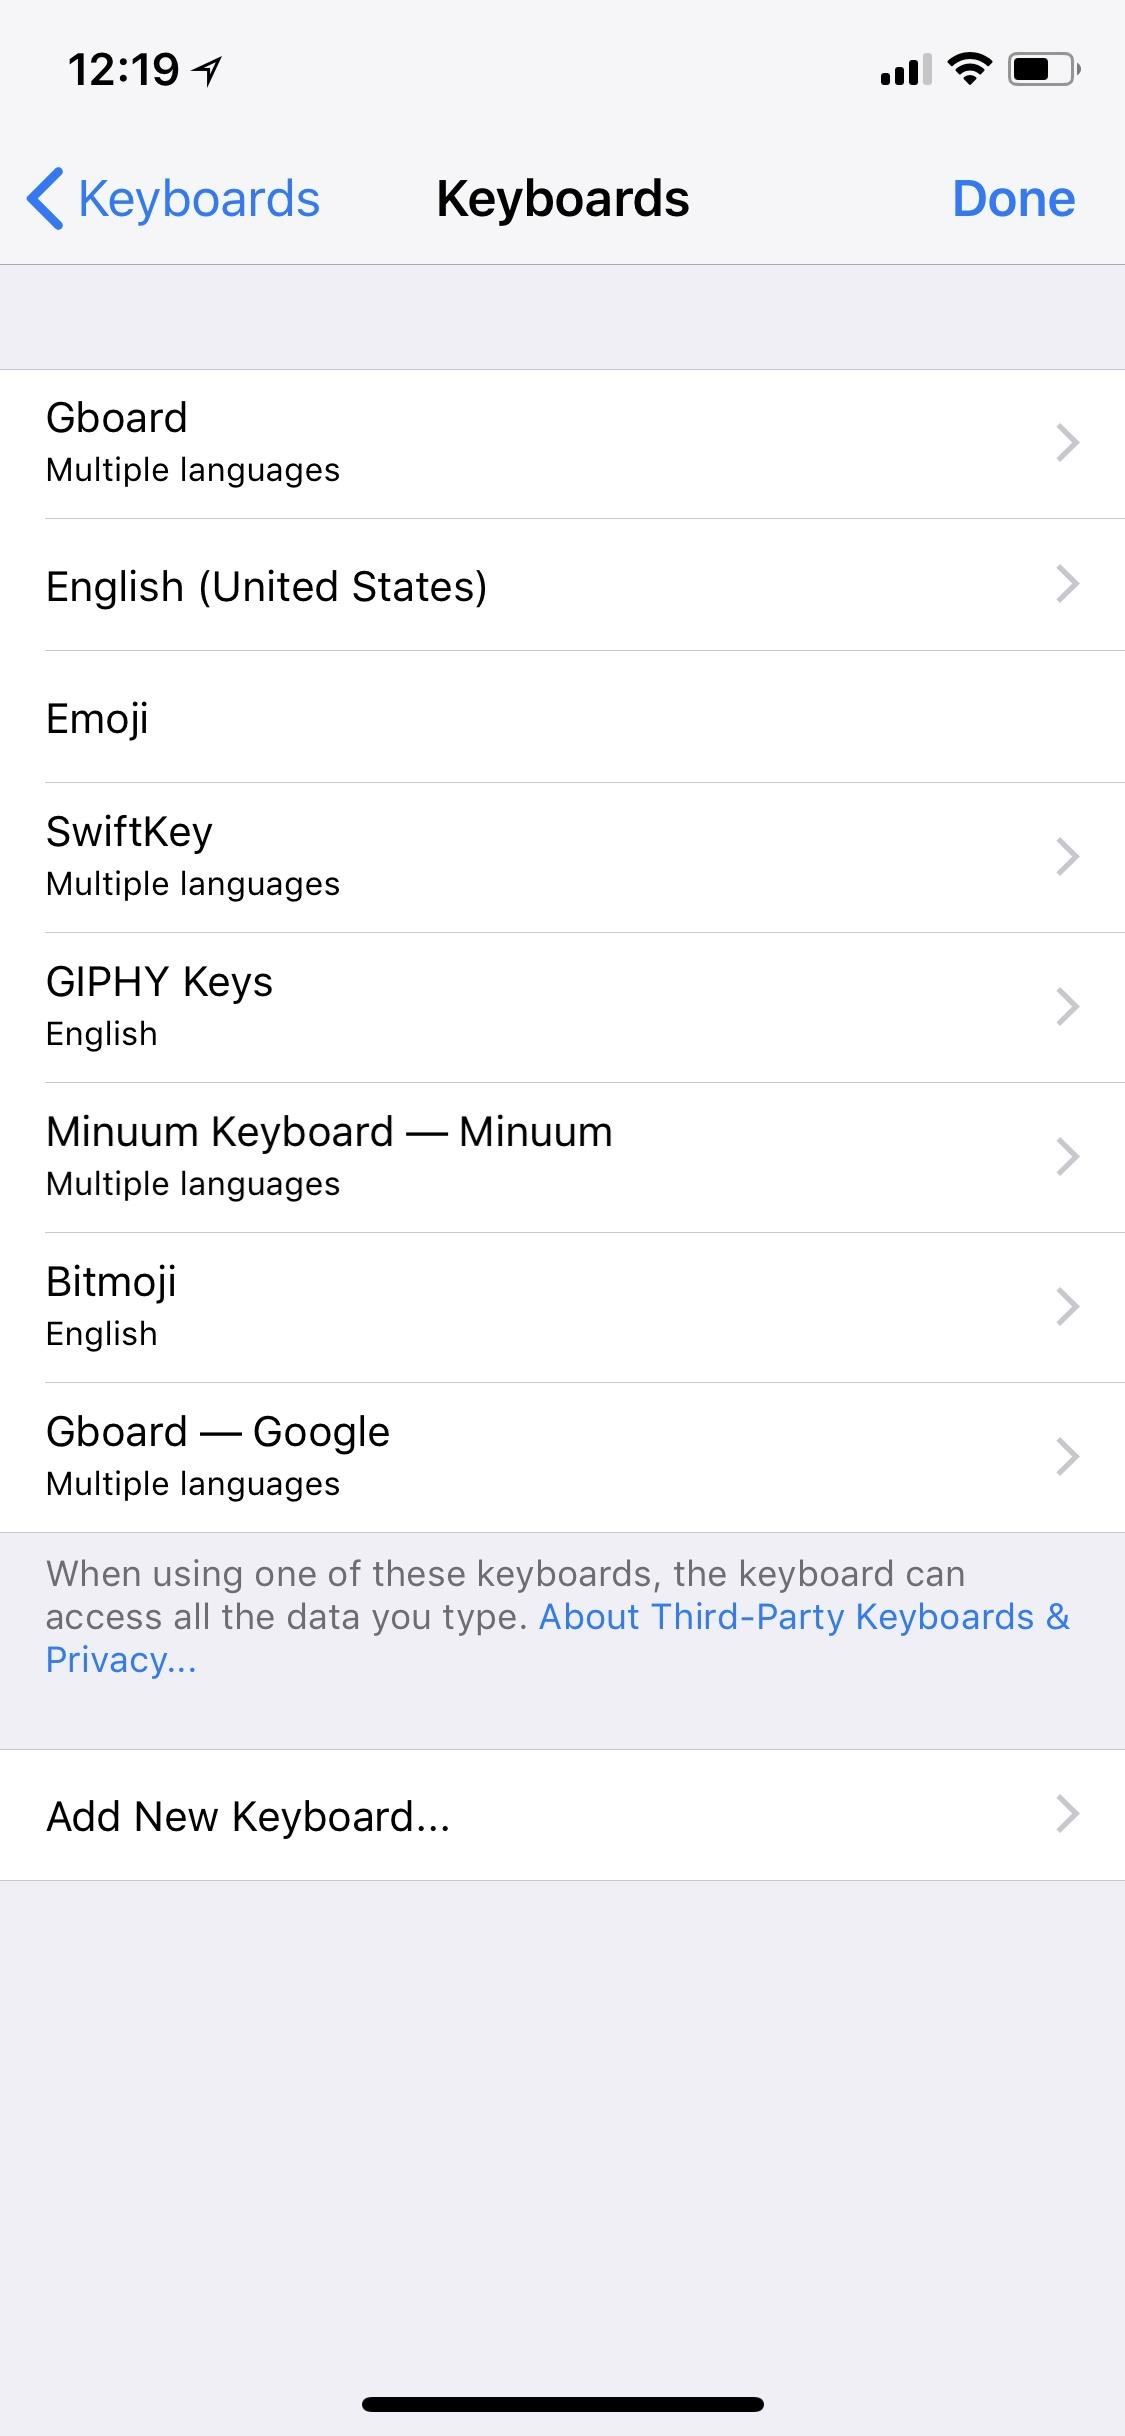
You can, however, reorder how they appear in your active keyboards list. Head back to General –> Keyboard –> Keyboards in your Settings app, then tap "Edit" at the top. Tap-and-hold on the three-lined icon next to the keyboard you want to move, then drag and drop it into its new position in the list. When you're finished, just tap "Done," and your keyboards order will be updated.
Step 6: Delete Keyboards You No Longer Use
When in the previous "Edit" menu in Step 5 above, you can tap on the red minus button next to each one to remove it from the list of active keyboards. However, you can also do this from the main active "Keyboards" menu. Either small-swipe left on the keyboard you want to get rid of and tap on the "Delete" button that pops up or long-swipe left on it to just delete it right away.
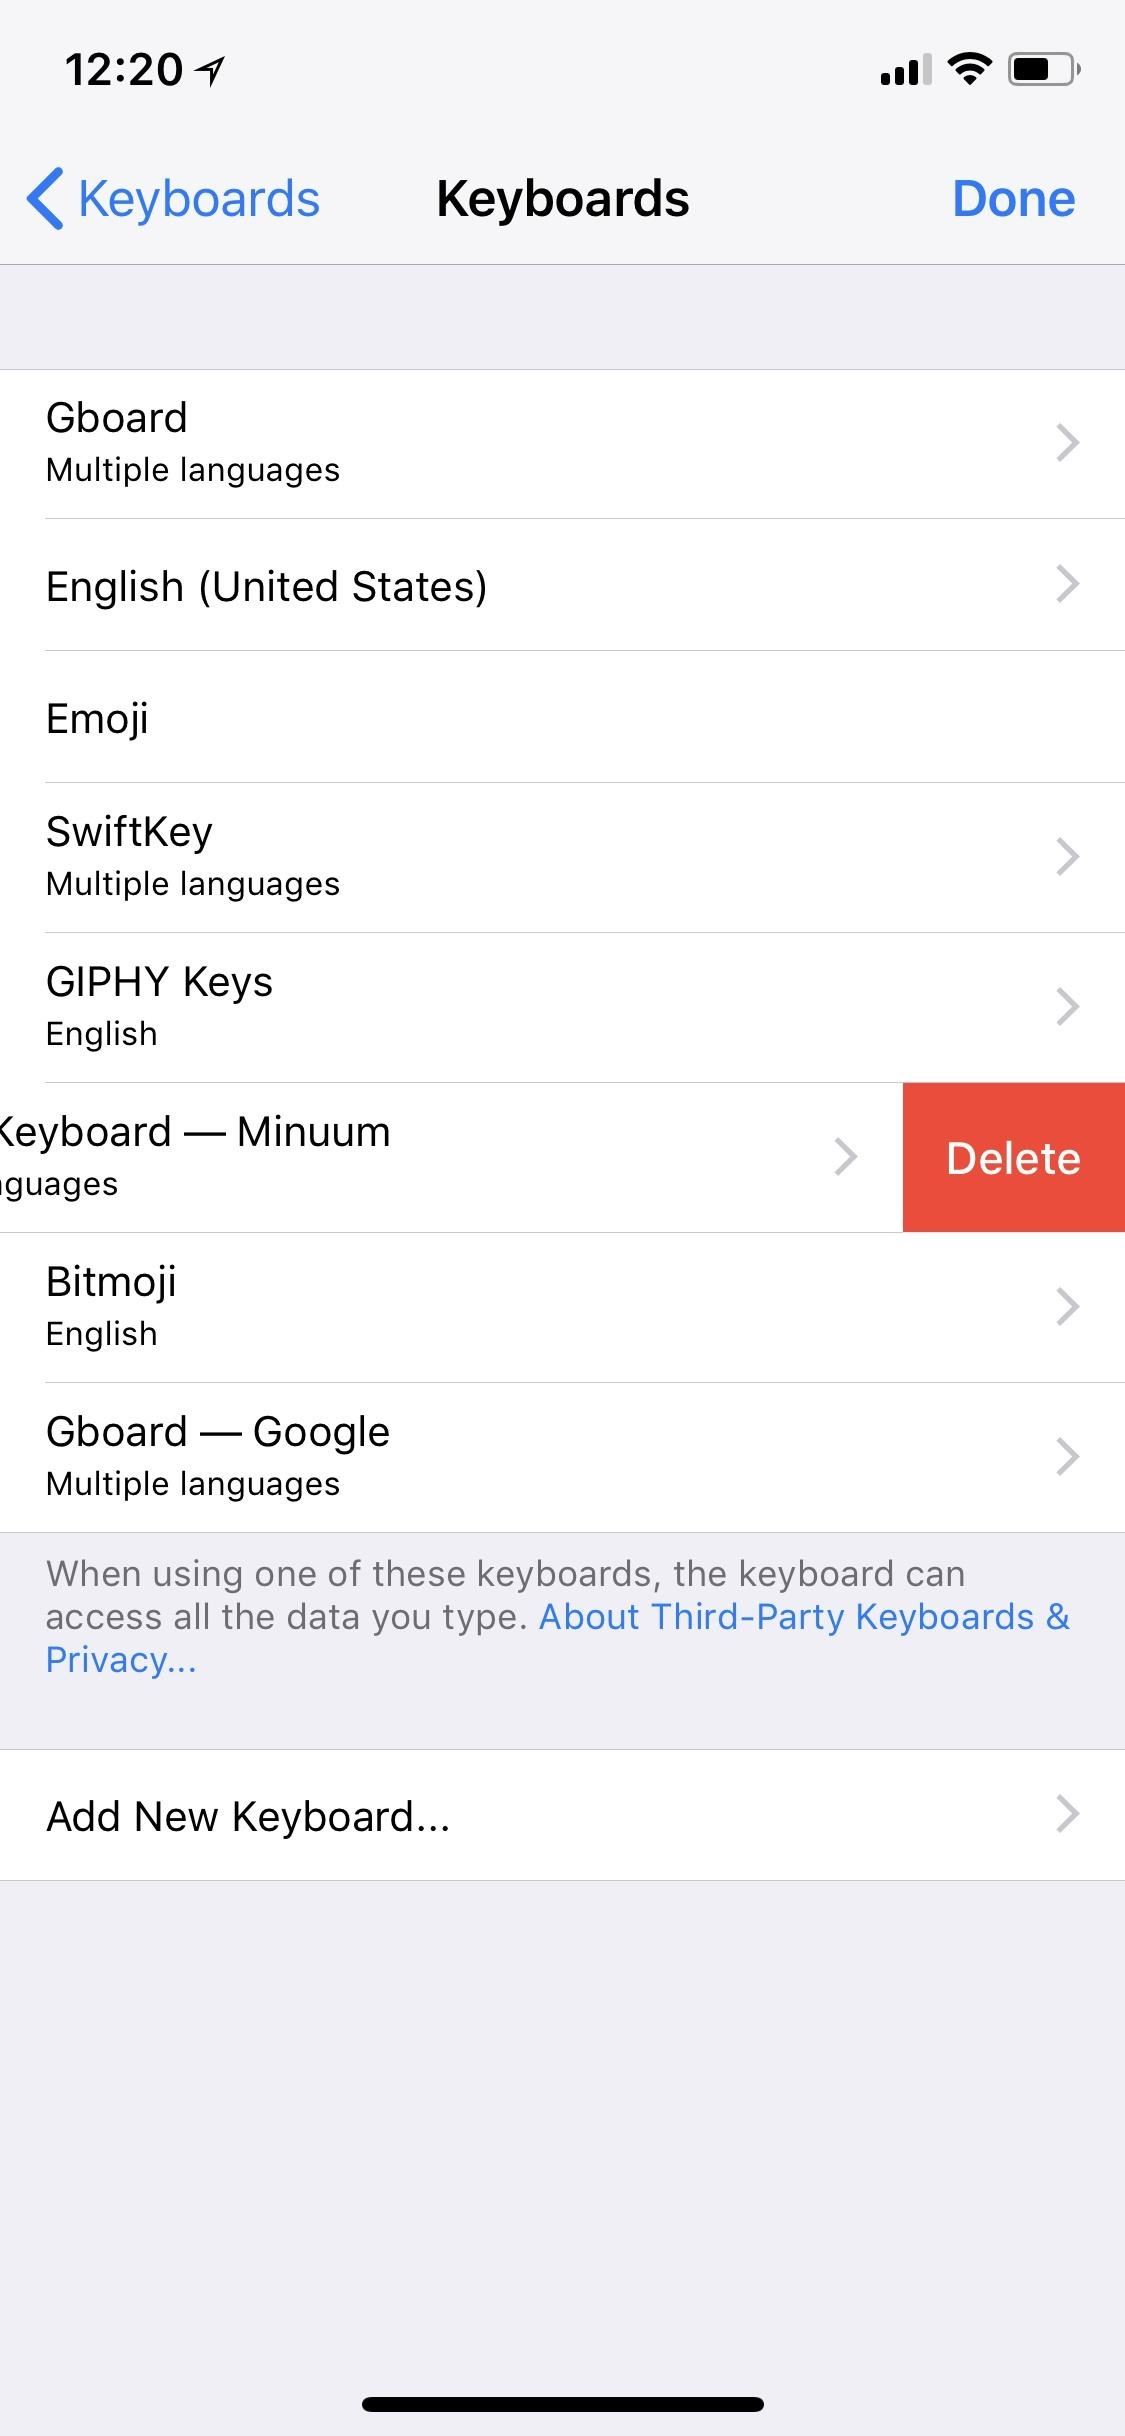
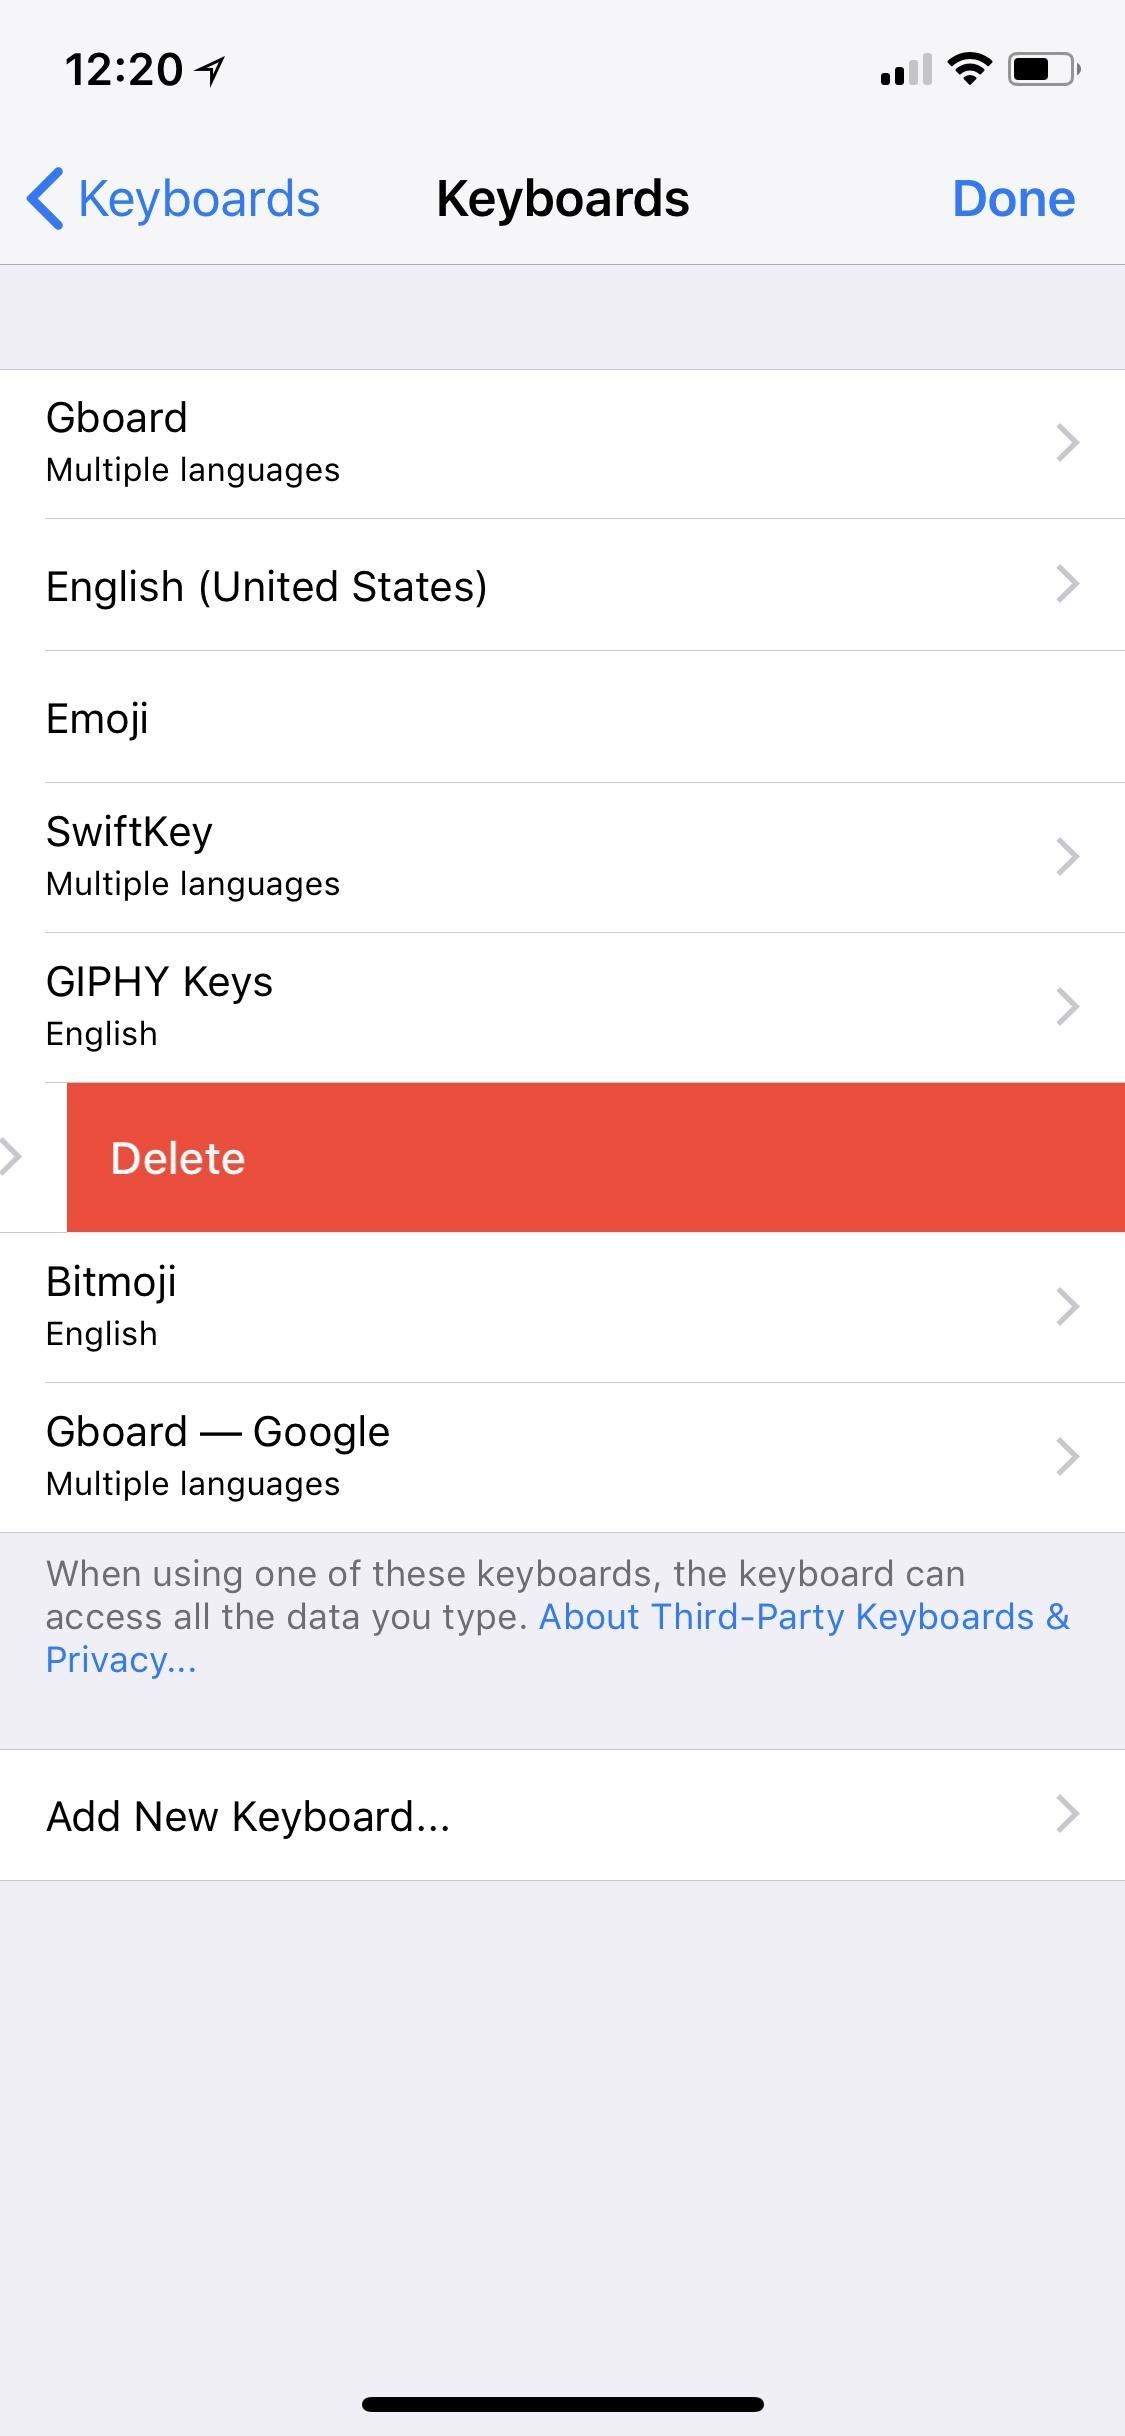
Note that this does not delete the third-party keyboard from your iPhone — it just removes it from the list of active keyboards. You can always go back and repeat Step 1 above to add it back. If you want to delete the keyboard off your device, then you'd do that like any other app. Find it on your home screen, long-press on it until the edit screen appears, then tap the "X" on the keyboard app you want to remove, and follow the prompts.
Just updated your iPhone? You'll find new emoji, enhanced security, podcast transcripts, Apple Cash virtual numbers, and other useful features. There are even new additions hidden within Safari. Find out what's new and changed on your iPhone with the iOS 17.4 update.


Be the First to Comment
Share Your Thoughts