
When a photo or video is just too sensitive to leave laying around in your Photos app, you'll want to either delete it for good or hide it away in safe, secure location on your iPhone. As for the latter, Apple actually has a few tools available to make photos and videos hidden — even password-protected — on your iPhone.
Even if you don't like Apple's options (the first three listed below), there are other developers you can rely on to keep your sensitive media safe from prying eyes. If someone has access to your iPhone or Mac, it's possible they can find images and movies you'd rather them not see, especially if you sync with iCloud. To lock down your secret media, try these tips out.
- Don't Miss: 200+ Exciting New iOS 13 Features for iPhone
Option 1: Hide Them in the Photos App
A little-known iPhone secret is that you can actually hide photos and videos in the Photos app. However, doing so will only hide them from your Moments, Years, and Collections view, as well any albums they appear in, but will keep the photos and/or videos available in a new "Hidden" album.
While it would be nice if Apple could make this a passcode-protected folder one day, it still helps keeps eyes off your spicy media when showing off collections to your family and friends. If you definitely want a password on your content, check out the other options in this guide.
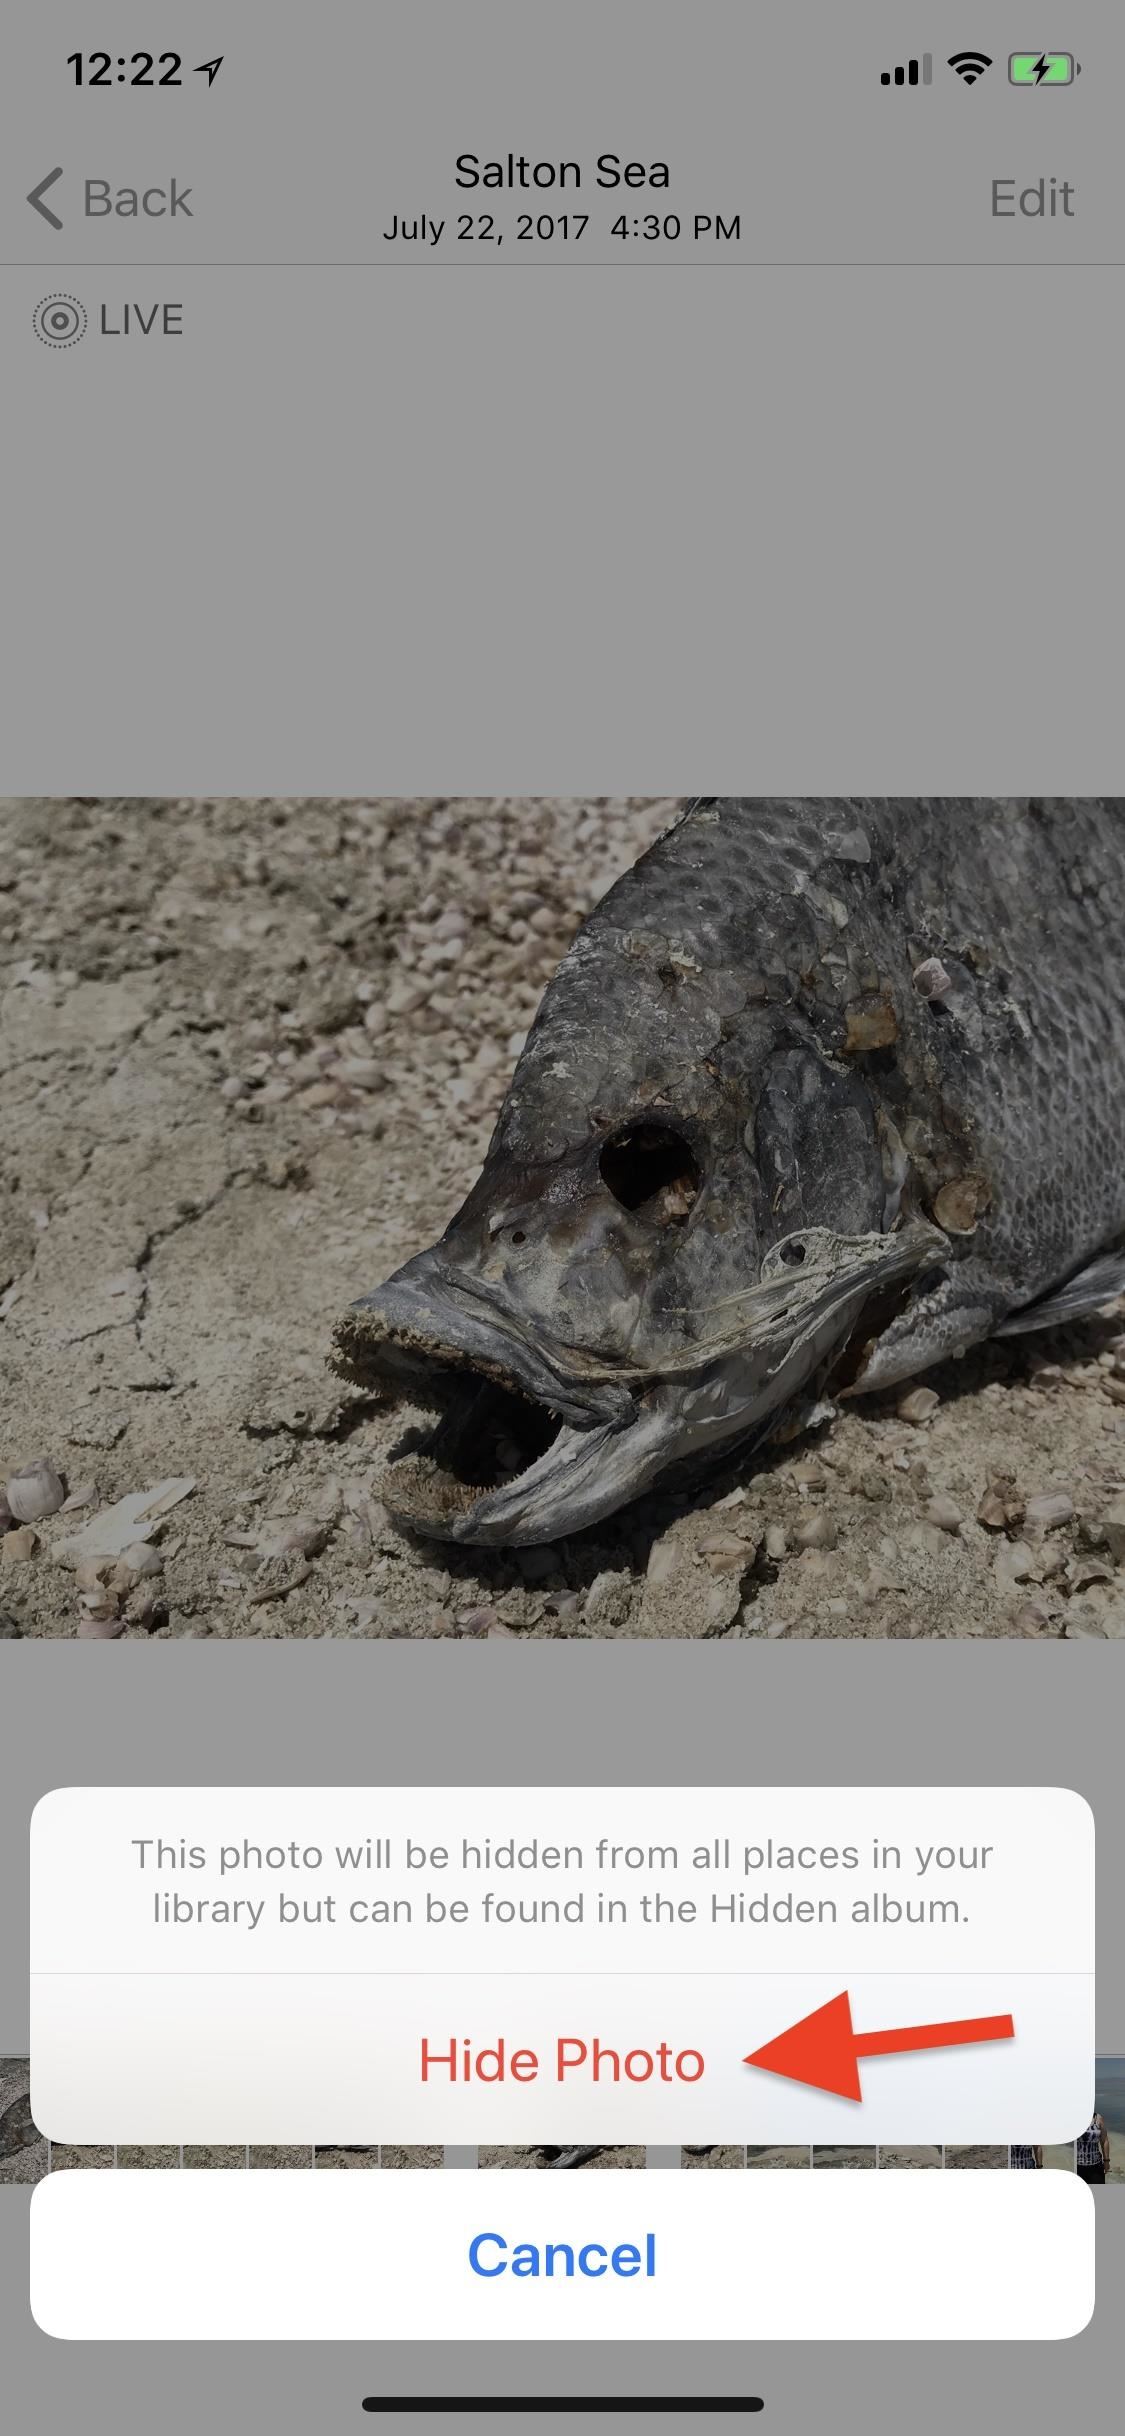
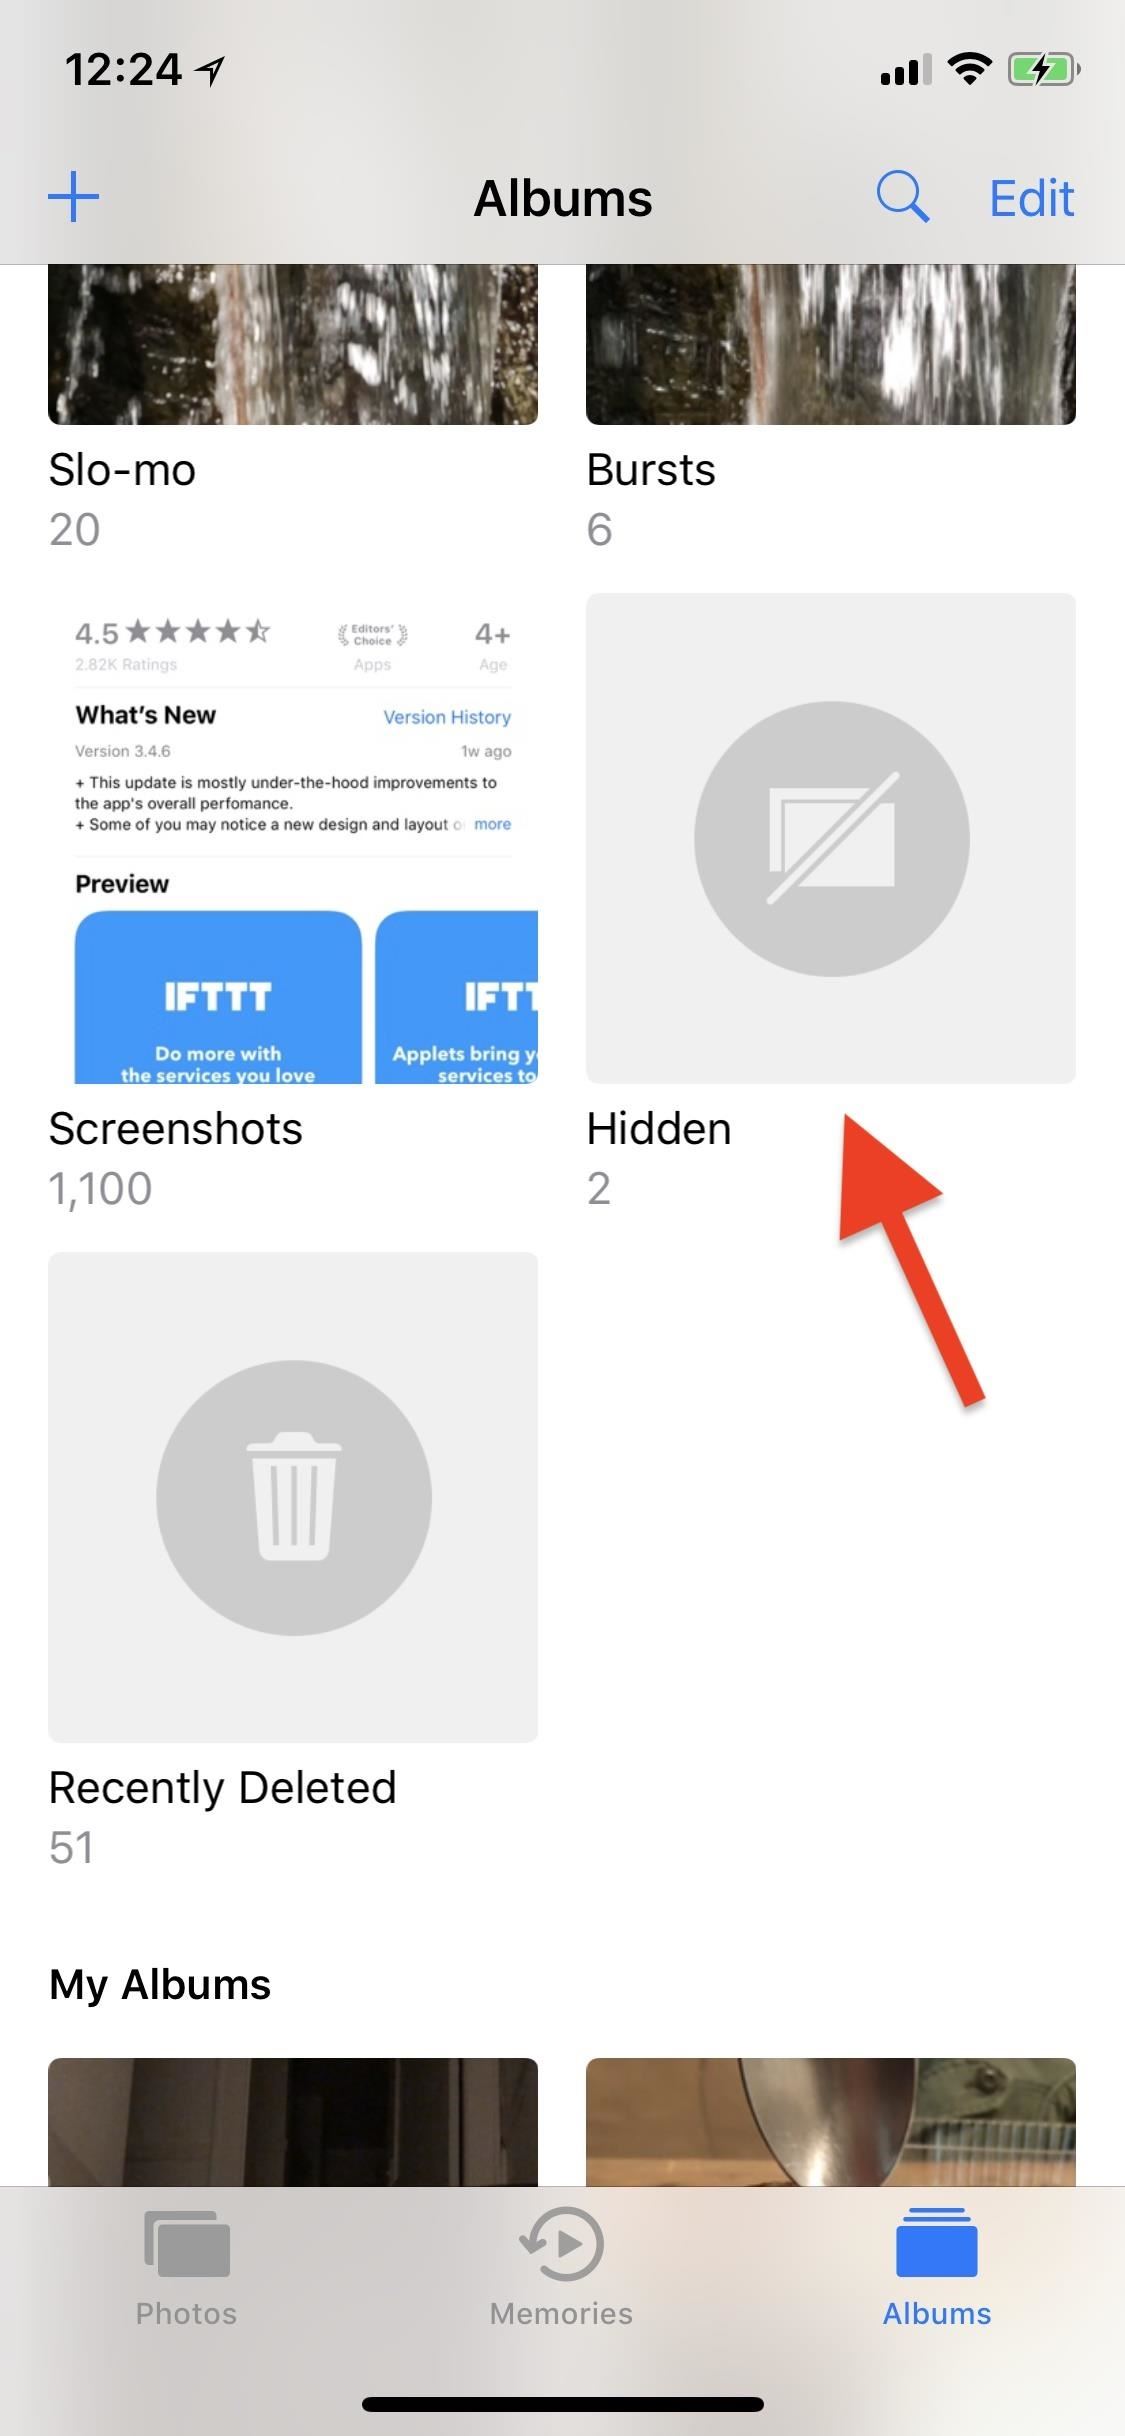
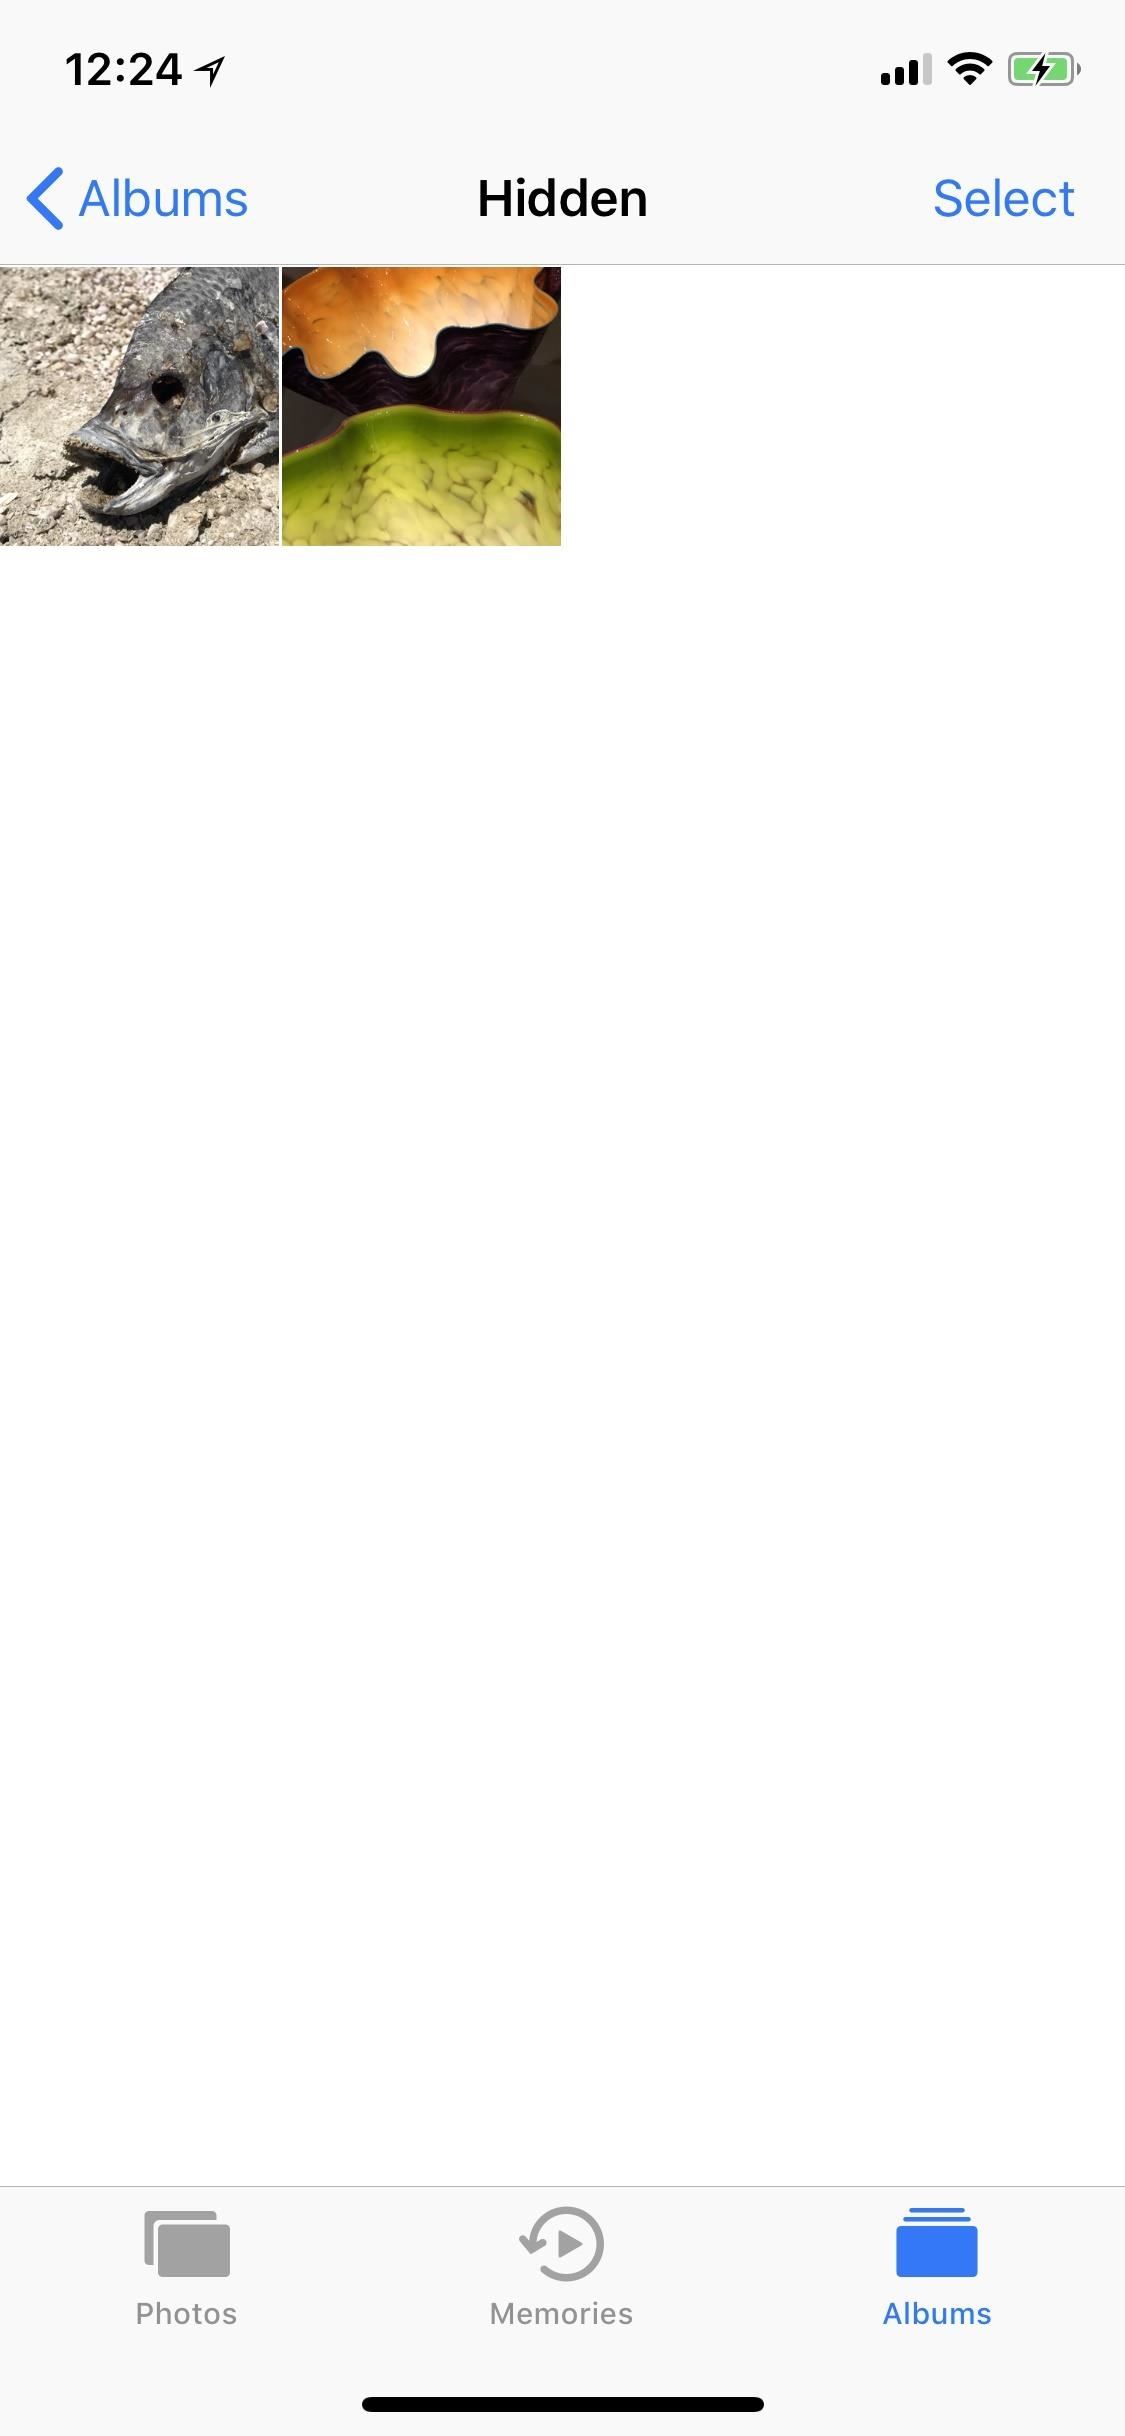
To hide a photo or video, select it, then use the share icon to bring up the share sheet. Scroll through the bottom row of activities until you see "Hide." Tap that, then "Hide Photo" or "Hide Video" to get the job done. To view your hidden media, just open the new "Hidden" folder in the "Albums" tab.
Option 2: Lock Them Down in the Notes App
While the above option "hides" your photos and videos from everywhere in the main Photos app except the newly created "Hidden" album, you may want to go a step beyond so there are zero traces of the photos and videos you'd like to keep secret. This can be done in the Notes app.
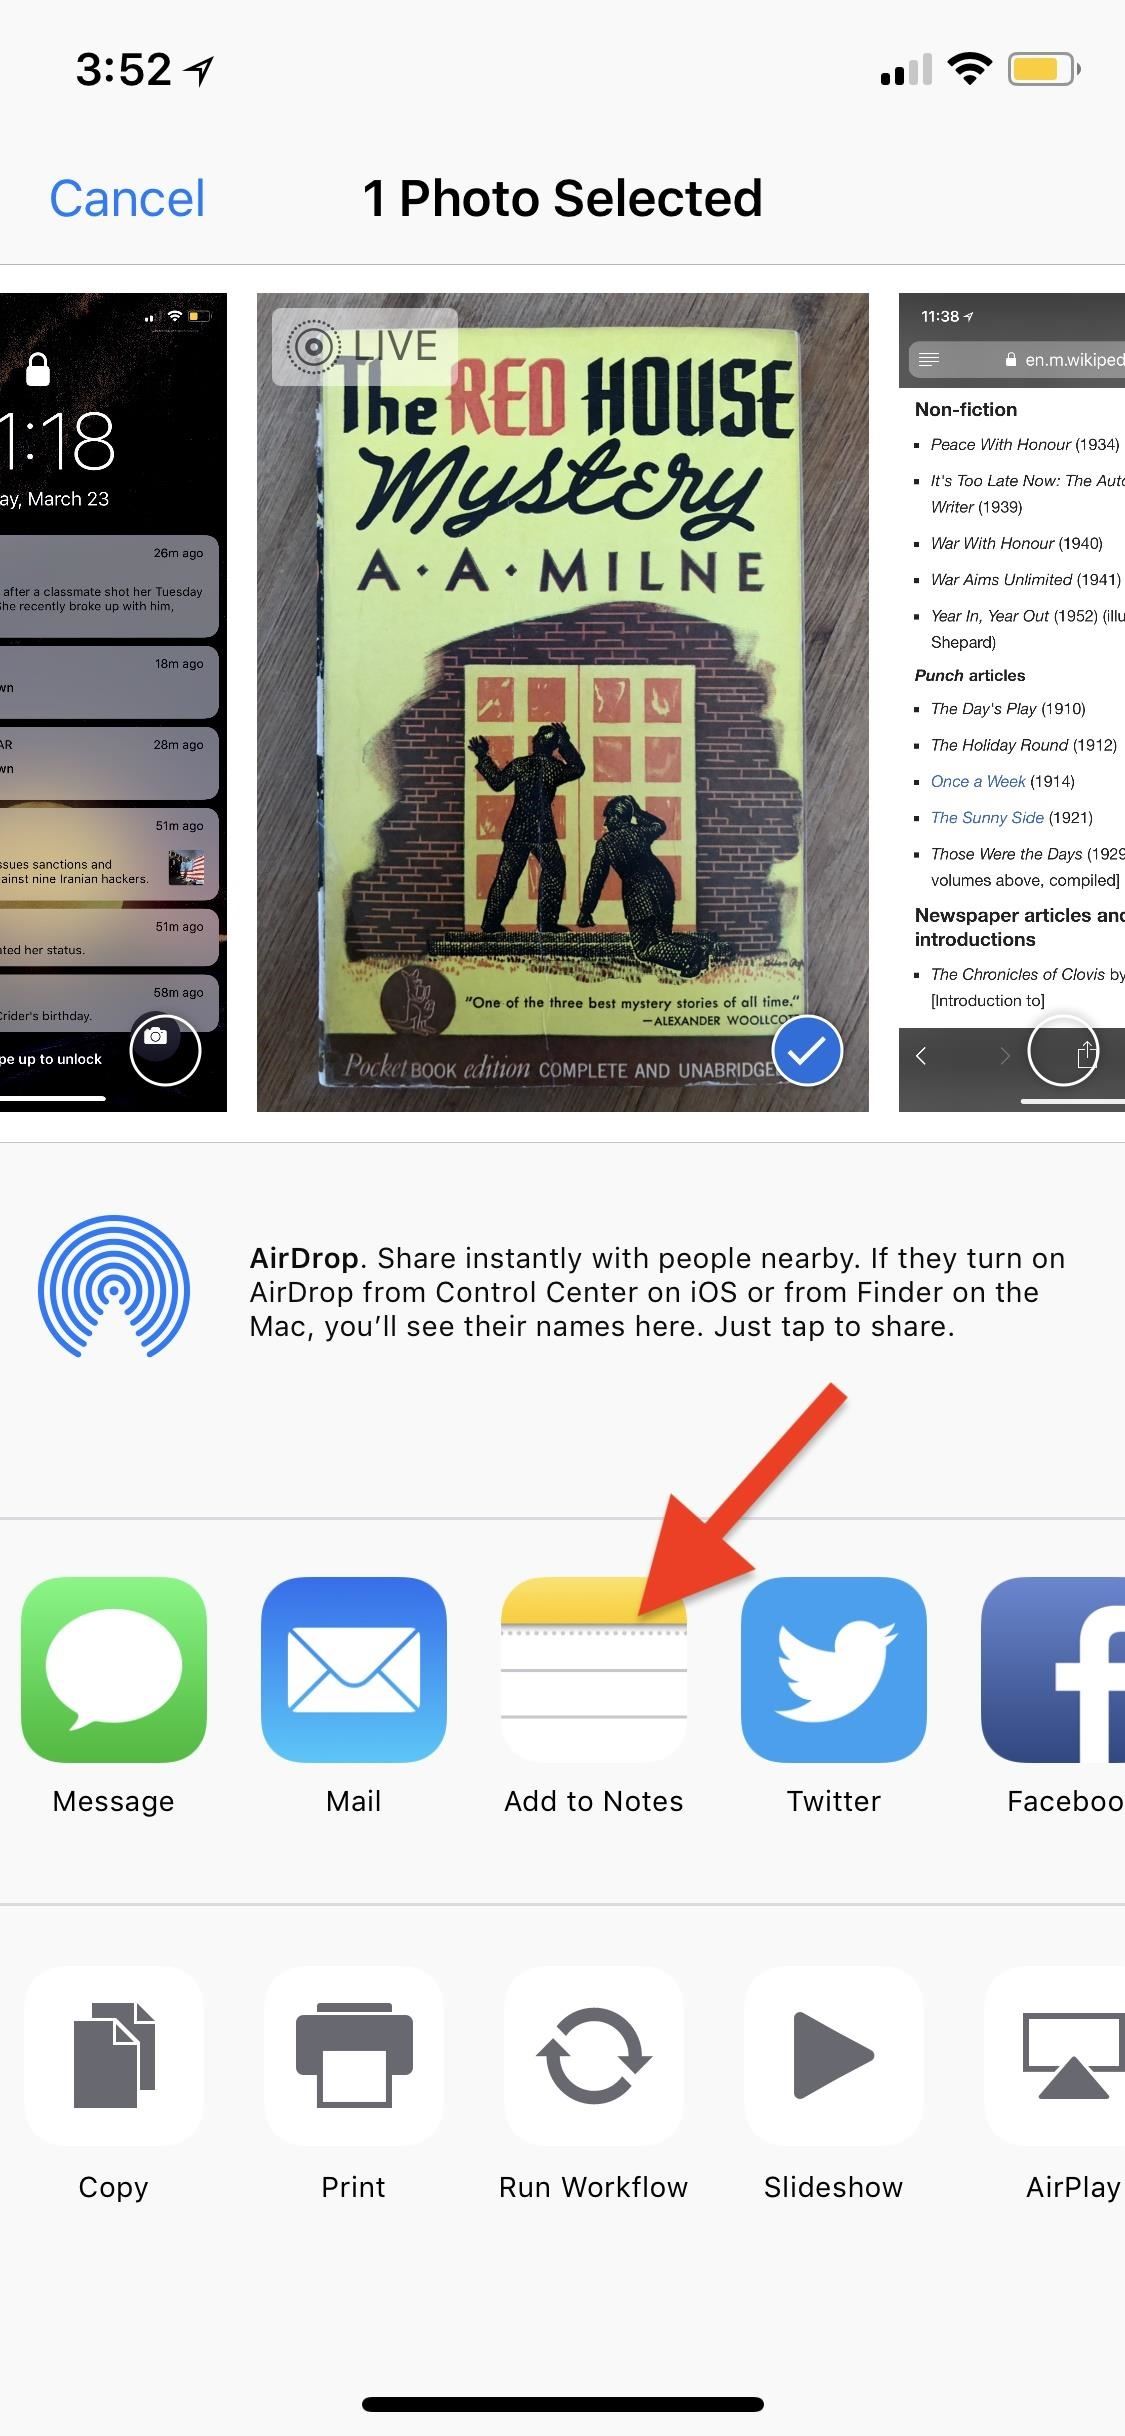
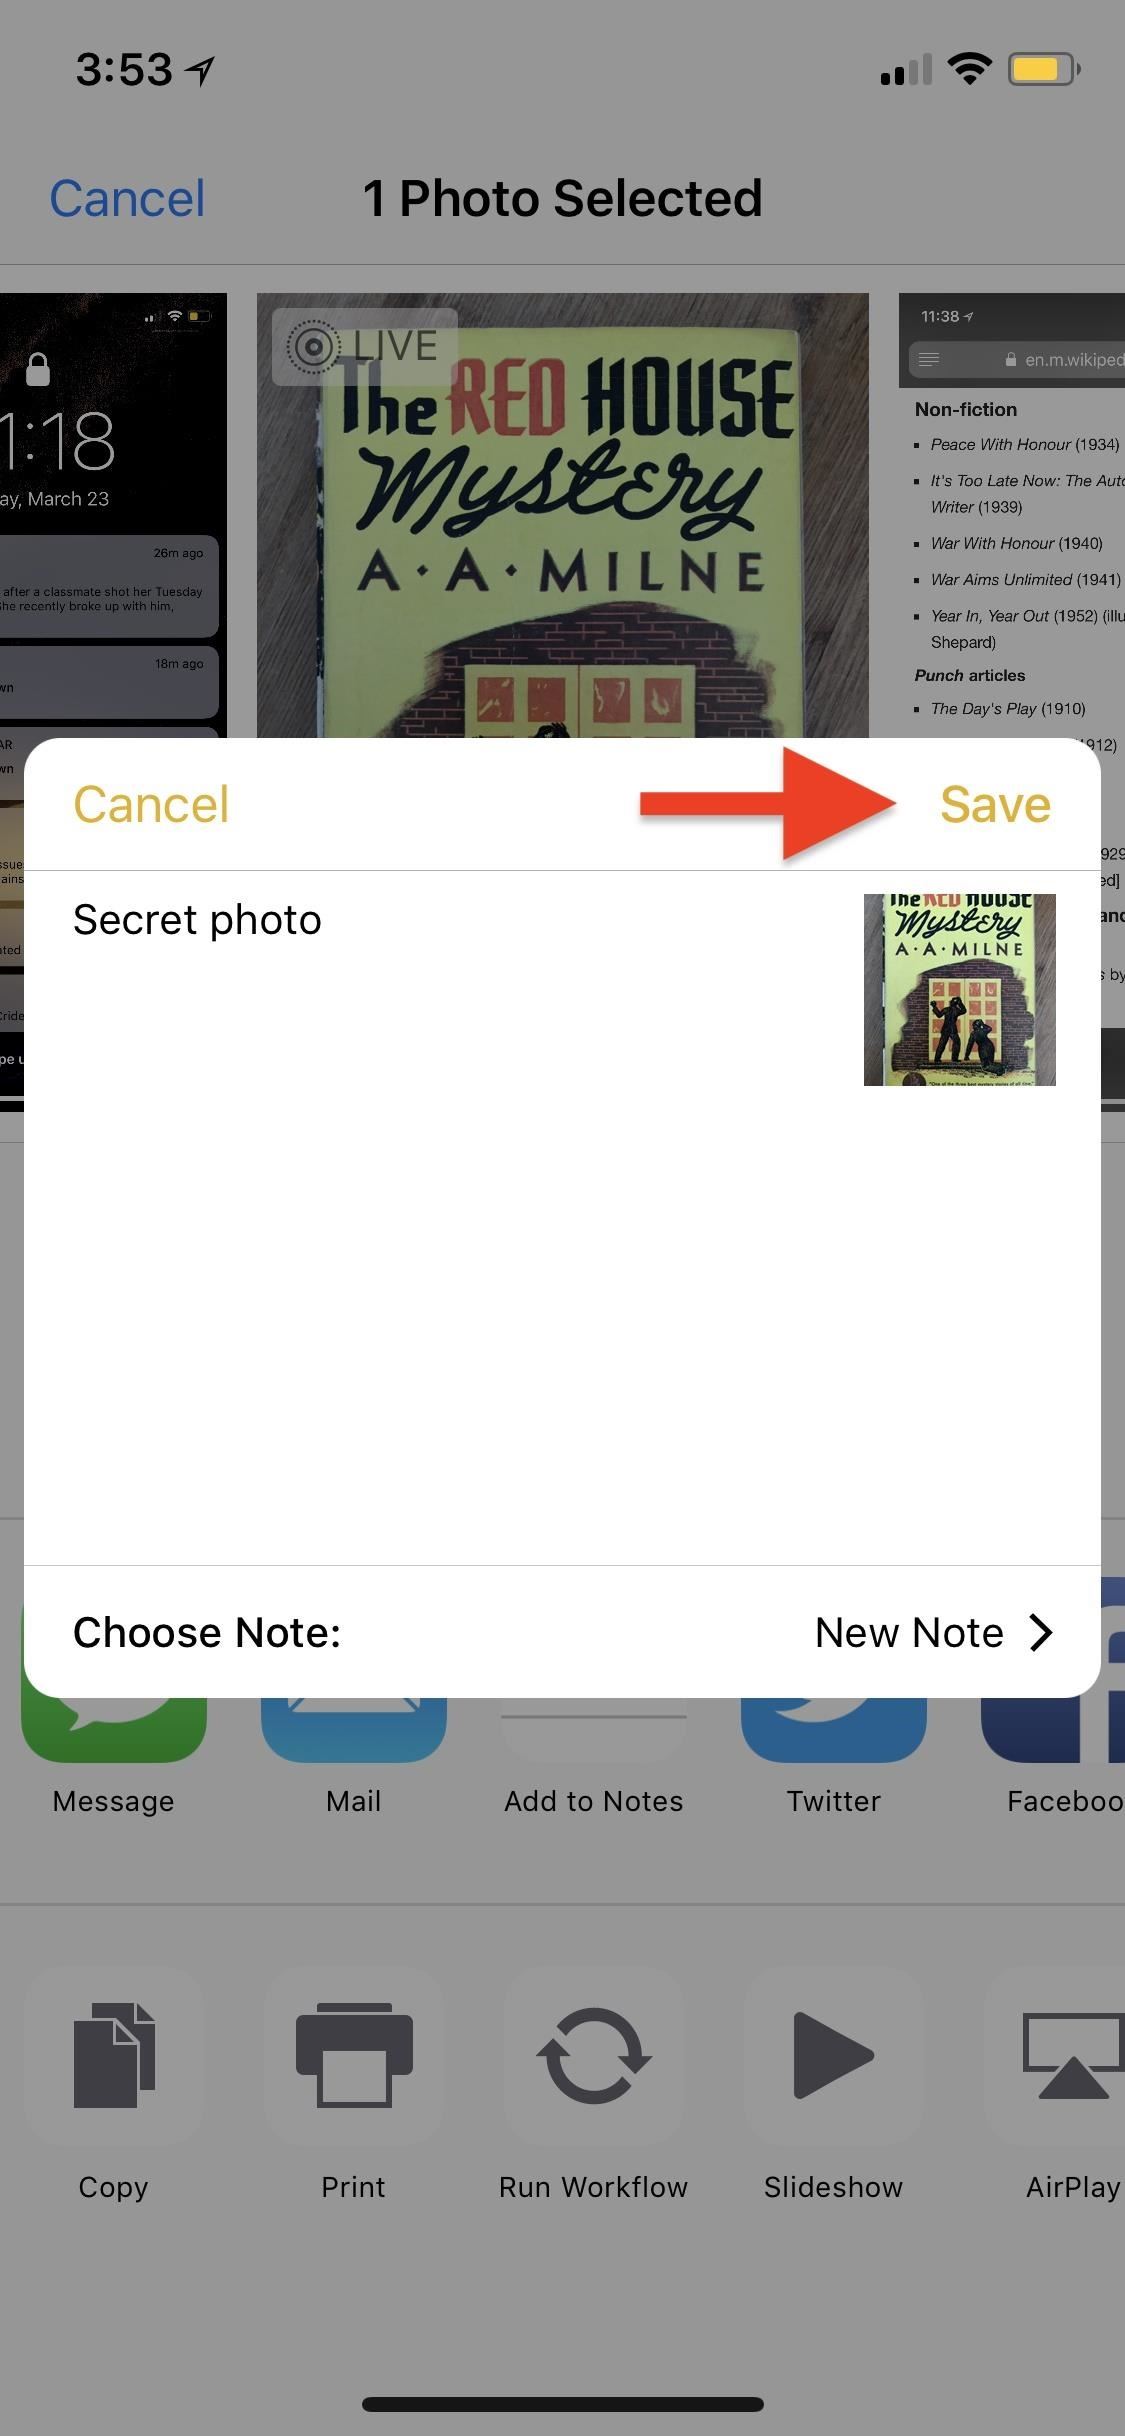
In the Photos app, select the media you'd like to hide, tap on the share icon, then select "Add to Notes" from the first row of activities. You can add the media to an existing note or create a new one. If it's a Live Photo, it will lose its Live Photo abilities when added to a note, so keep that in mind. Hit "Save" to finish.
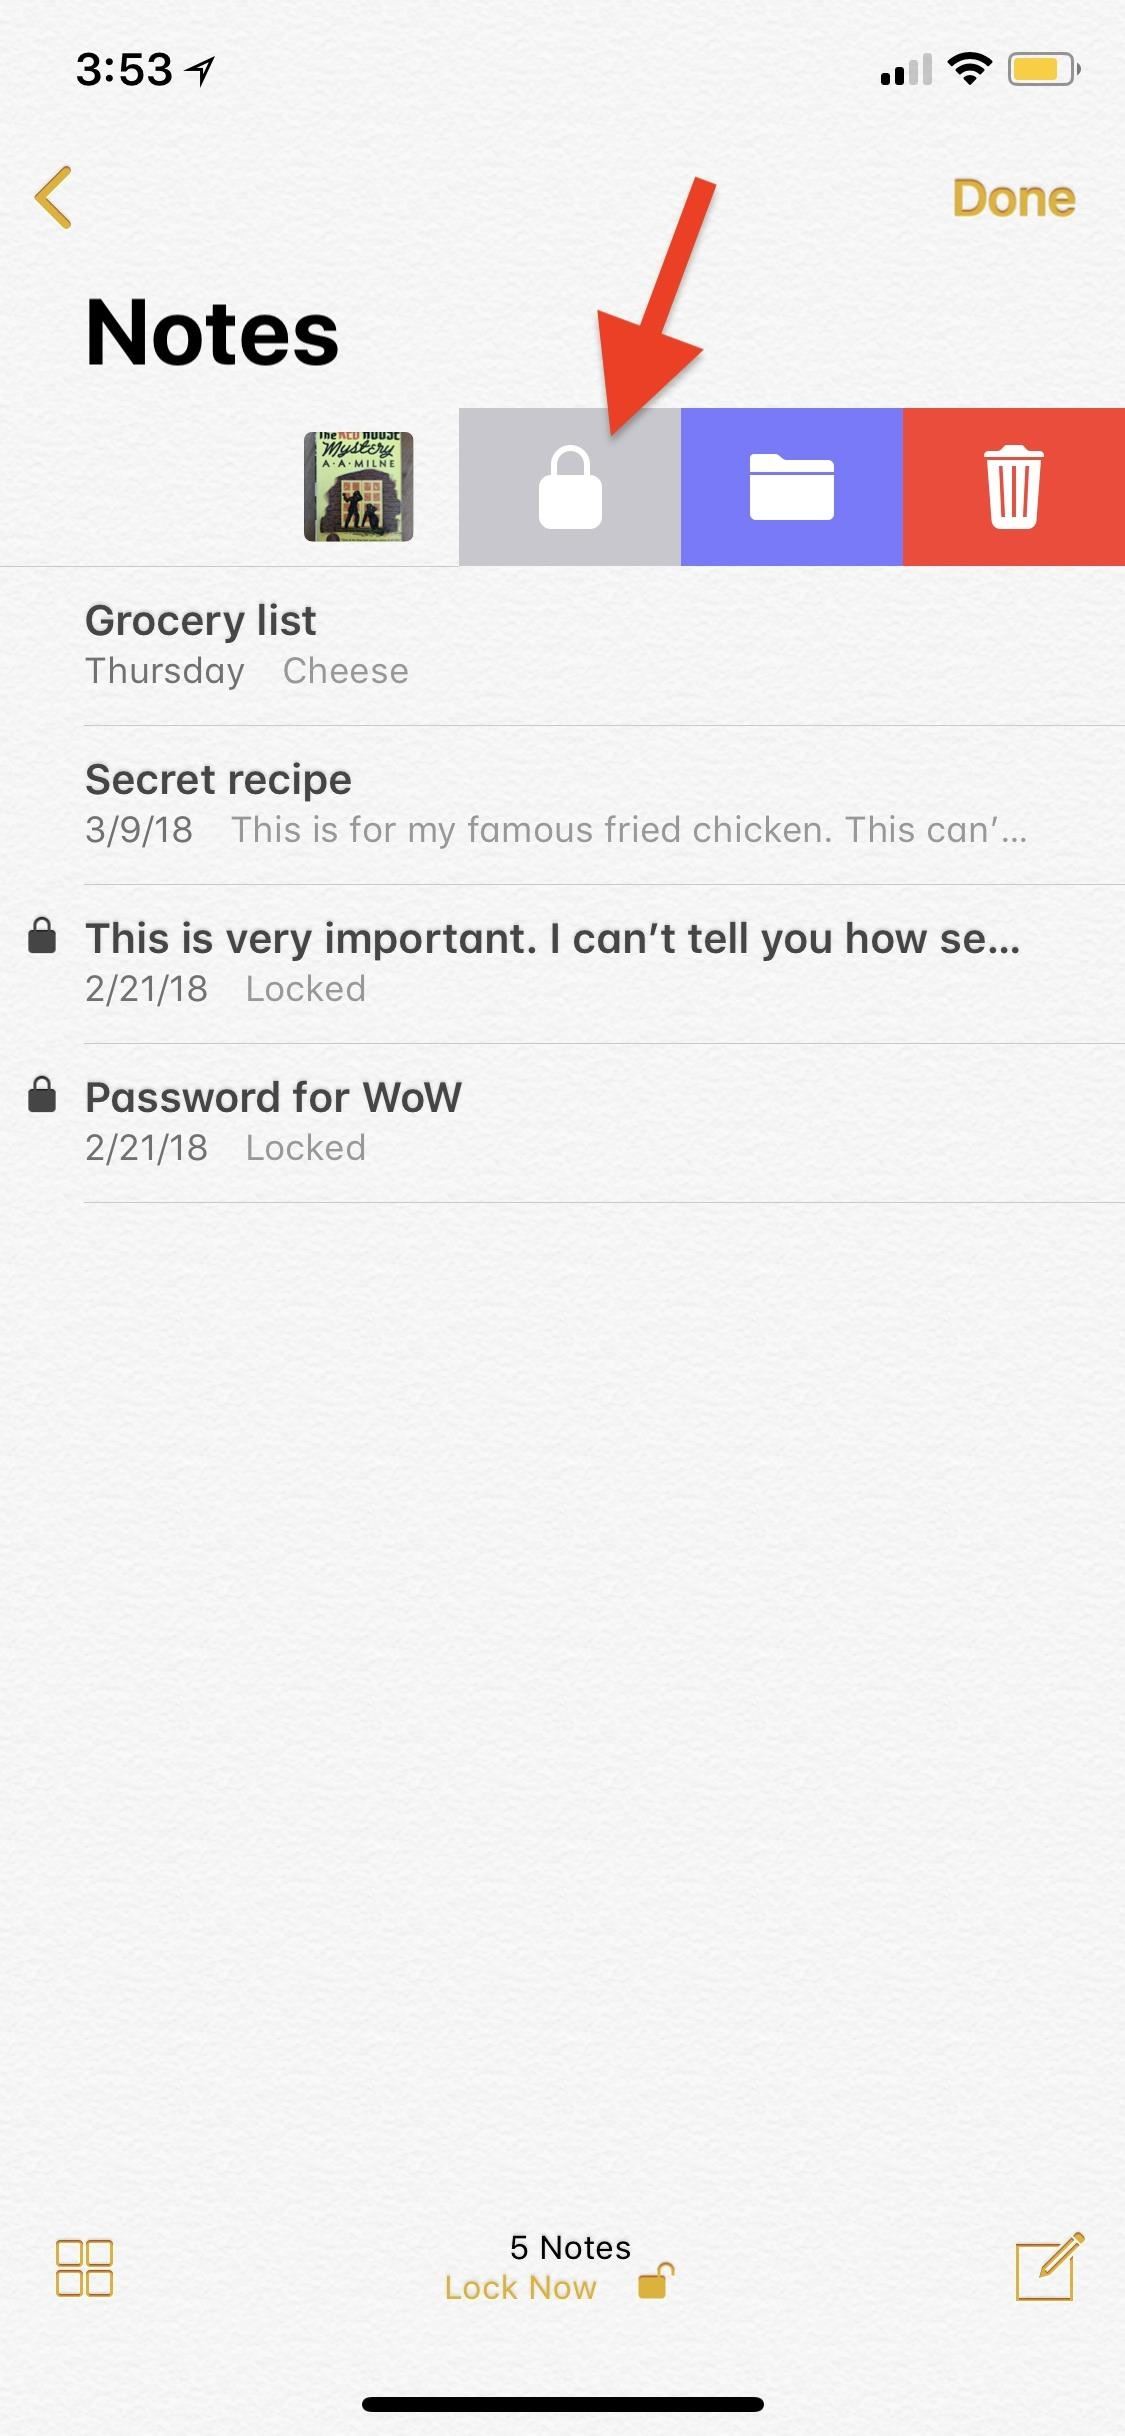
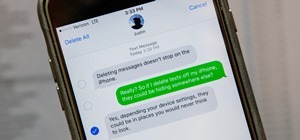
Once that's done, in the Photos app, you can now trash all the media you imported into Notes — and then empty your trash — to get rid of all of the photos. Next, open up the Notes app, swipe left on the note/s to show the options (or use the share sheet when in the note), then hit the lock icon to keep it from prying eyes.
If it's your first time using the lock feature, you'll need to create a password. If it's not, you'll need to enter the password you already made for Notes. You can also opt to use Touch ID or Face ID to lock and unlock notes. After that's done, actually lock the note by tapping on "Lock Now" at the bottom of the folder or by hitting the lock icon up top in the note itself.
While media dimensions will be the same and so will the quality, one downside to this method is that you can't keep Live Photos, so make sure that you pick the best thumbnail for the image before sharing to Notes. Also, you cannot add photos to a locked note from Photos. Instead, you'll import them in from the note directly, if you'd rather keep all your secret photos in one note versus many different ones.
Option 3: Lock Them Down in iWork Apps
I don't recommend this method myself, but technically, you can do pretty much the same in Keynote, Numbers, and Pages as you can with the Notes app. However, quality will be an issue, since the media dimensions will be dictated by how large the page size is, and you don't have the same options available as you do as in Notes, such as the ability to save the media back into your Photos app.
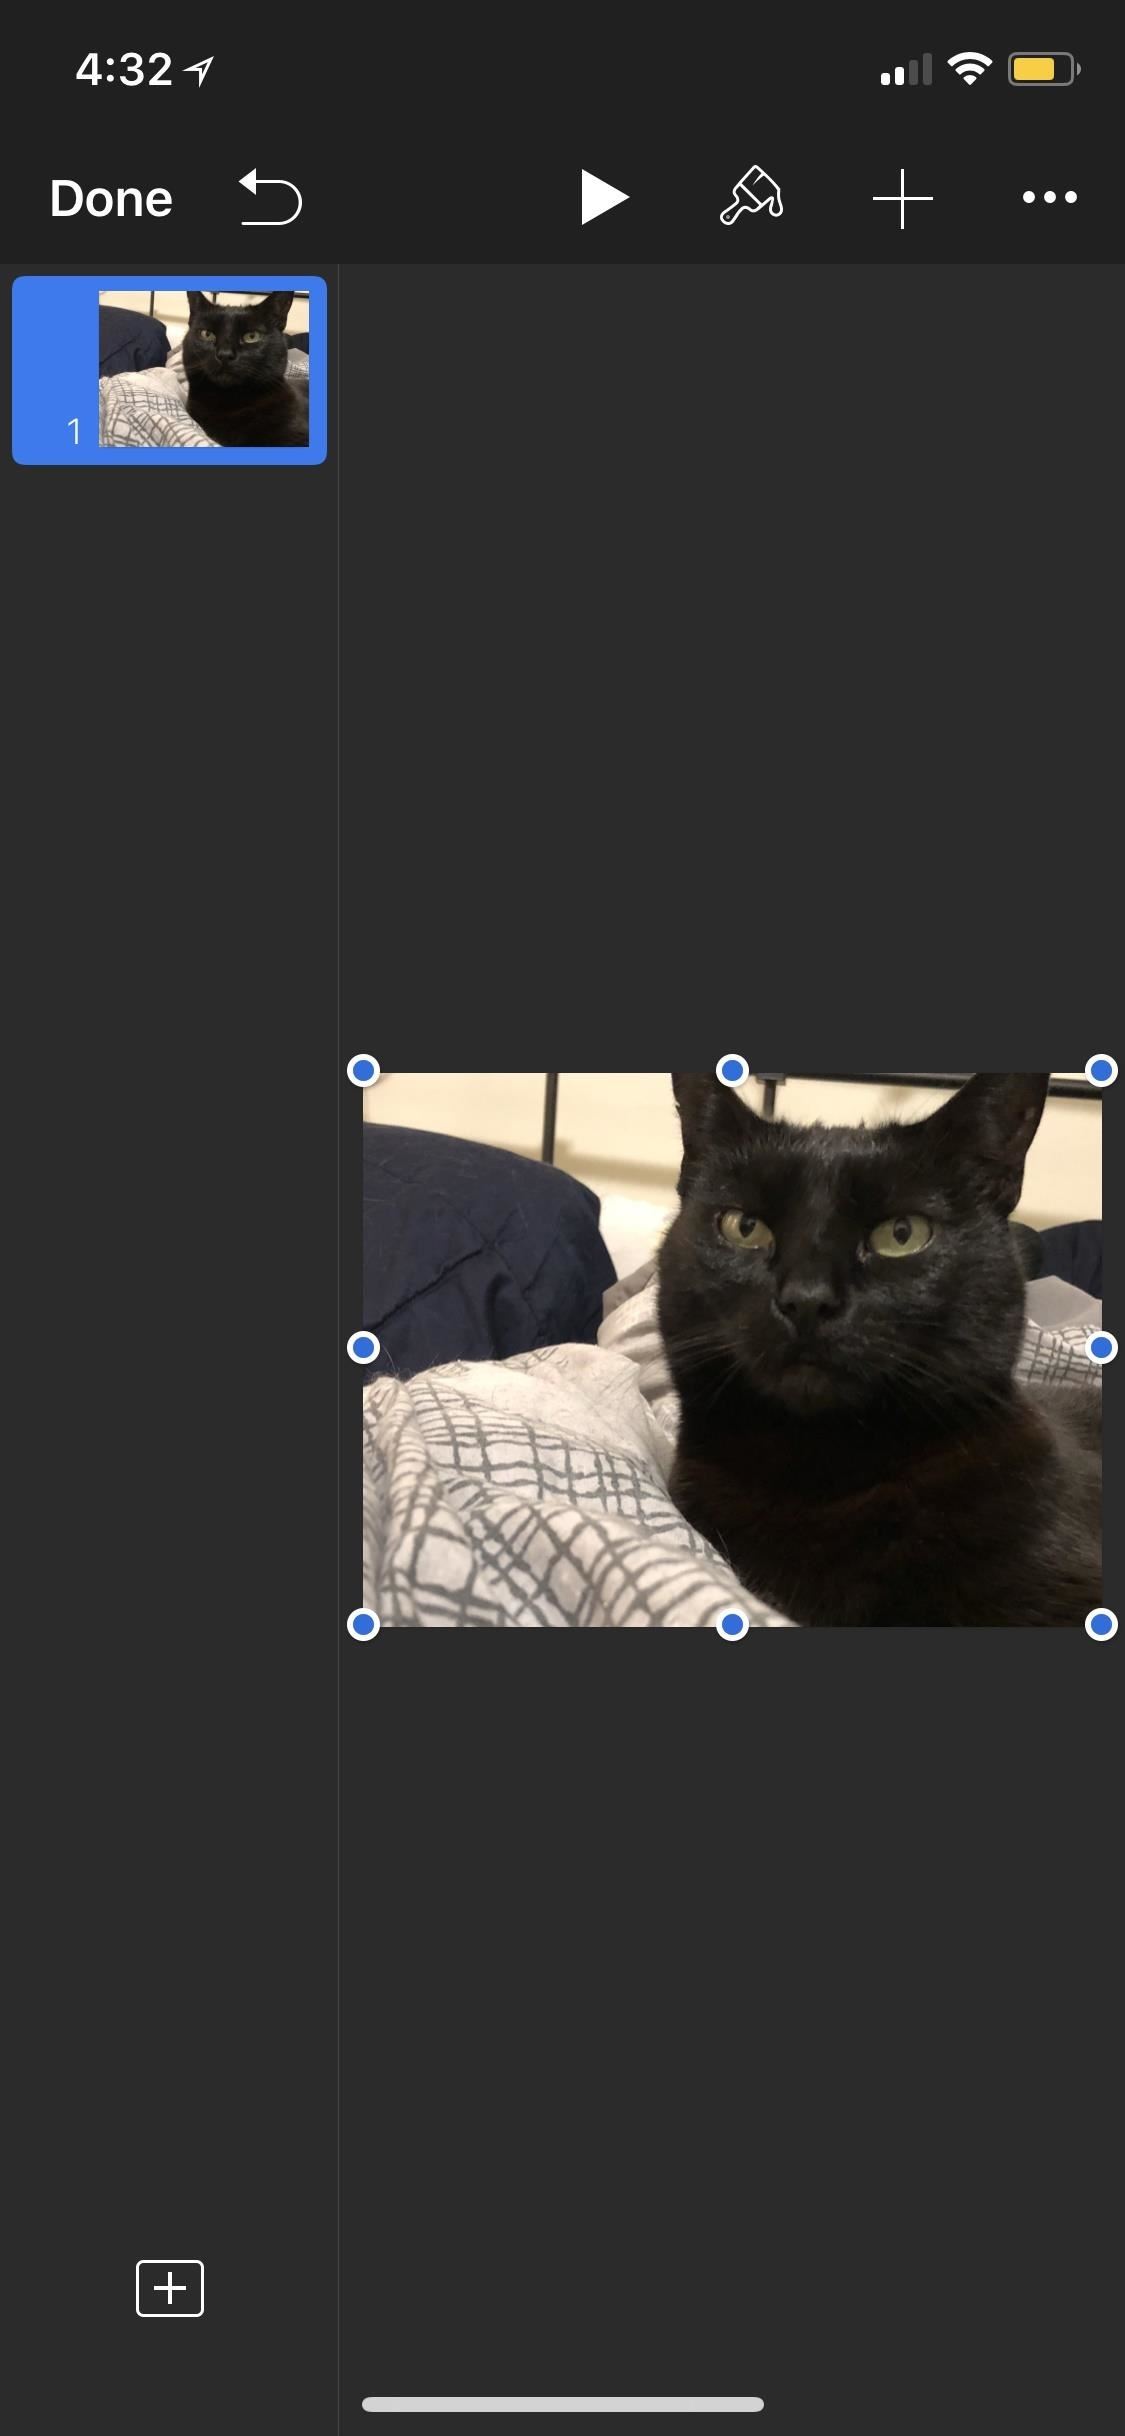
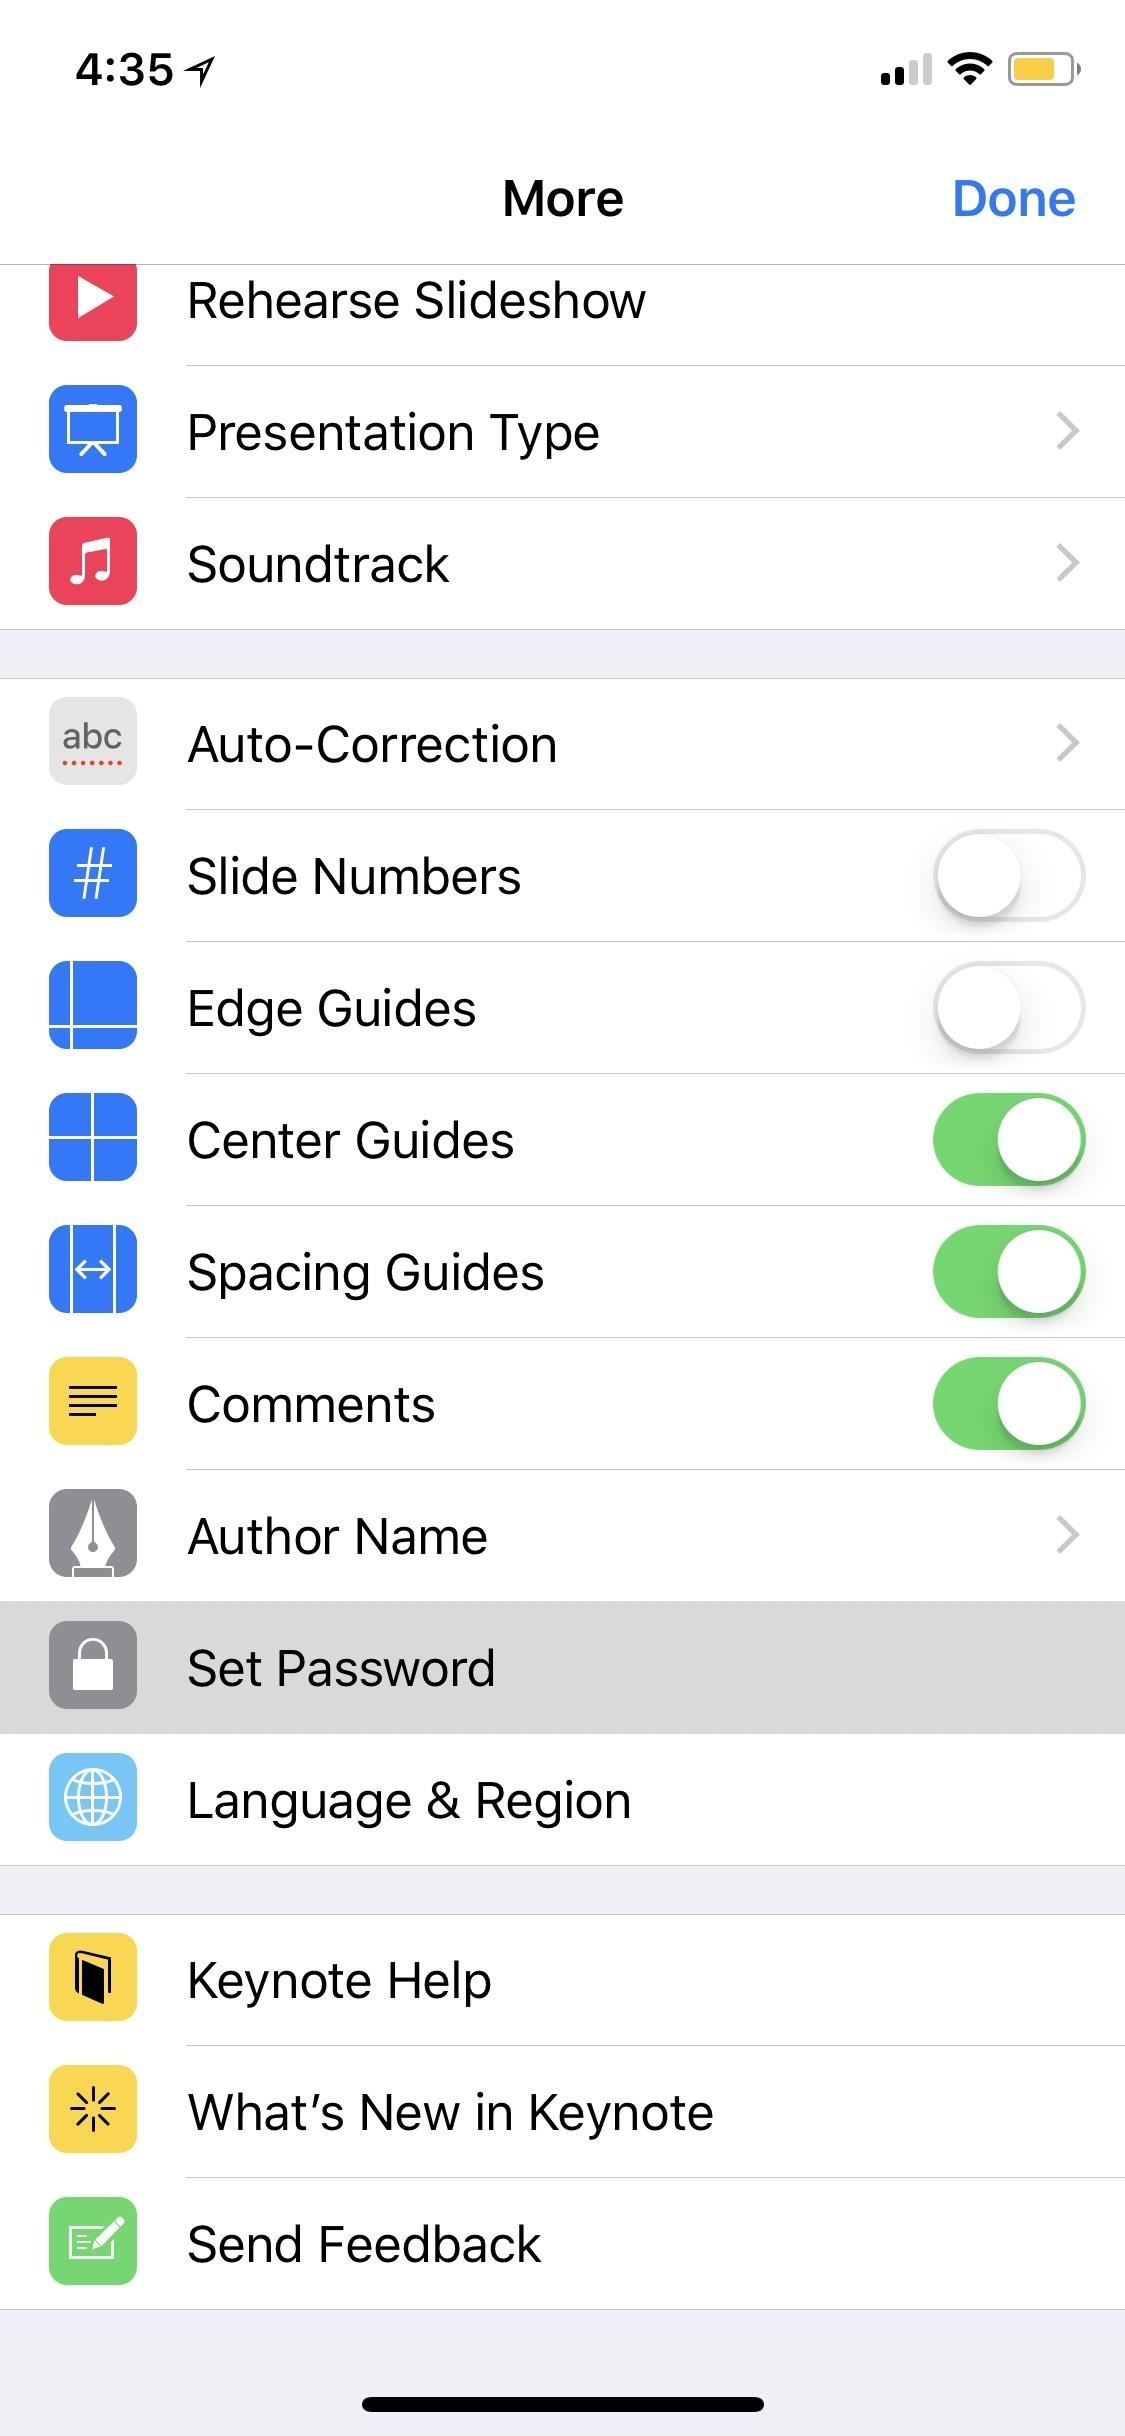
If you're okay with loss of quality, then you'll have to import the media into your Keynote, Numbers, or Pages document using the "+" icon in the document's menu bar. Navigate to and select a photo or video, then tap the ellipsis (...) icon in the menu bar and select "Set Password" from the list. Create your password and hint, if necessary, then hit "Done" to be redirected back to your document. Once you leave the document, you'll need to enter the password set in order to access it.
Then, just go to your Photos app, delete the photos and/or videos you saved in a document, then empty the trash to make sure they are gone for good.

Option 4: Use a Third-Party Locker App
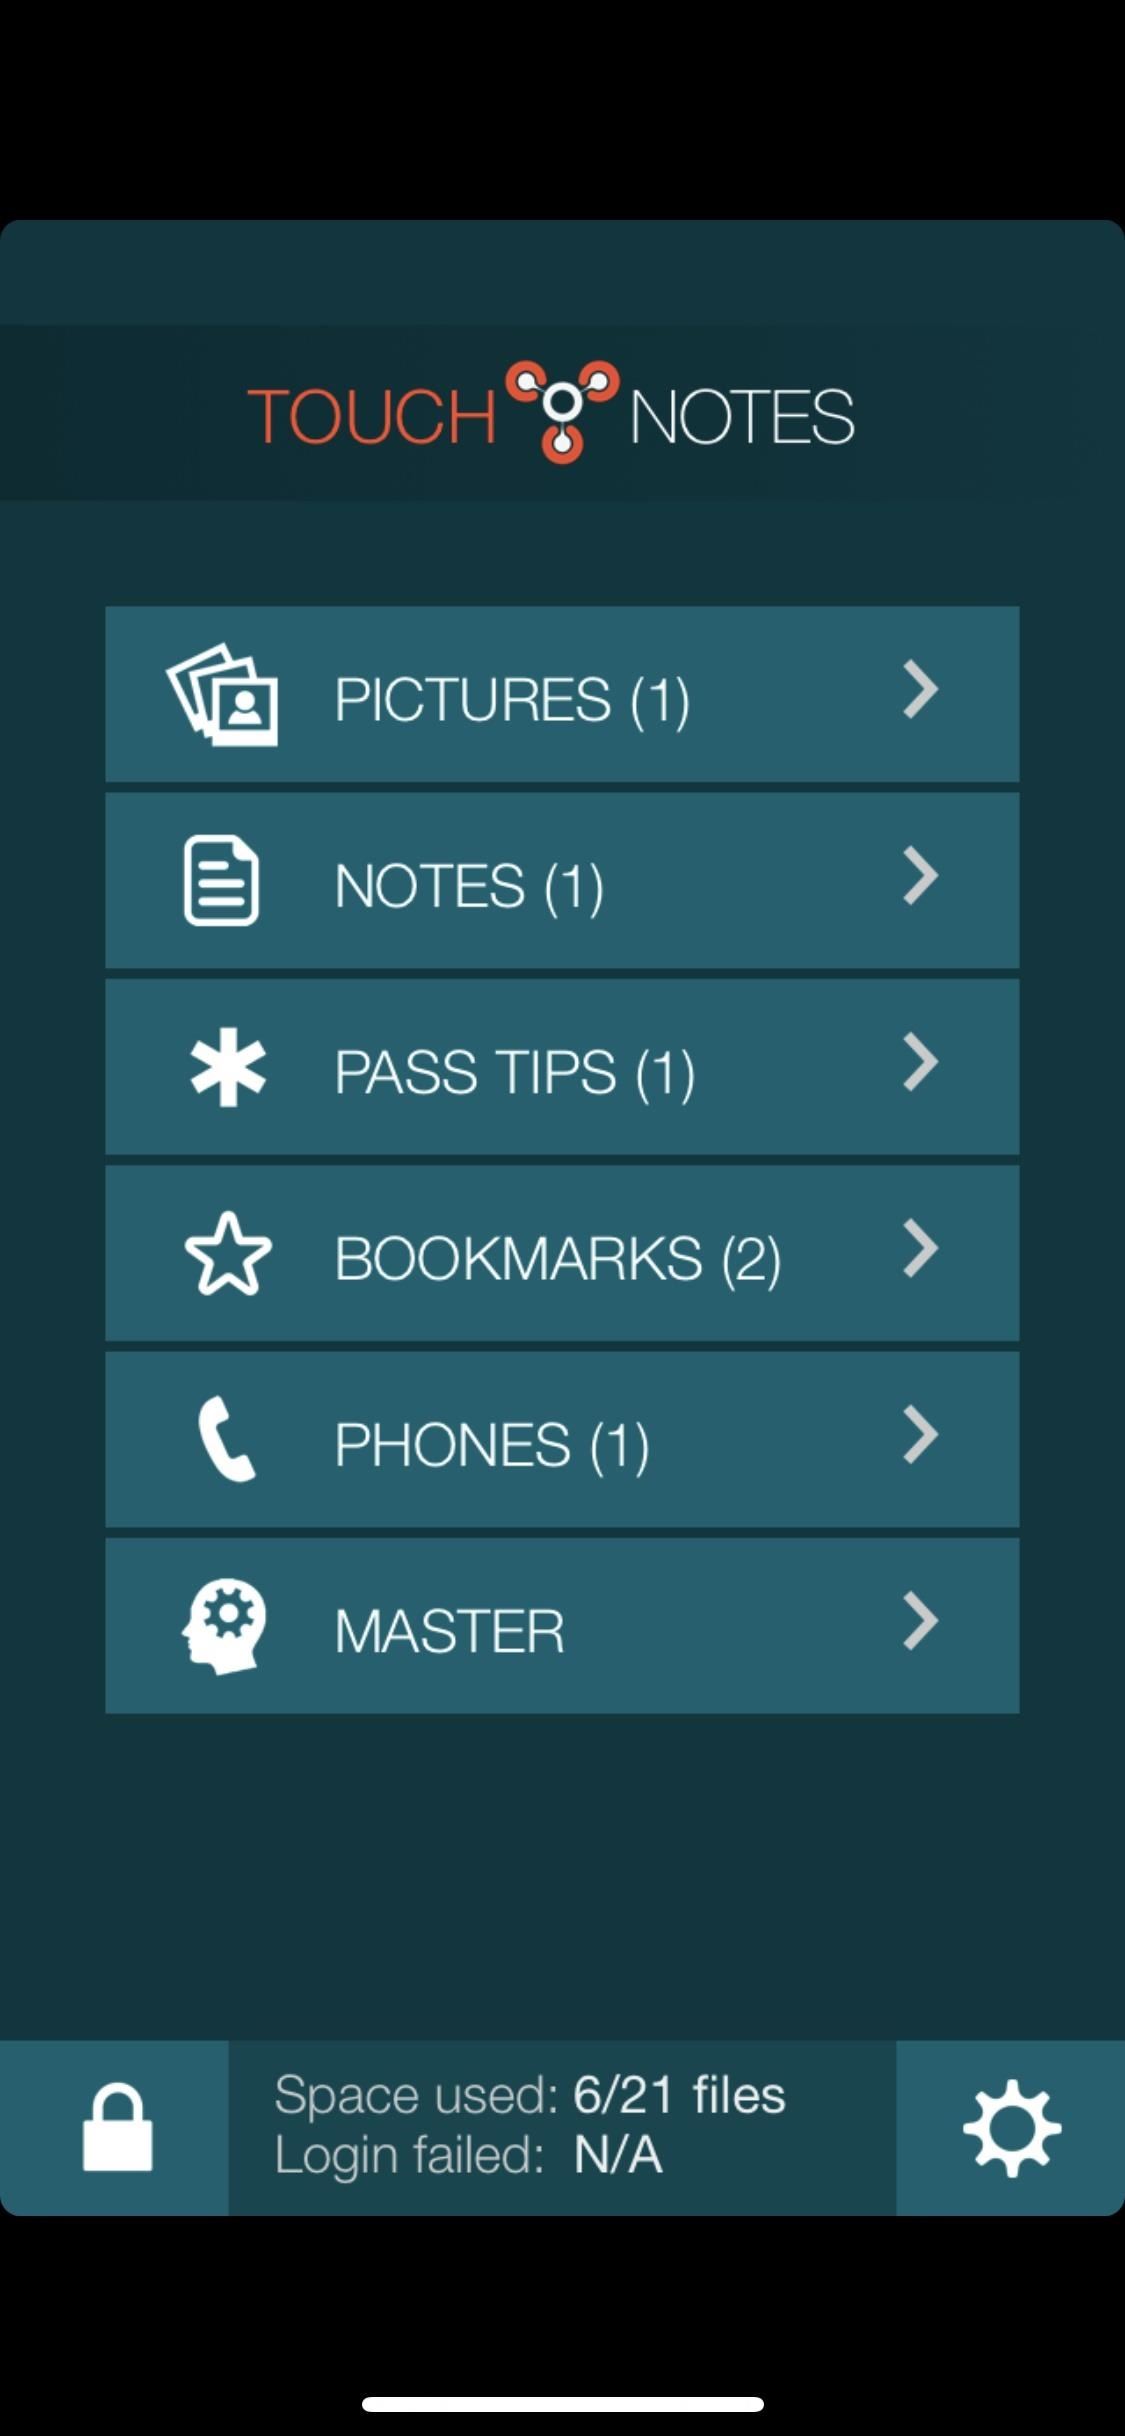
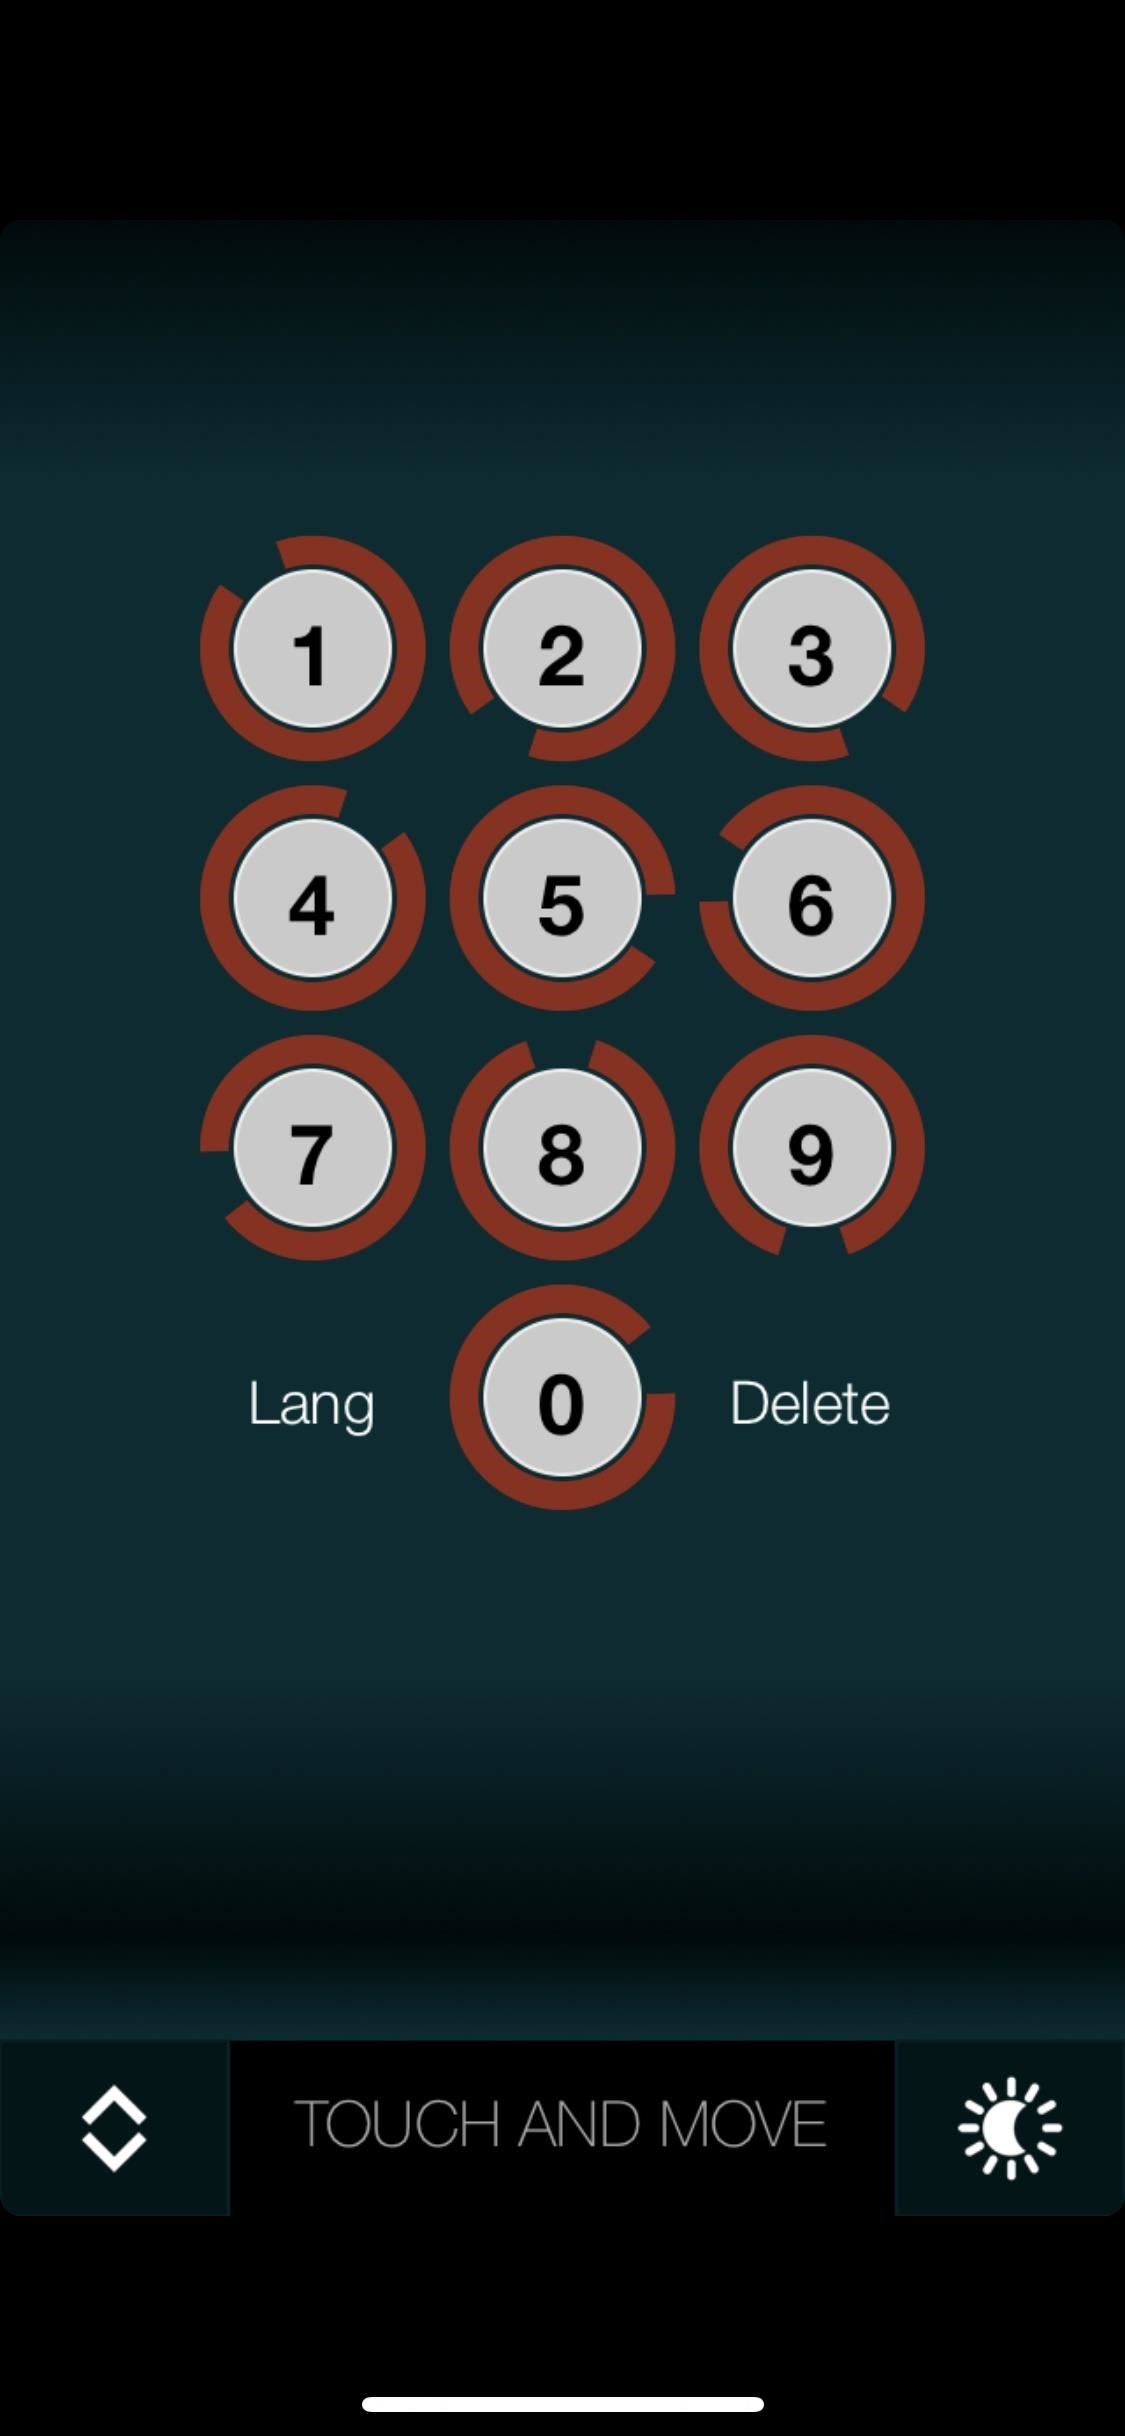
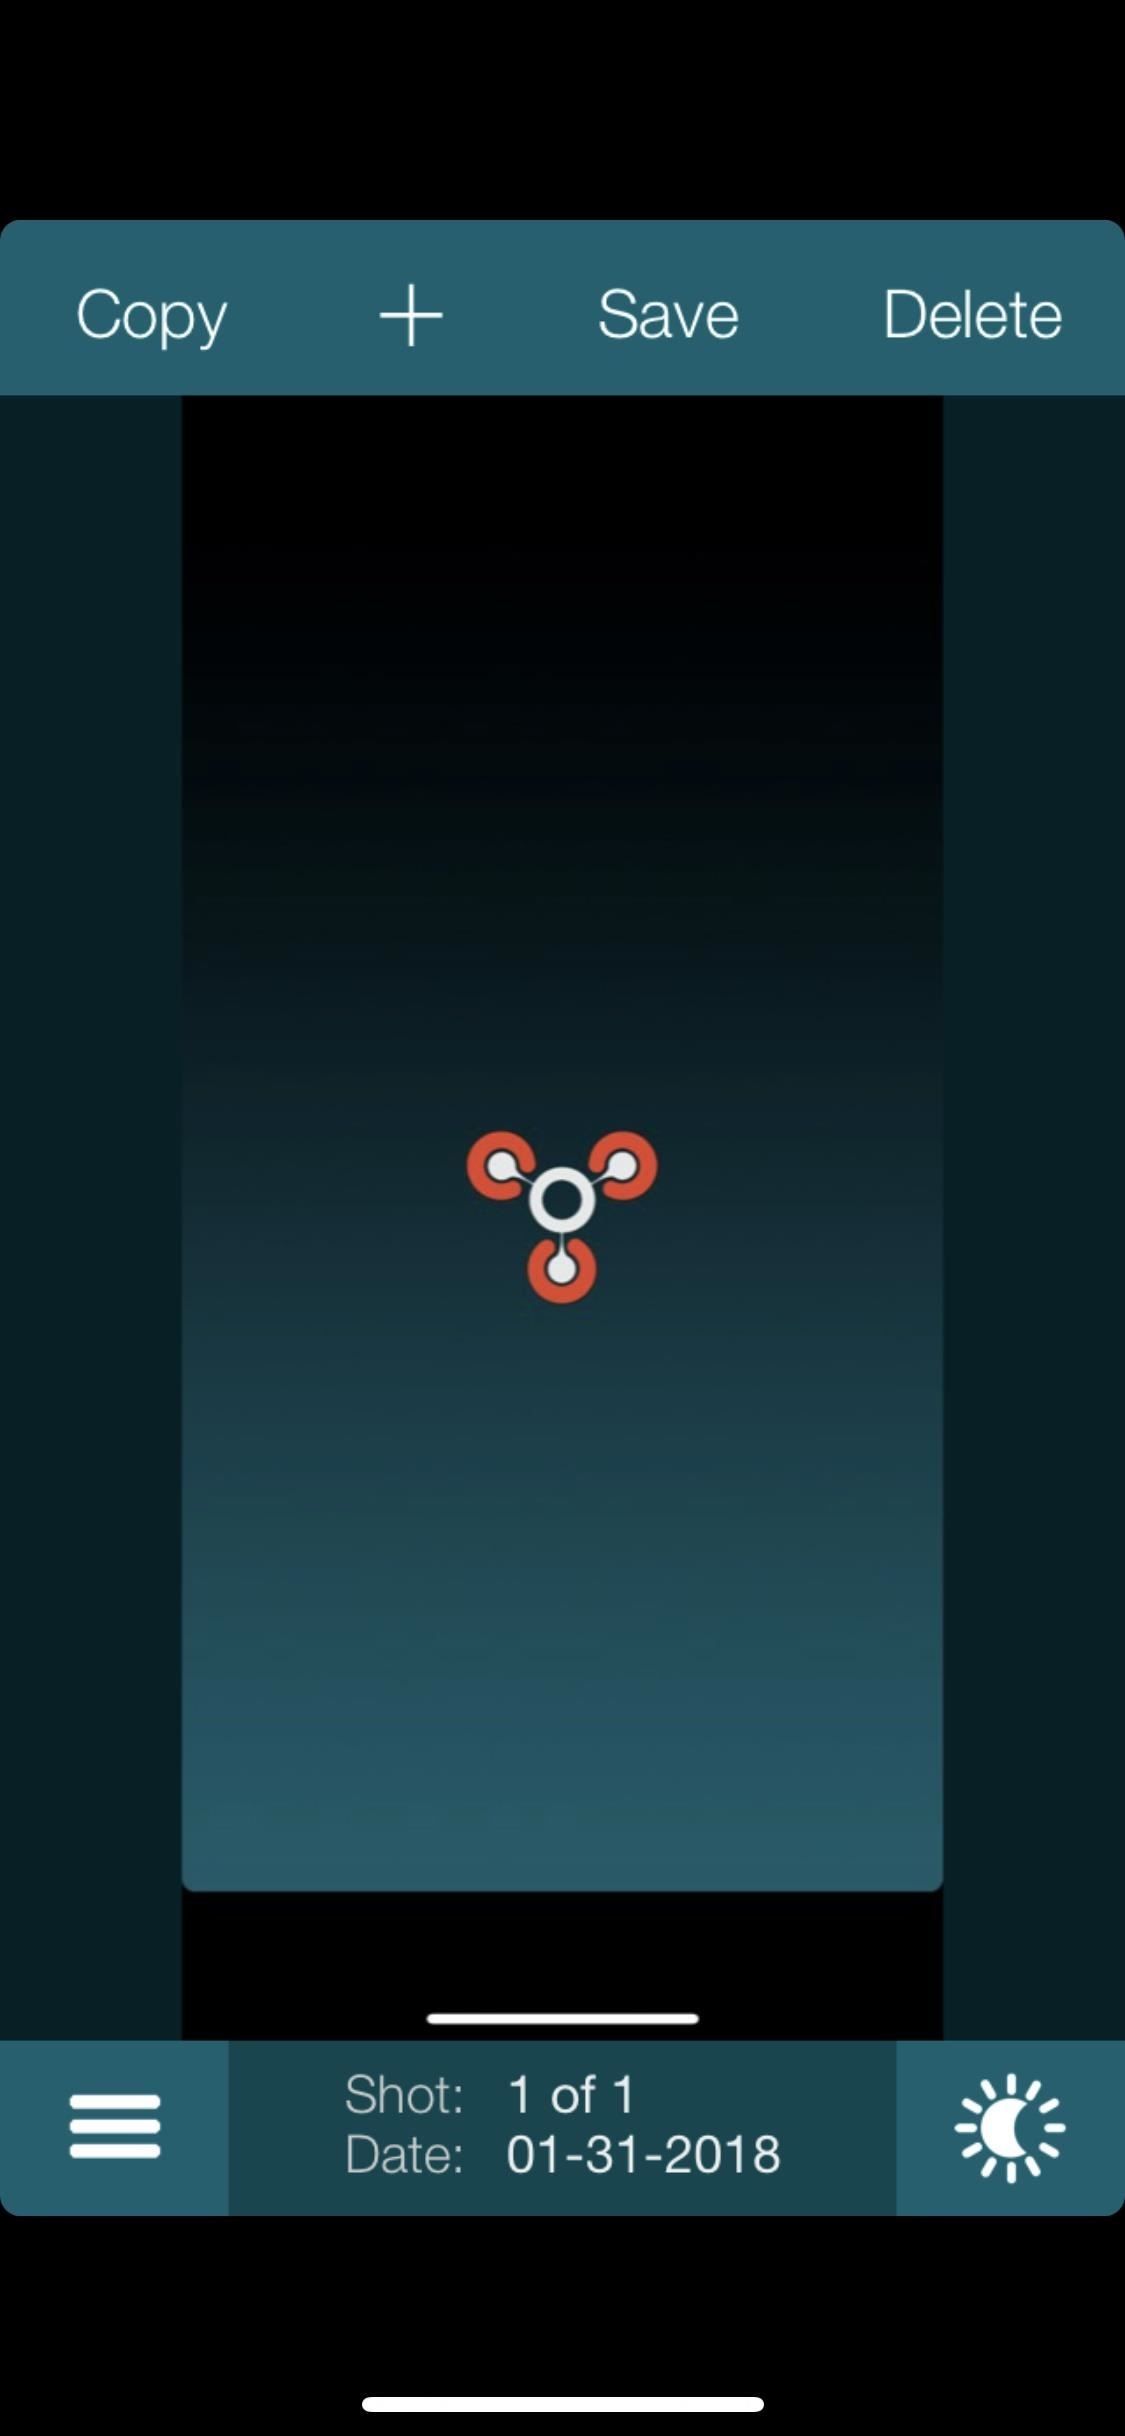
Yes, using Apple's own ways to hide photos and videos on your iPhone may be more work than you want, but they get the job done. However, so do a variety of third-party apps in the App Store. TouchyNotes (free), Folder Lock (free), Secure Gallery & Password Vault (free), Keeply (free), and Private Photo Vault (free or $3.99) are all good options you can start testing out today.
You'll still likely need to delete the media from the Photos app, as well as empty the trash, but now you have more secure options for keeping your media private. For instance, TouchyNotes (seen below) makes it so you can input your passcode right in front of people without them figuring out the passcode.
Just updated your iPhone? You'll find new emoji, enhanced security, podcast transcripts, Apple Cash virtual numbers, and other useful features. There are even new additions hidden within Safari. Find out what's new and changed on your iPhone with the iOS 17.4 update.


2 Comments
KeepSafe is another good app to hide photos on iPhone.
KeepSafe used but not impressed, frequent bugs.
Share Your Thoughts