

A VPN service is almost an essential these days. Good ones can block ads, prevent tracking cookies, encrypt your internet traffic for better security, and even spoof your device's location to bypass geo-restrictions — all things you should be concerned about in the age of NSA snooping and Facebook data mining.
But most of the good VPN services charge a monthly subscription or at least a one-time installation fee. Plus, one of the best free options, Opera VPN, is shutting down its service for iPhones starting April 30, 2018.
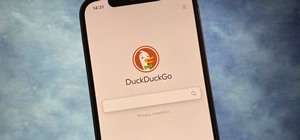
For these reasons, we now recommend a VPN service called Windscribe. It might not have the name recognition of Opera VPN, but the company is very active in the internet community, and they don't keep any permanent logs of your traffic. They even offer up to 10 GB of VPN-protected traffic per month completely free. It's incredibly easy to install and set up, and it's got all the features you need out of a VPN.
Step 1: Install Windscribe
To start, head to the App Store and search for "Windscribe VPN," then install the app. Alternatively, use the link below to jump straight to the installation page.
Step 2: Create an Account & Verify Your Email
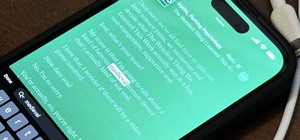
When you first open Windscribe, you'll be prompted to either log in or create a new account with the service. If this is your first time using Windscribe, tap "Create Account," then select the 10GB tab on the following screen. From there, enter any user name you'd like in addition to a password, then make sure to use a valid email address in the Email field.

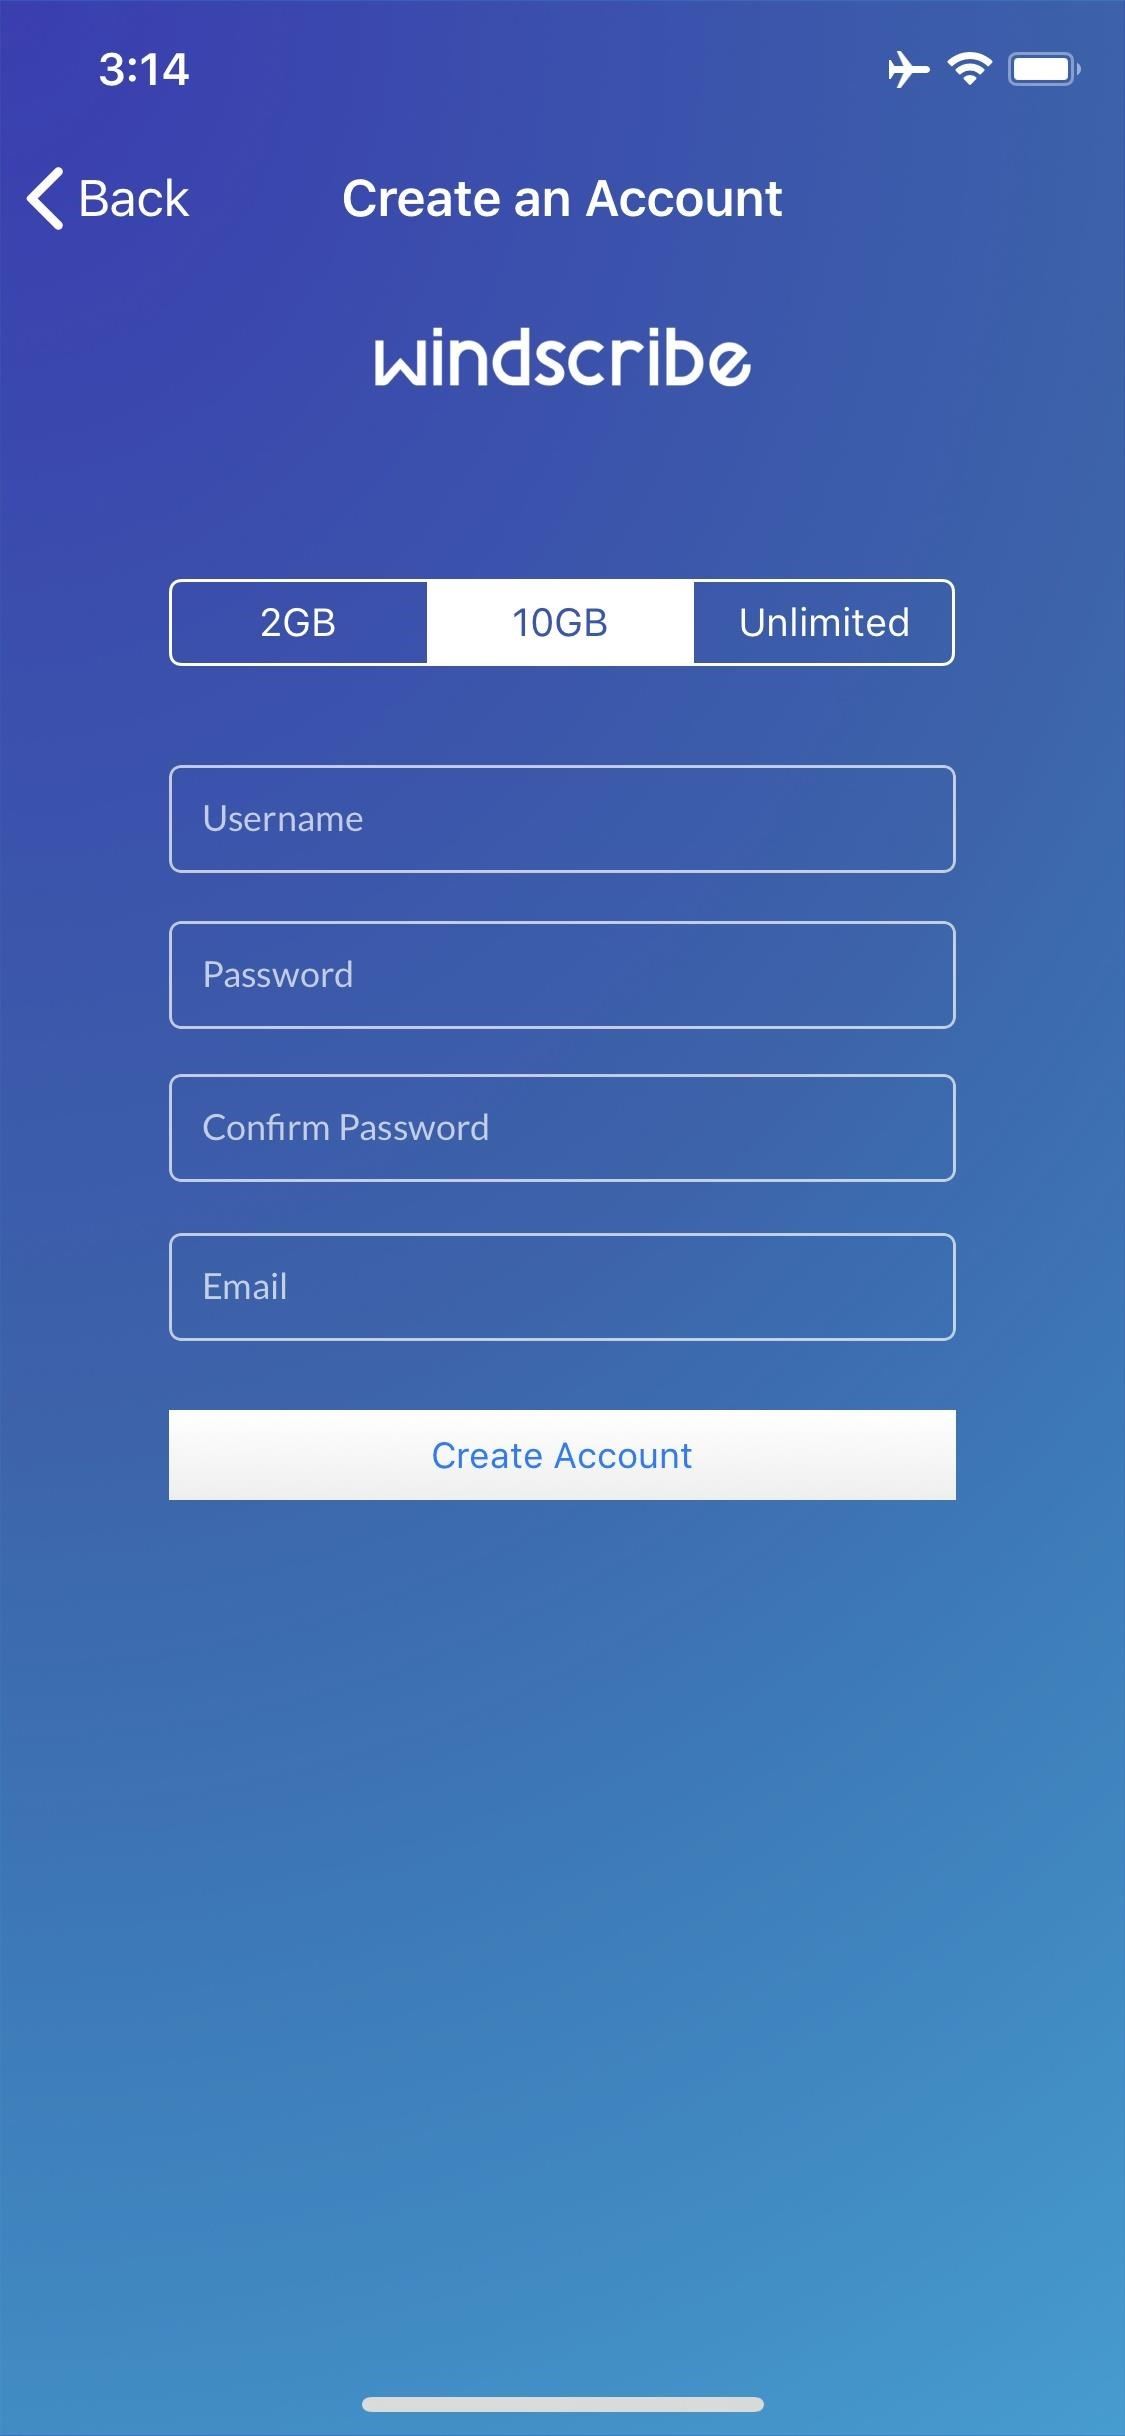
Immediately after creating the account, switch over to your favorite email app. Windscribe will have sent you a confirmation email, so tap the "Confirm" button to finalize setup. Validating your email address like this will give you a huge bump in monthly data allowance — from 2 GB up to 10 GB — and it's still completely free.
Step 3: Let Windscribe Create a VPN
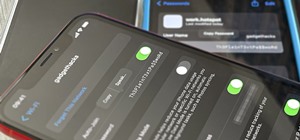
Next, open the Windscribe app again and iOS will ask if you'd like to let the app add a VPN configuration to your phone. Tap "Allow" on this prompt, then enter your passcode.


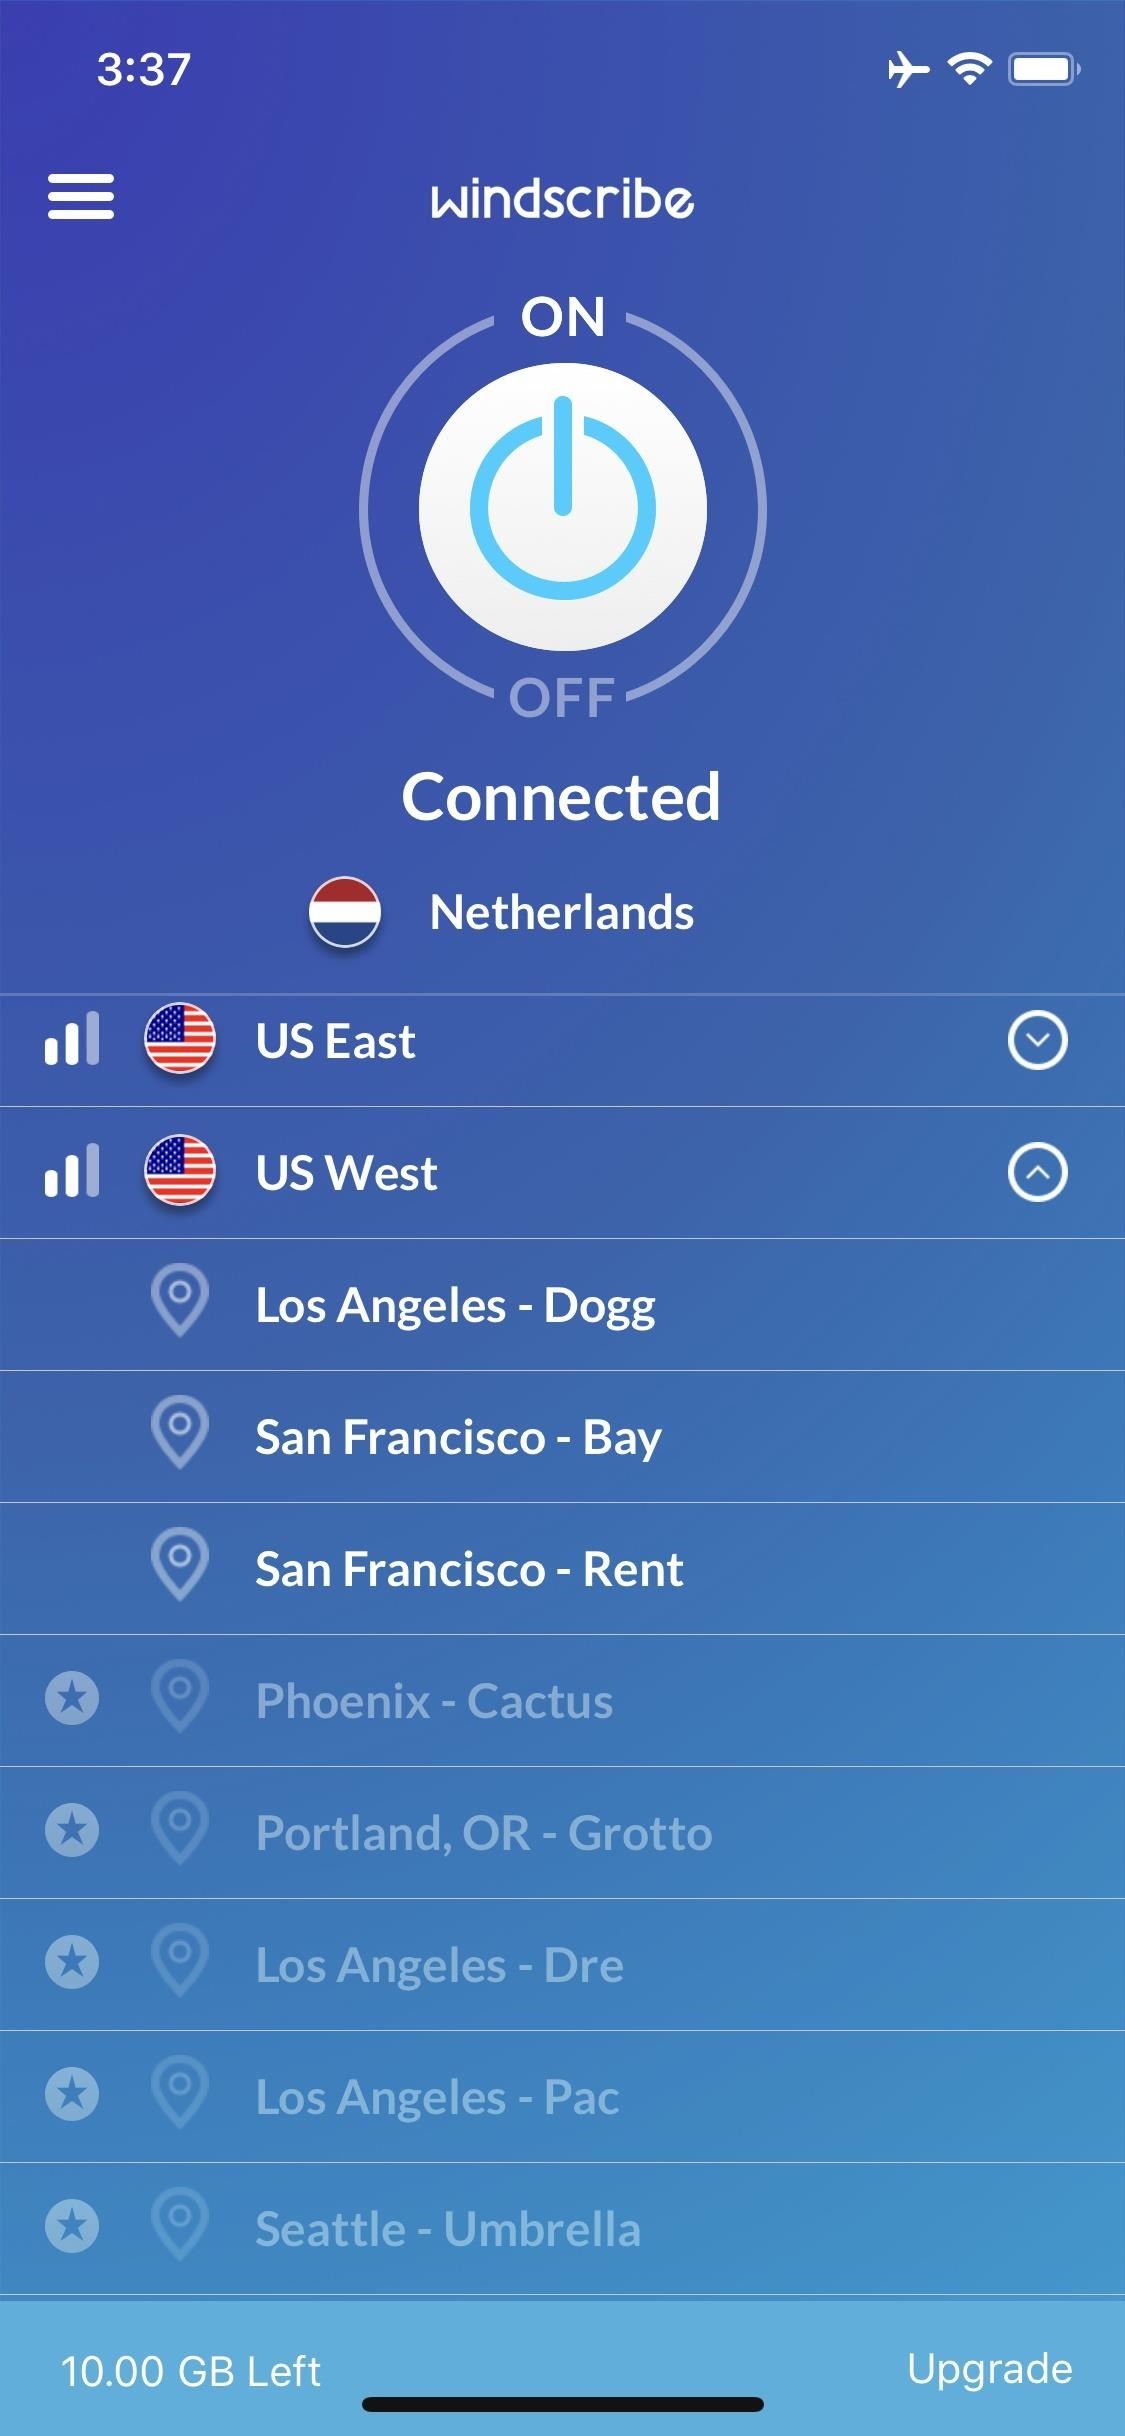
Step 4: Connect to the VPN Service
At this point, you're ready to start using the VPN. By default, "Best Location" will be selected, but you can choose another VPN server if you're trying to bypass geo-restrictions in an app like Netflix. You'll notice that some of the localities are greyed out in the free version, but there are still plenty of choices. You can even tap the down-arrow to the right of a country or location if you'd like to connect to a server in a specific city.
When you select a server location, the VPN service will automatically start. Alternatively, if you left it on the default "Best Location" setting, you can tap the power button icon at the top of the screen to turn the VPN service on or off.

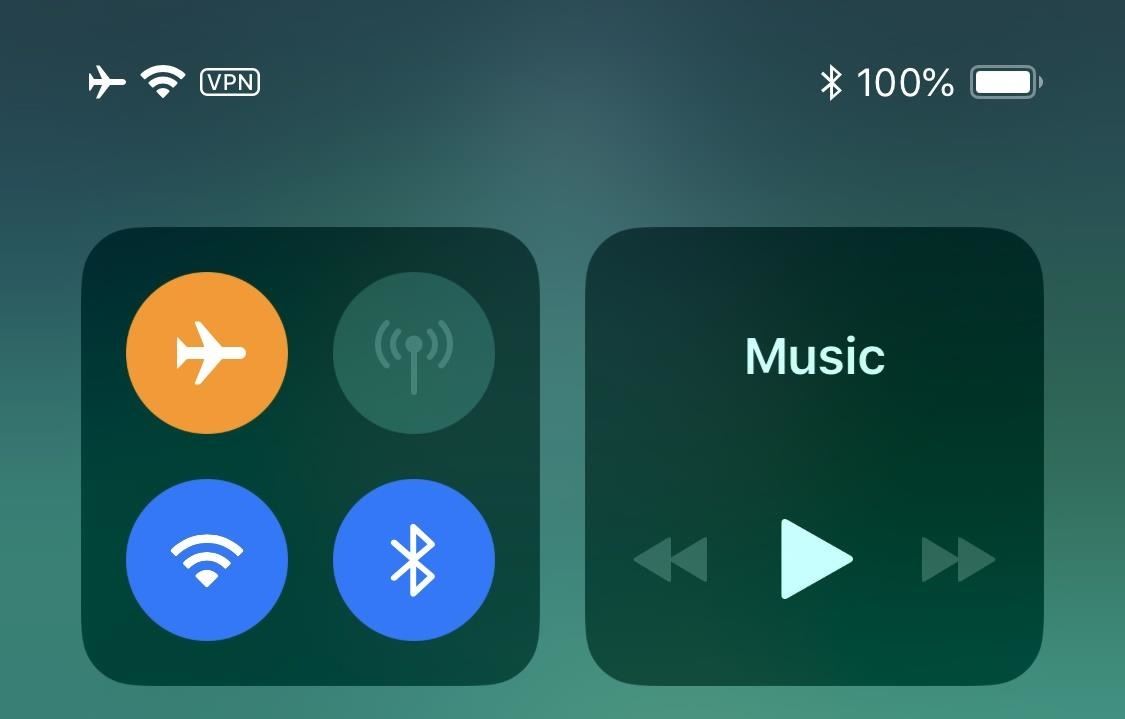
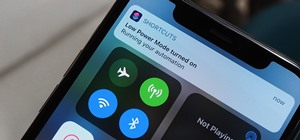
You'll know that the service is active by taking a quick peek at your Control Center — a little "VPN" badge should appear near the top-left corner. While the VPN is active, Windscribe will automatically block ads in all your apps while encrypting traffic — all for free!
Just updated your iPhone? You'll find new emoji, enhanced security, podcast transcripts, Apple Cash virtual numbers, and other useful features. There are even new additions hidden within Safari. Find out what's new and changed on your iPhone with the iOS 17.4 update.


Be the First to Comment
Share Your Thoughts