
Chances are, you just point, shoot, and share photos and videos on your iPhone without a second thought about how your privacy is affected. It's fairly easy to do so since the Camera and Photos apps that Apple provides seem so innocent. But there are a few things you need to know when it comes to shooting media, sharing it, and even deleting it.
All of the tips below are related to other people seeing your photos and videos, whether it's about not wanting them to see certain metadata when sharing content you do want them to look at or just not giving them access to private photos and videos that should remain under lock and key.
It should also go without saying that if you don't want people looking at stuff on your iPhone directly, don't hand them your iPhone, secure it with a strong passcode, and enable Touch ID or Face ID.
Tip 1: Stop Geotagging Your Photos & Videos
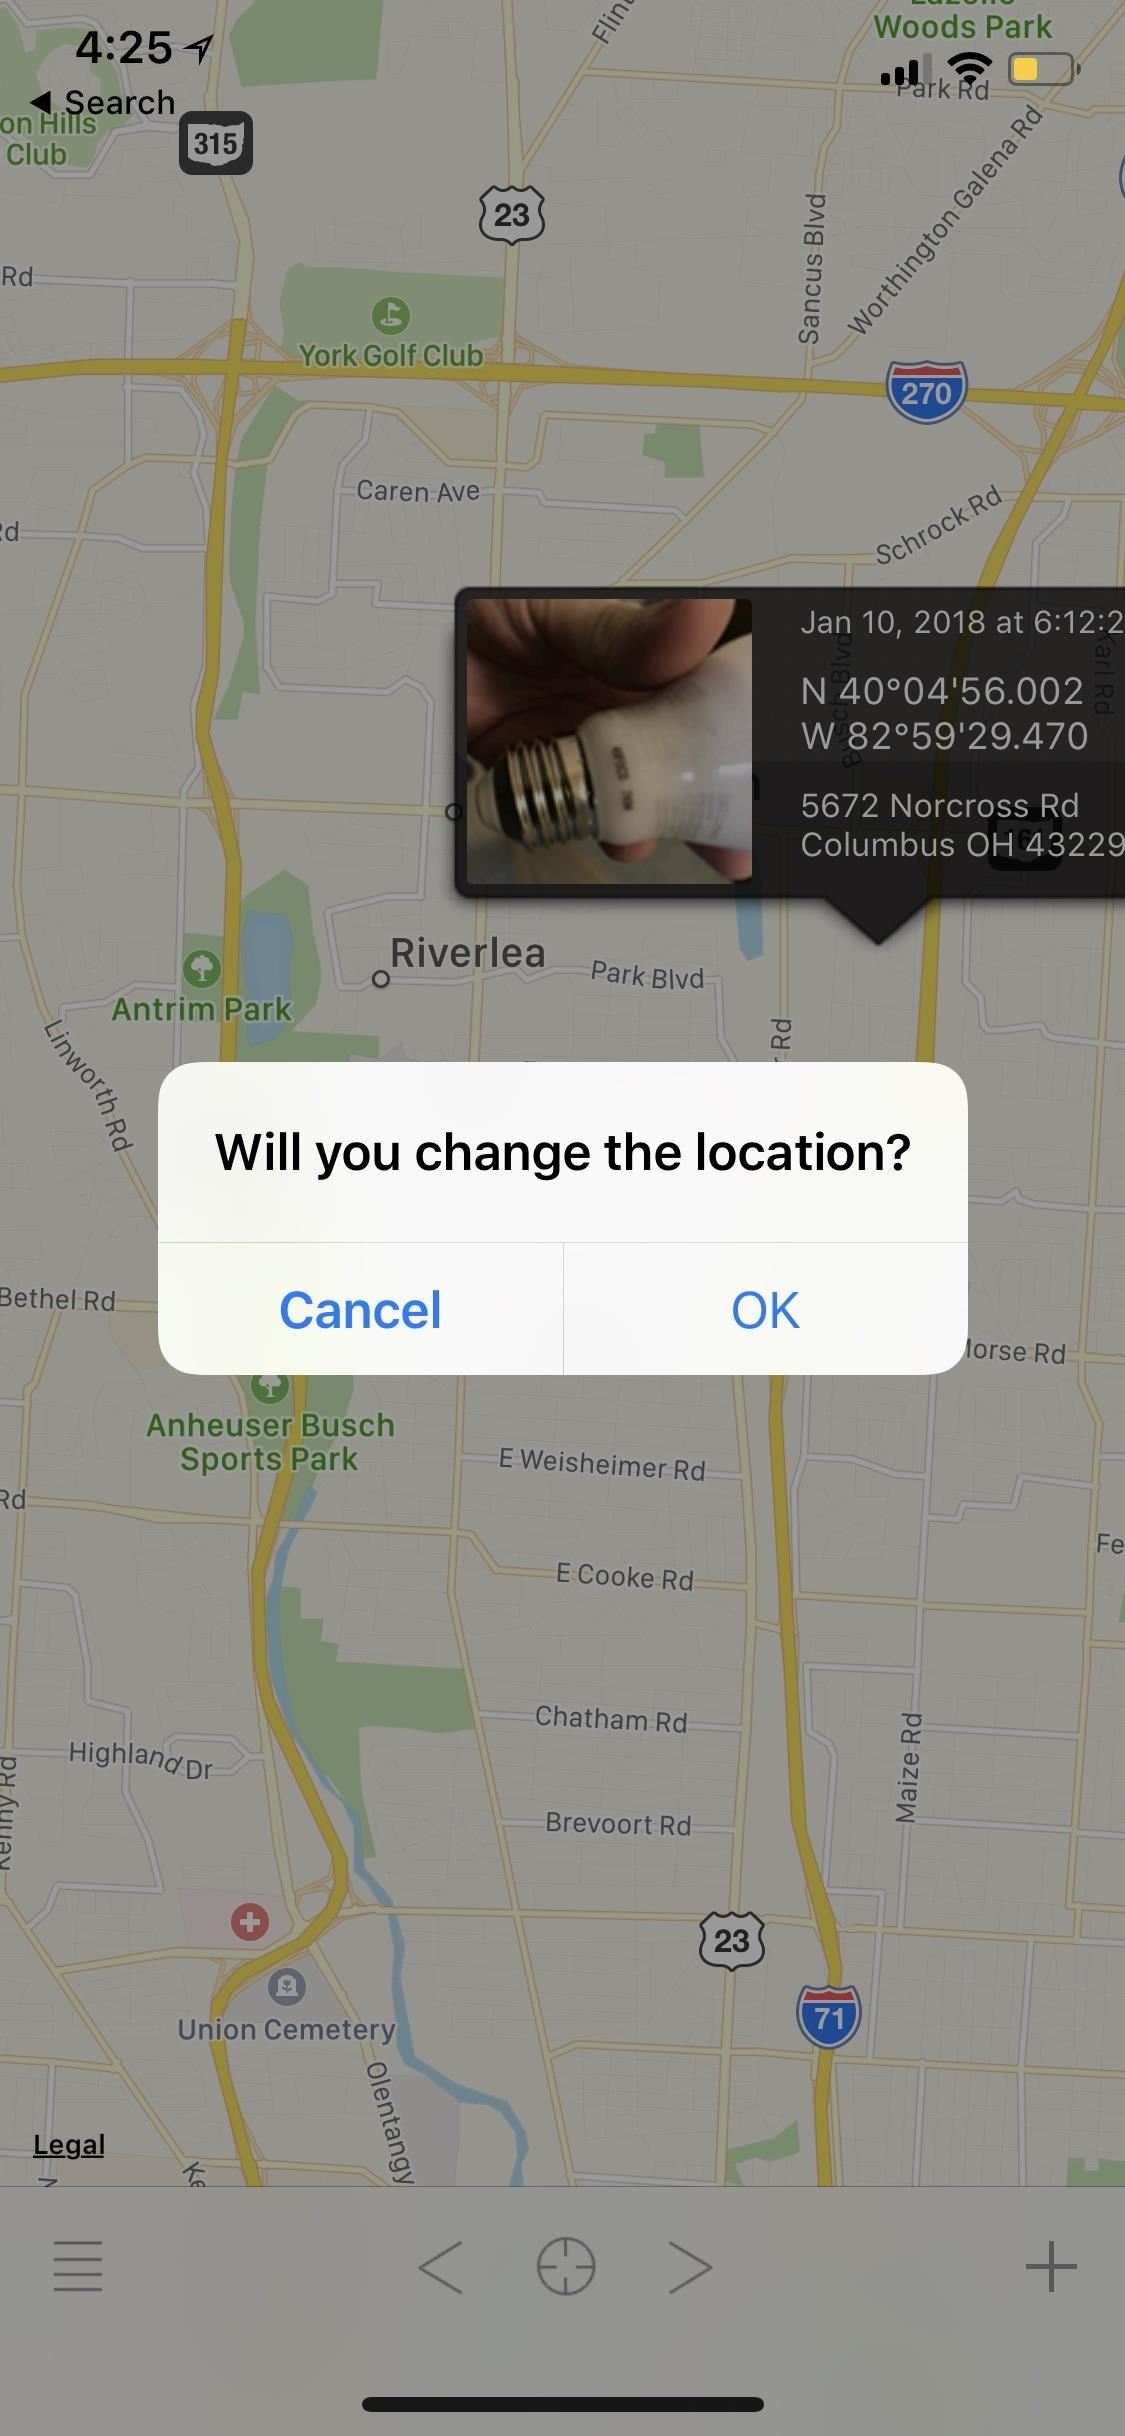
When you take a photo or video, location data is stored in the file, so when you share that photo or video in a text or email, you might as well be telling them where it was taken, too. While geolocation data is usually dumped automatically when sharing to certain social media or hosting sites, that's not always the case.
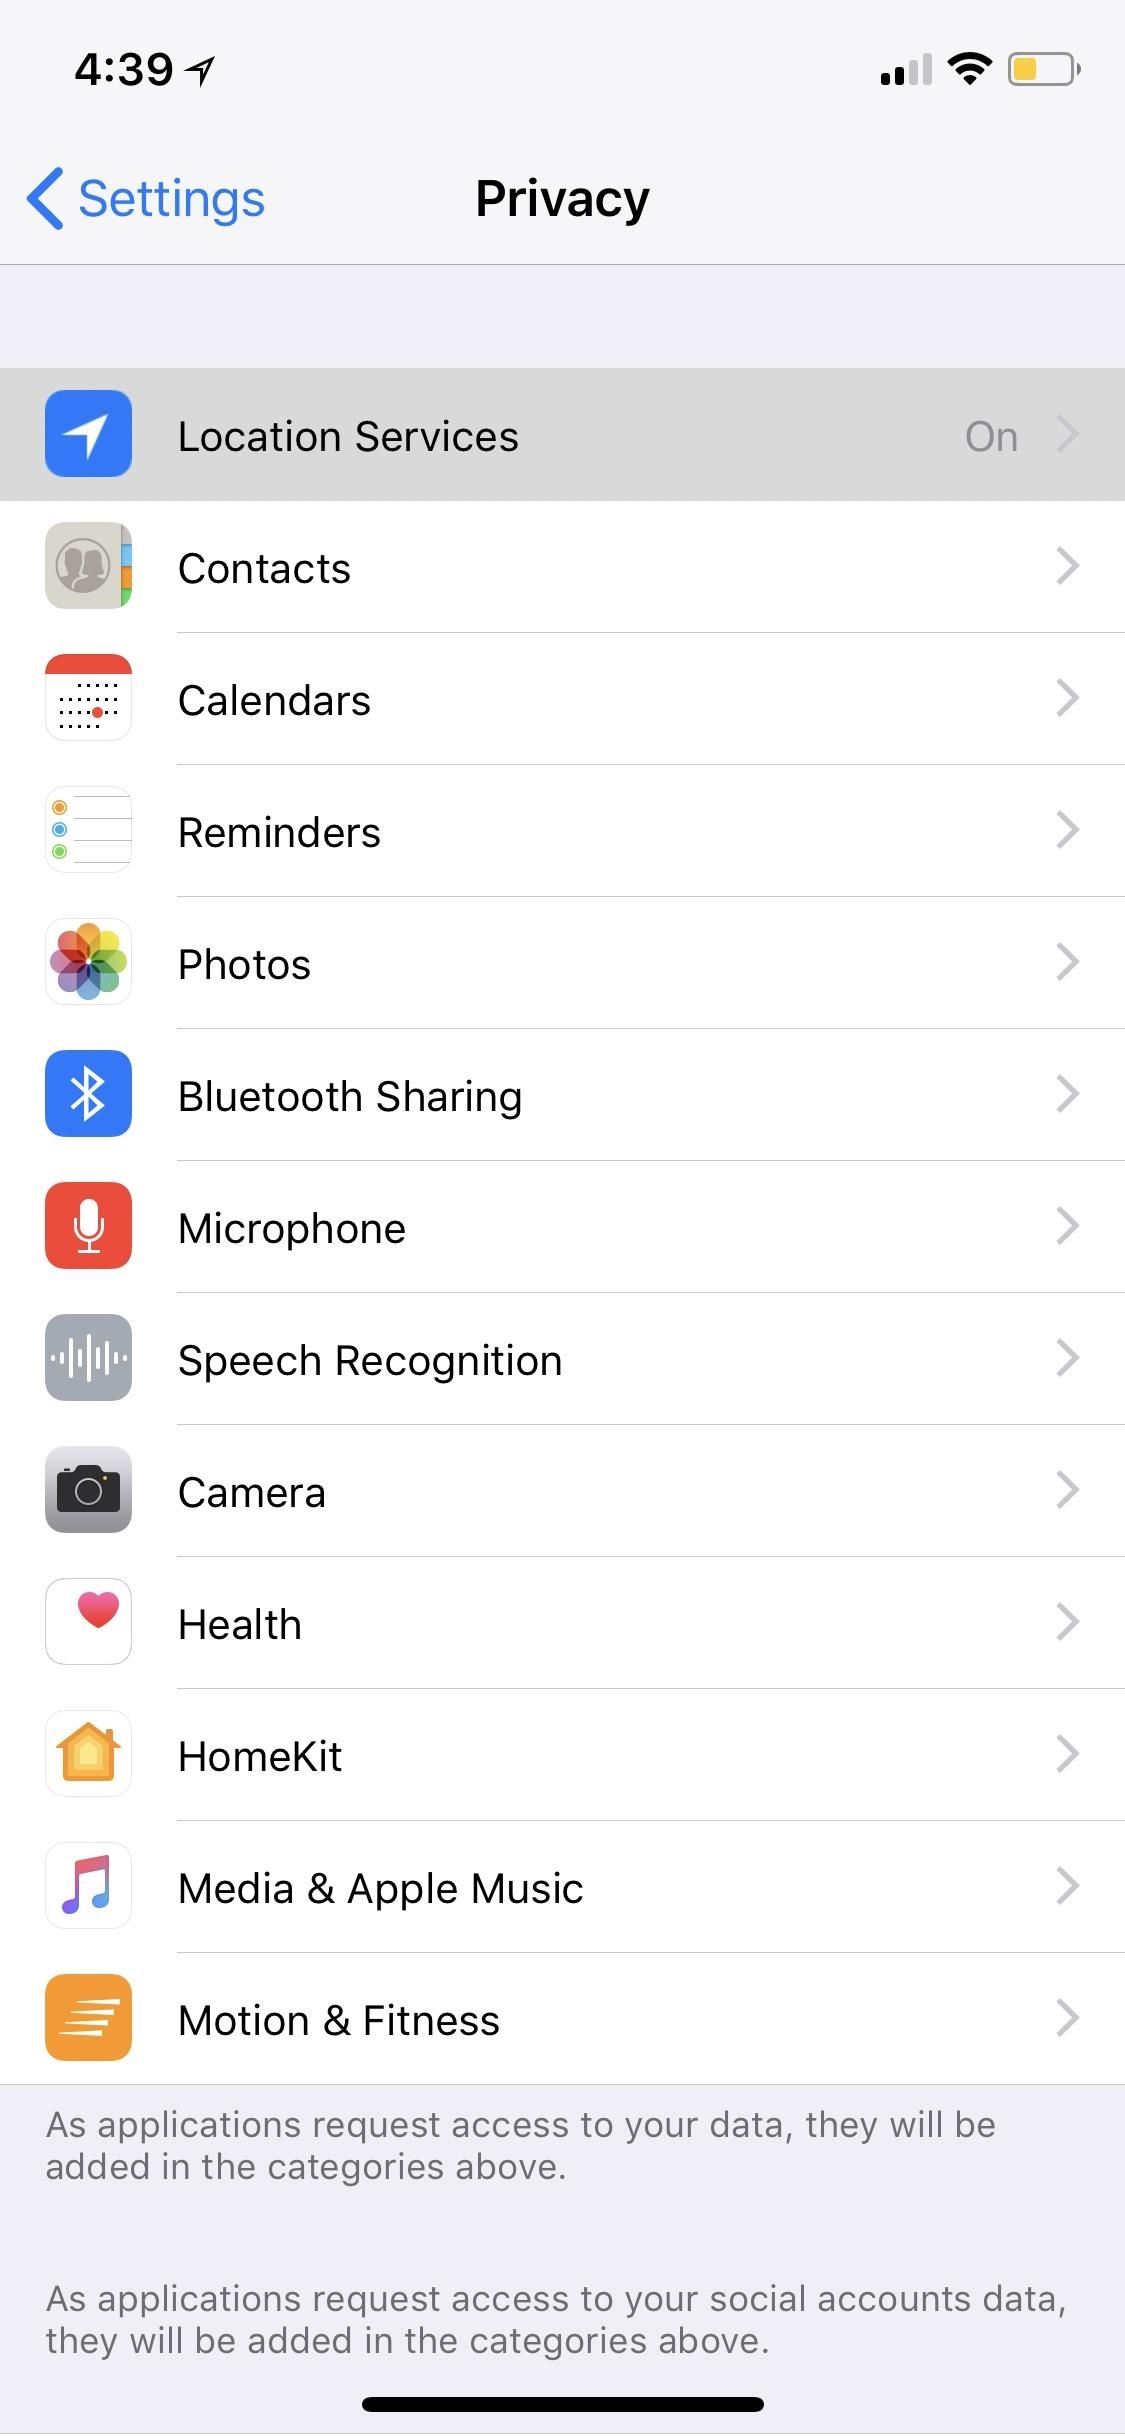
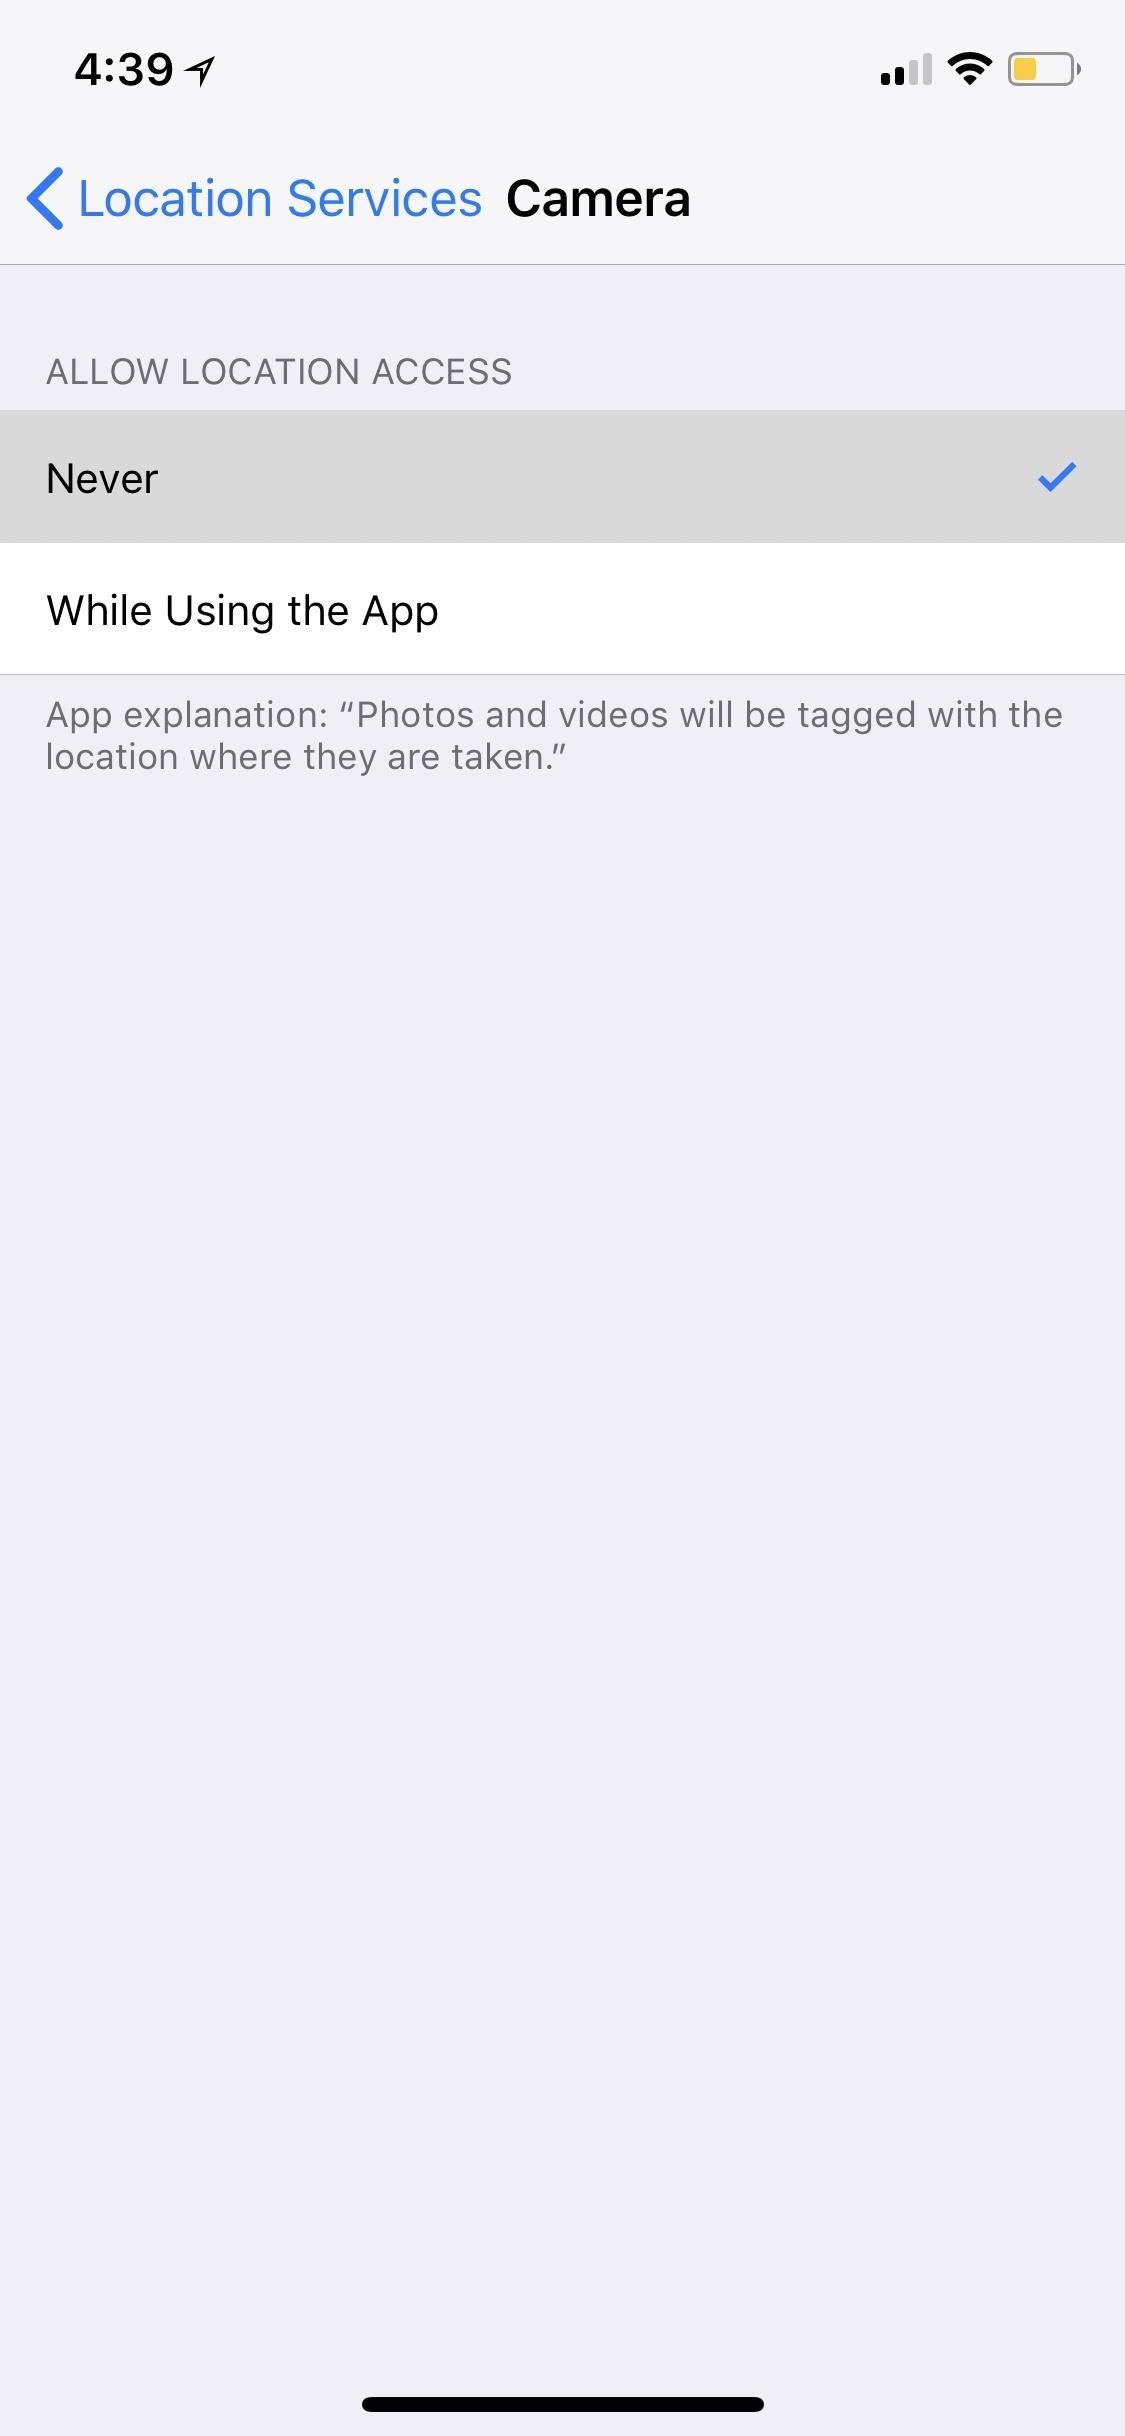
To keep your iPhone from geotagging photos and videos that you take, go to "Privacy" in the Settings app, then select "Location Services" up top. Tap on "Camera" (or a third-party camera app) from the list, and choose "Never." You can also choose the "Photos" app from the list and select "Never" for it, which will prevent Photos from showing you memories around your current location.

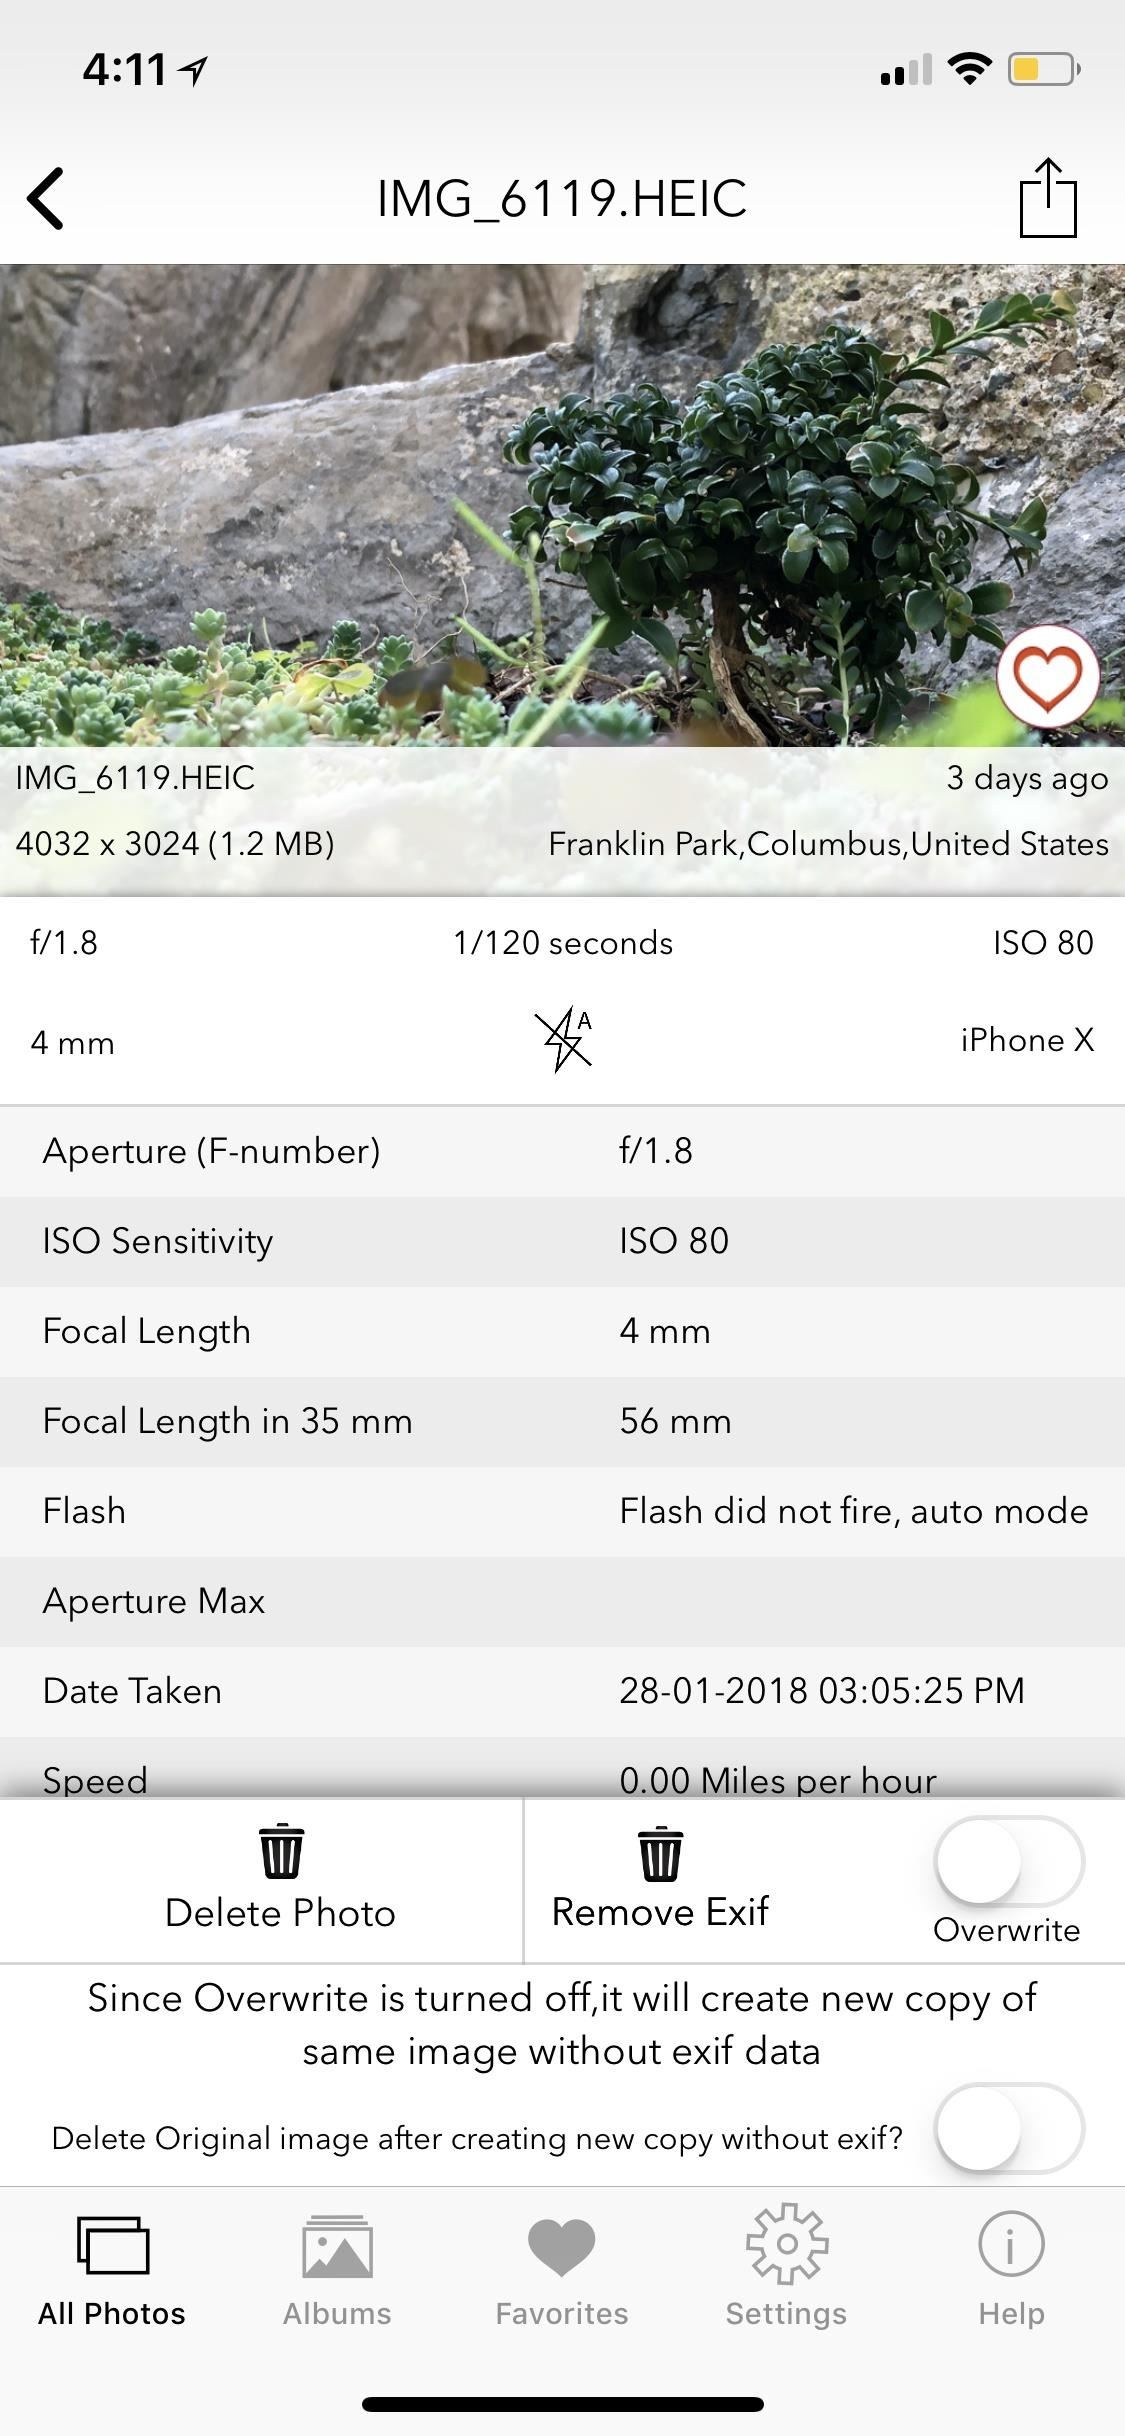
Tip 2: Shred Your EXIF Data Before Sharing
The above tip has its disadvantages, so you may not want to disable location data. Without location data, the Photos app's "Places" album will no longer be useful for new photos and videos, and any new "Collections" won't tell you where they were captured. You also won't be able to search for media by location, and if you selected "Never" for the Photos app, you won't be able to search for nearby spots either.
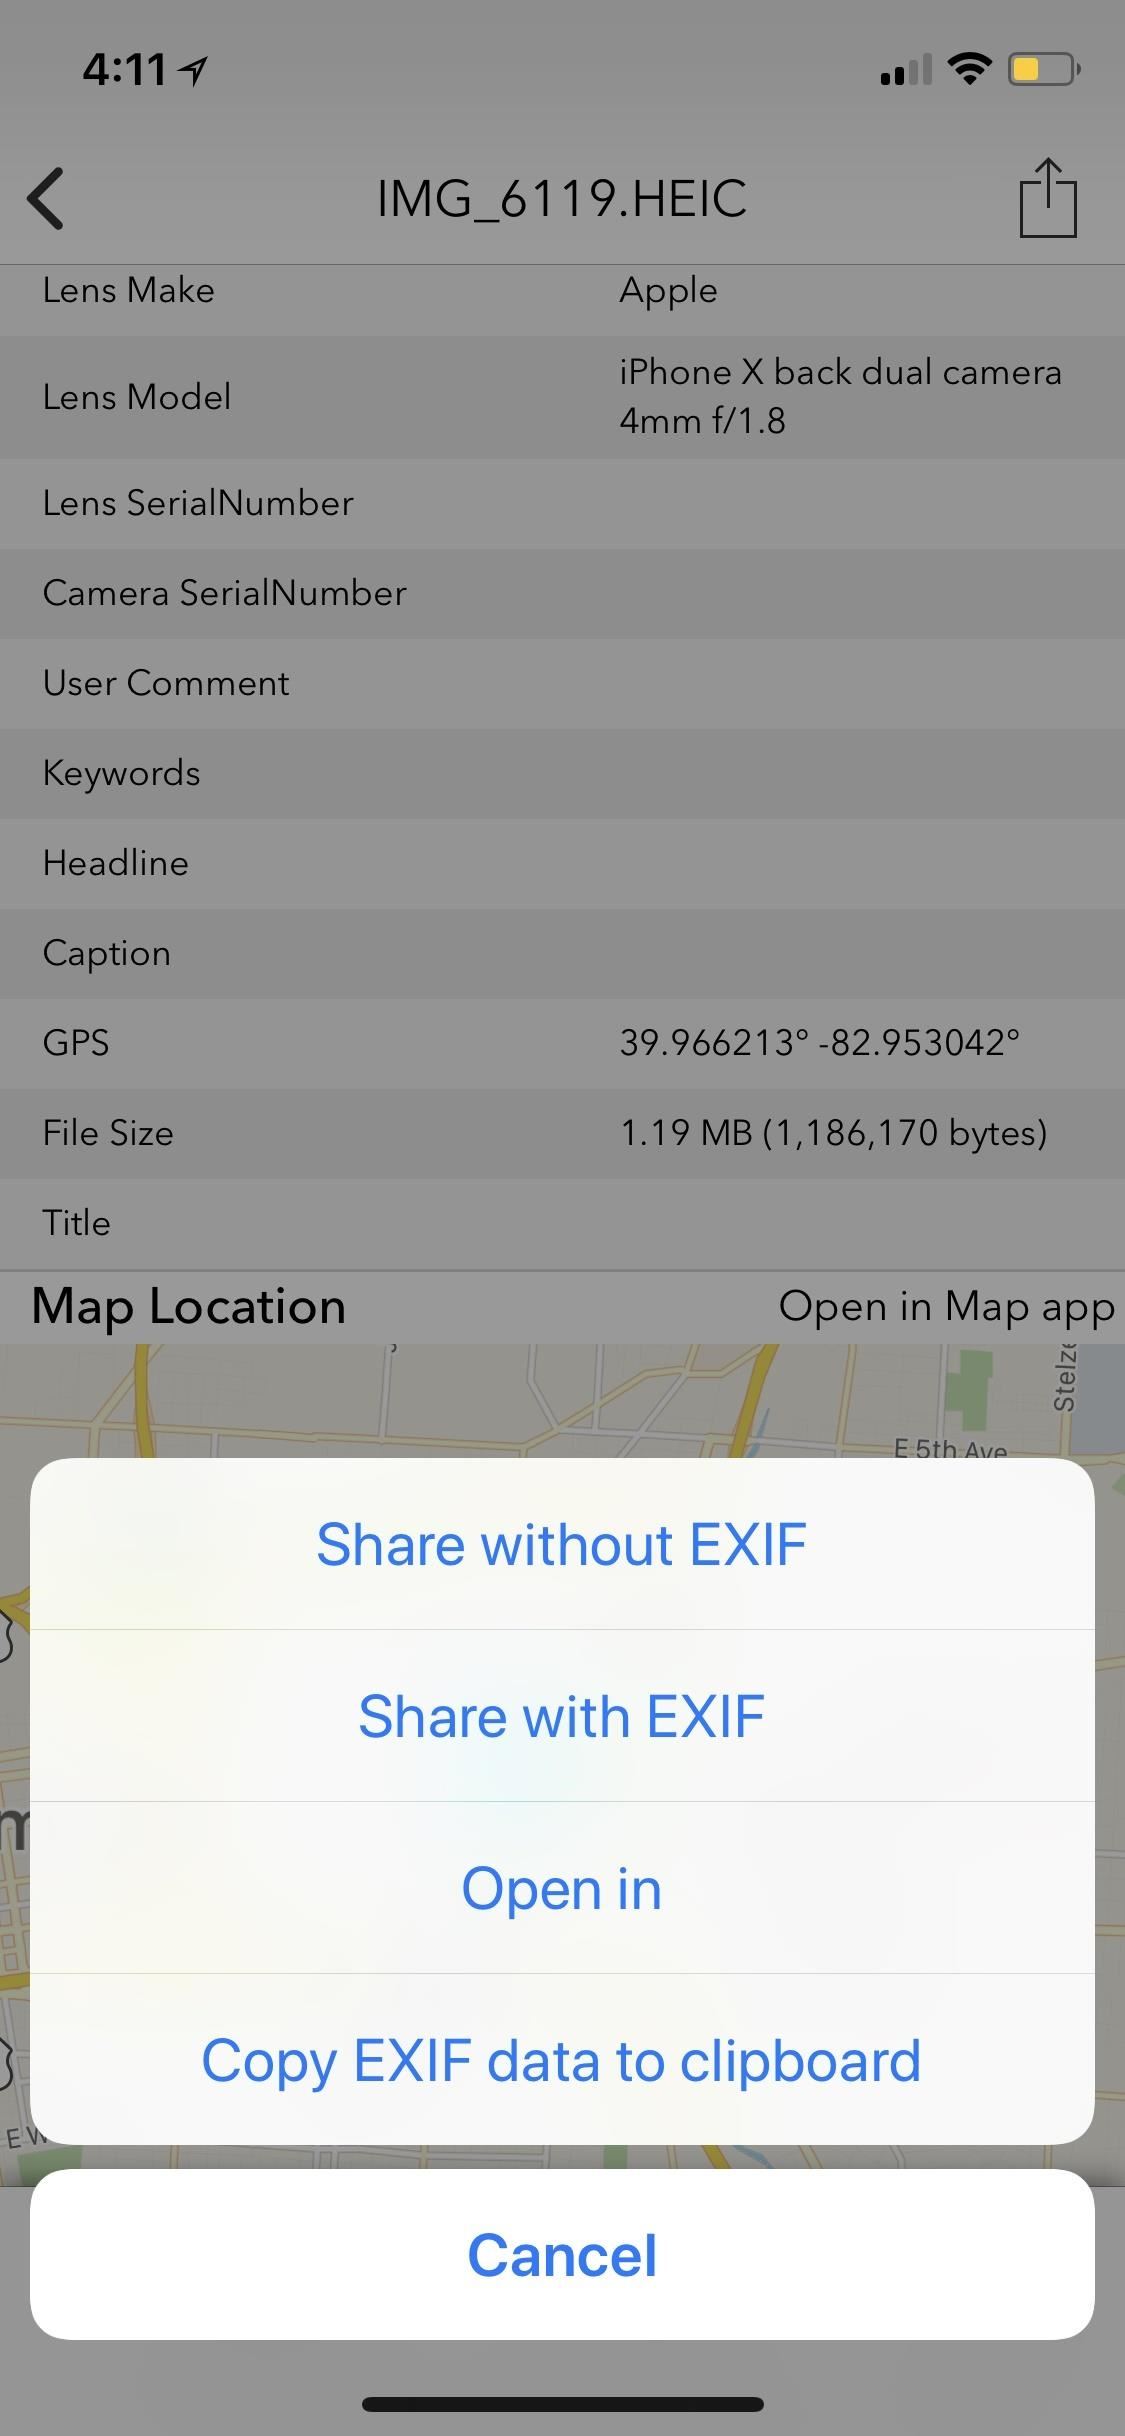
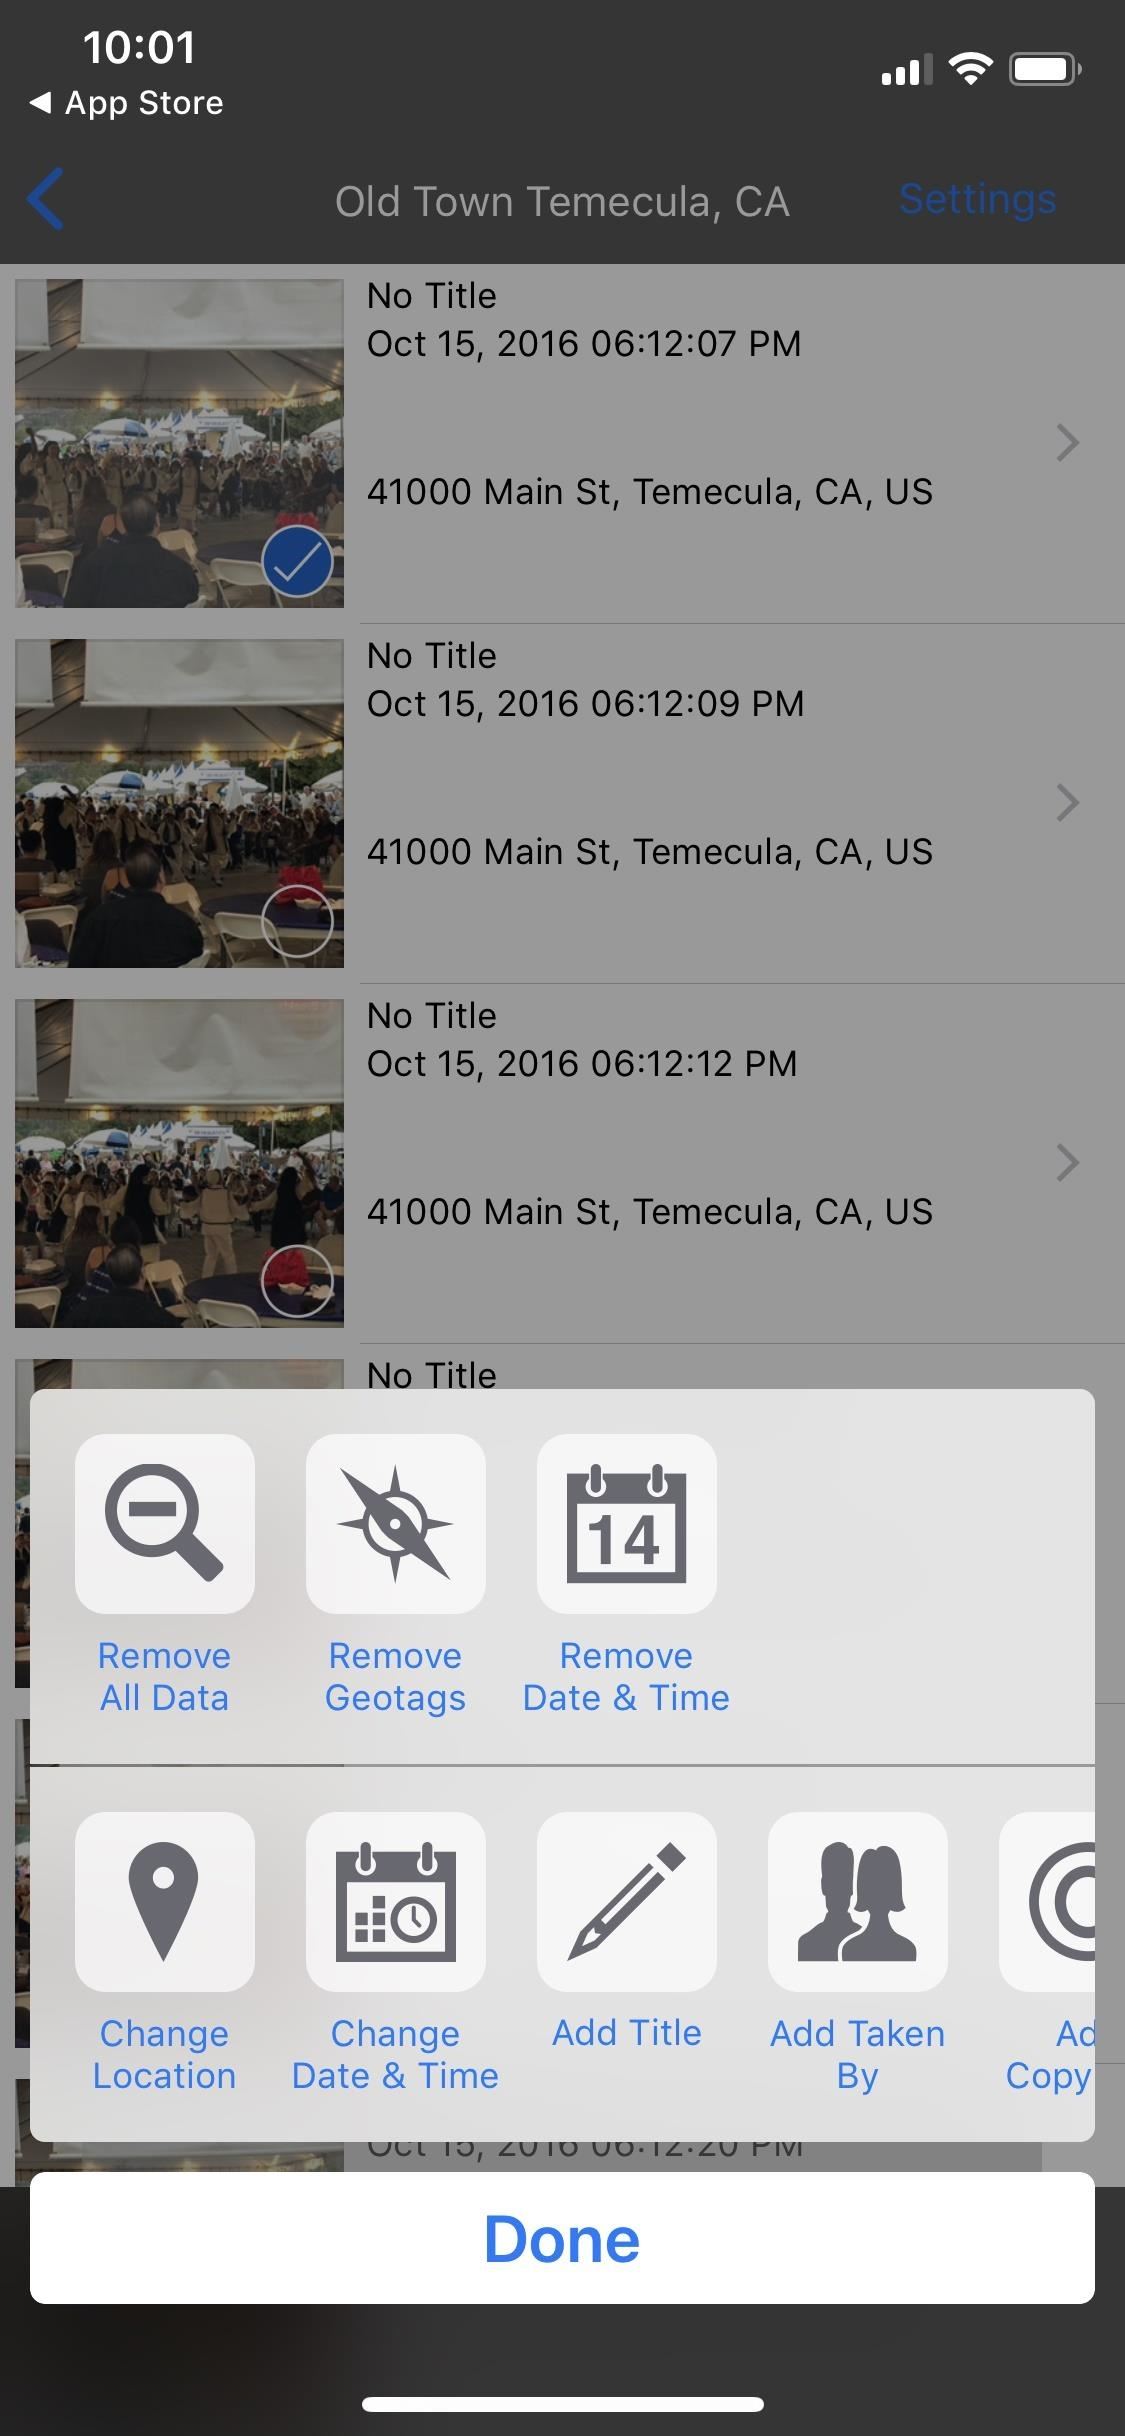
If your primary concern is not sharing your location data with others, then you can just scrap all of the EXIF data from your photos and videos before sharing. To do so, you'll need a third-party tool such as Koredoko (free), ViewExif ($0.99), EXIF Viewer ($2.99), Pixelgarde (free), or PixlMet (free). These tools are also pretty intuitive, so it's easy to figure out how to get rid of EXIF data before sharing.
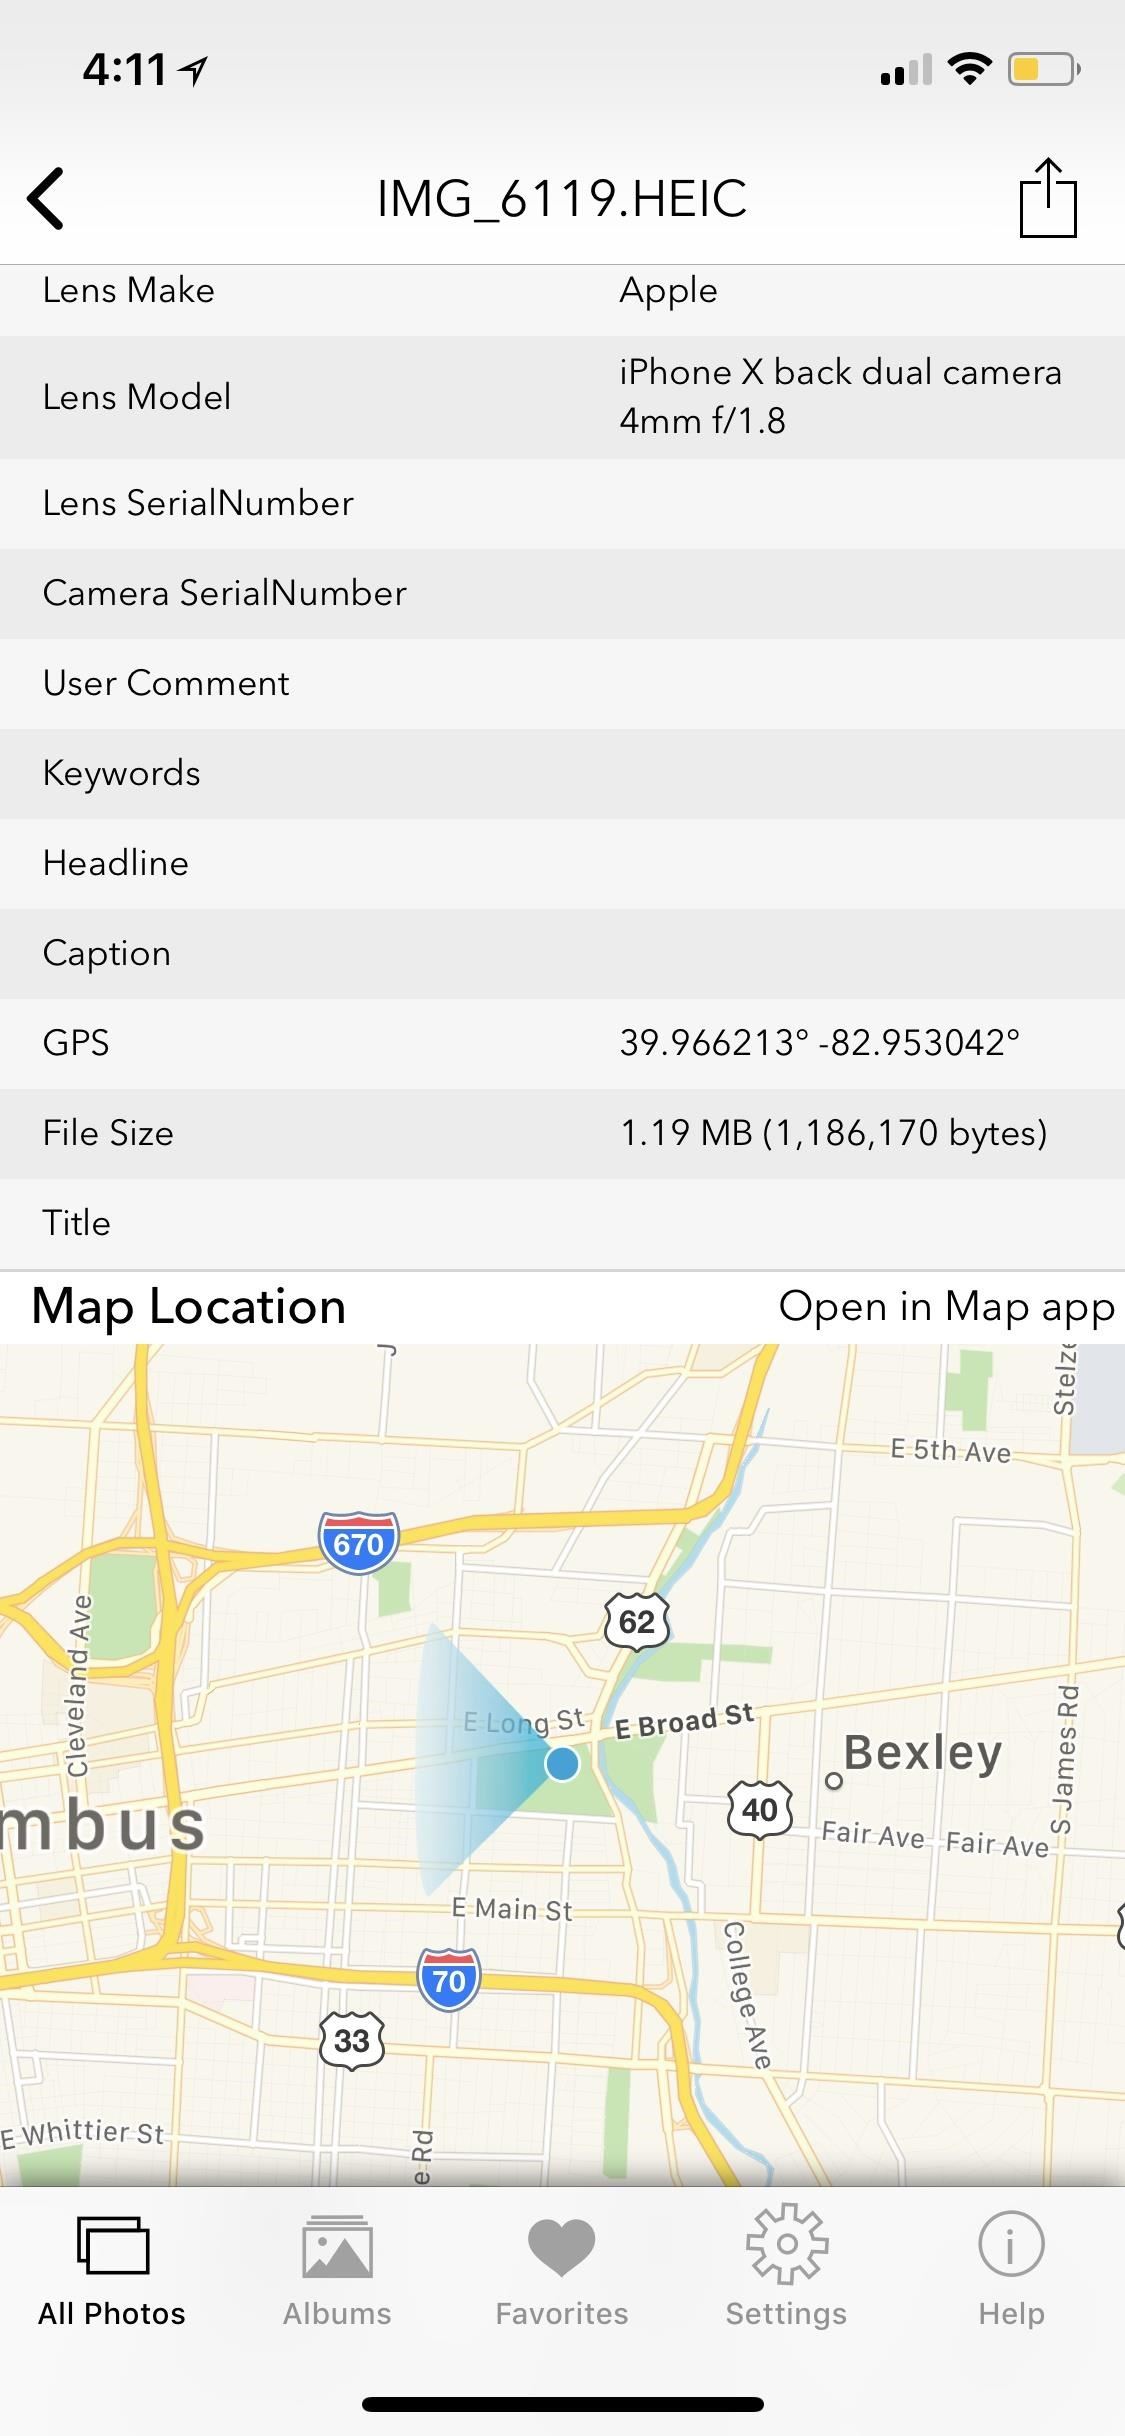
If you upload your photos to Flickr, Lightroom, or somewhere else where metadata is valuable, and would like to keep metadata such as camera type, focal length, flash, ISO, etc., then you can use tools like the aforementioned Koredoko (free), Pixelgarde (free), PixlMet (in-app $1.99 purchase) to change the location to somewhere else. Pixelgarde even lets you remove the geotag and retain all of the other metadata.
Some sites that automatically shred EXIF data when uploading to them include Facebook, Twitter, Instagram, Snapchat, Messenger, WhatsApp, eBay, Imgur, and Craigslist. Sites that won't include Google+, Dropbox, Flickr, Lightroom, Google Photos, and Tumblr.
Tip 3: Stop Syncing Your Media to iCloud
If you share an iPad, iPod touch, Mac, Windows PC, or Apple TV with other people in your family or even your roommates, when you have iCloud Photo Libary on, all of your photos and videos in the Photos app will be stored in the cloud and be available to all of your other devices. If you have My Photo Stream on, only your most recent photos and videos will be available to look at on your other devices.
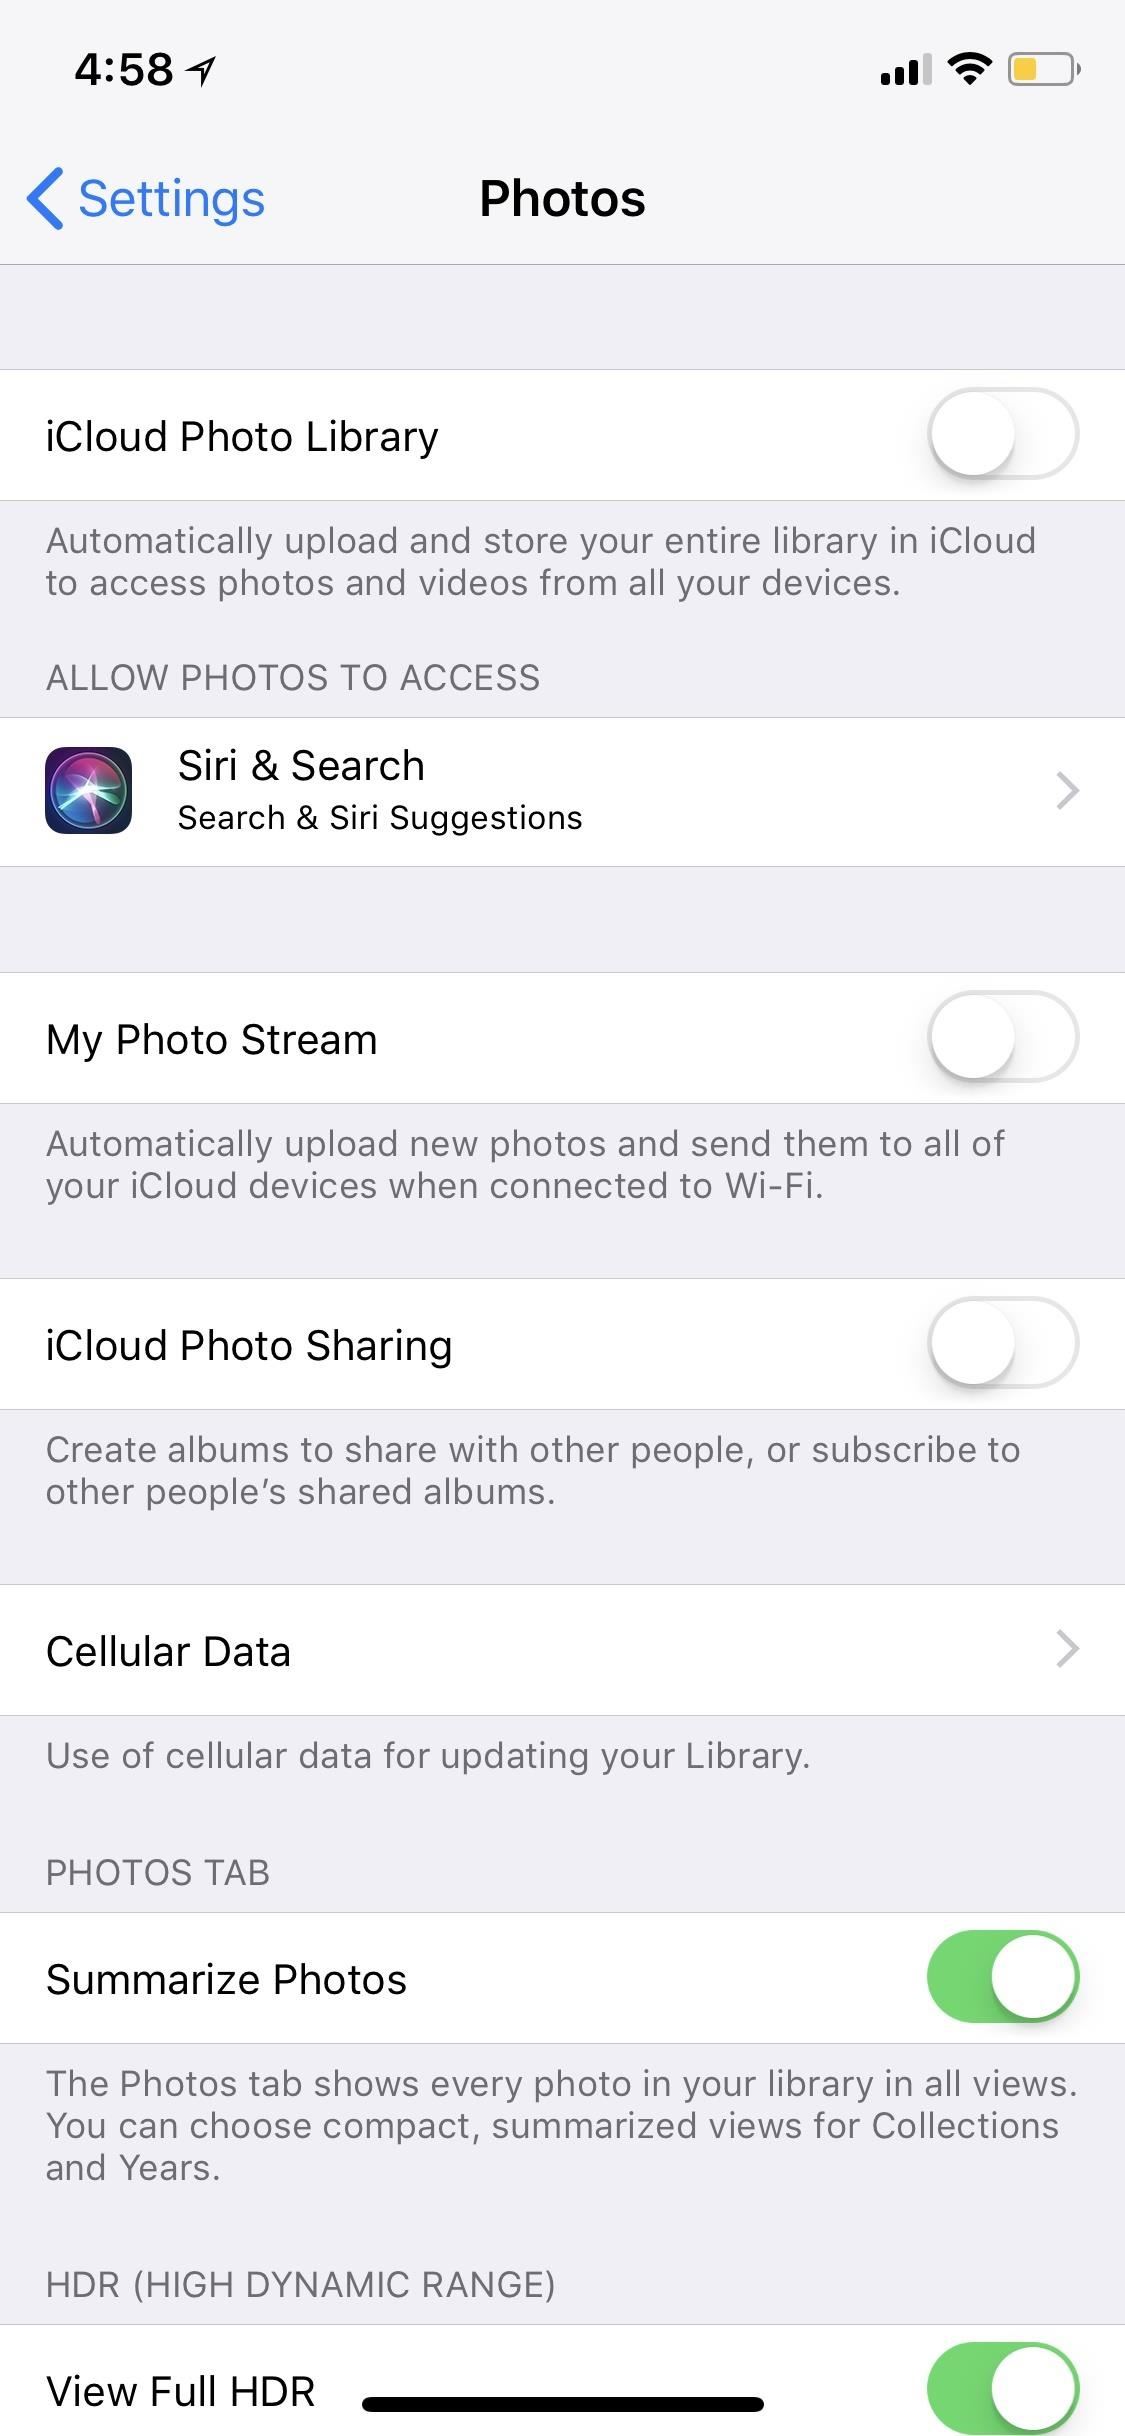
Obviously, if you don't have a lot of room on your iPhone, the iCloud Photo Library is a nice off-device storage solution, while My Photo Stream only stores content for 30 days on Apple's servers. So, you'll have to figure out if you'd rather keep your photos and videos secret or have them available from any device. If you choose to disable either, you can do so from the "Photos" in Settings.

Tip 4: Delete Your Deleted Photos & Videos
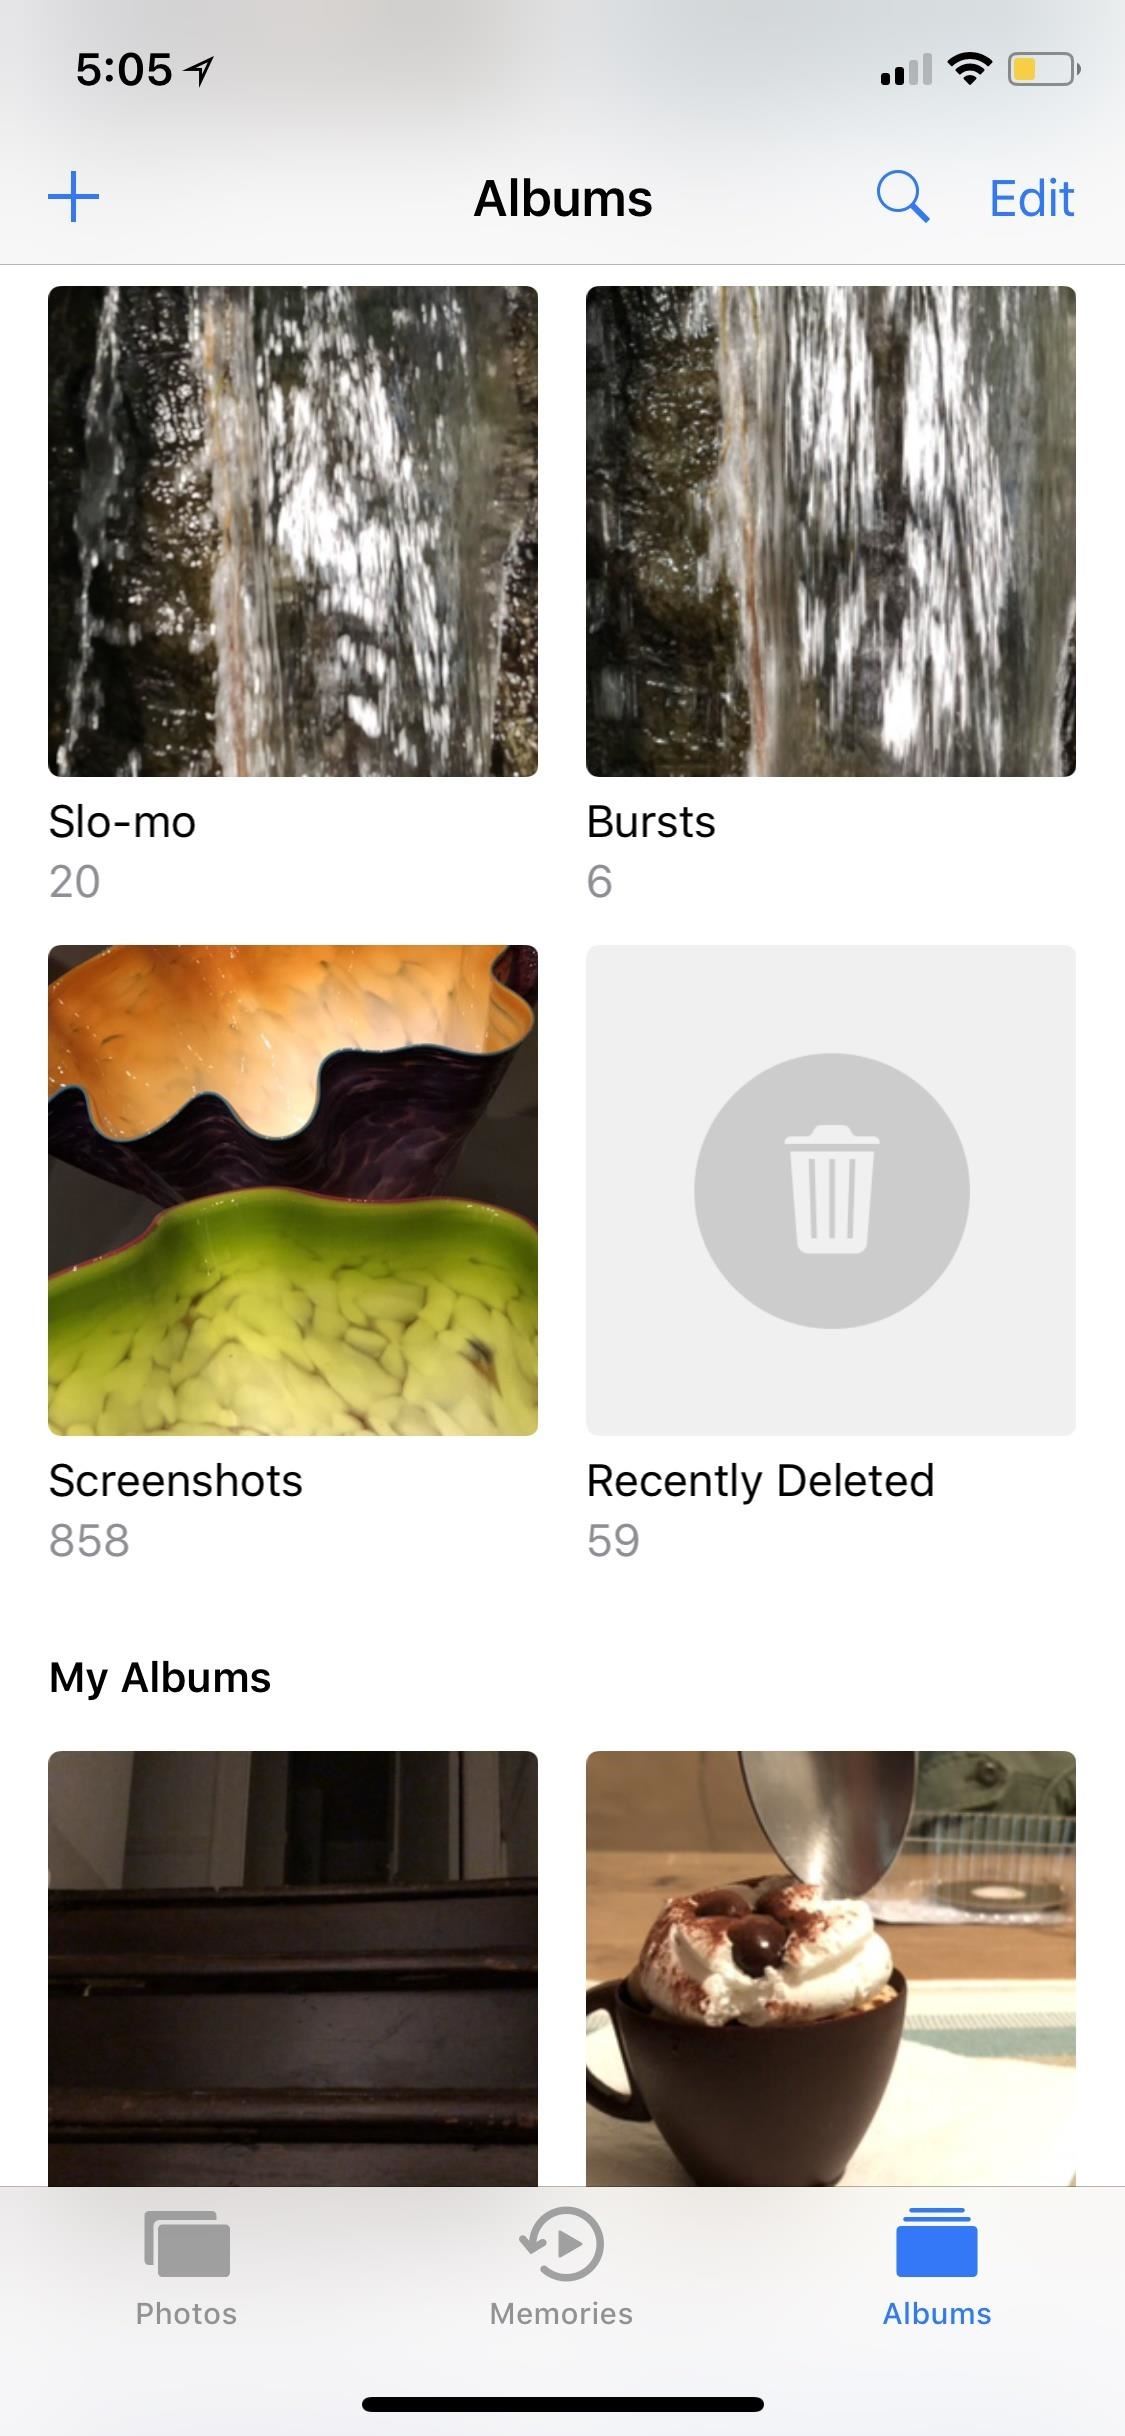
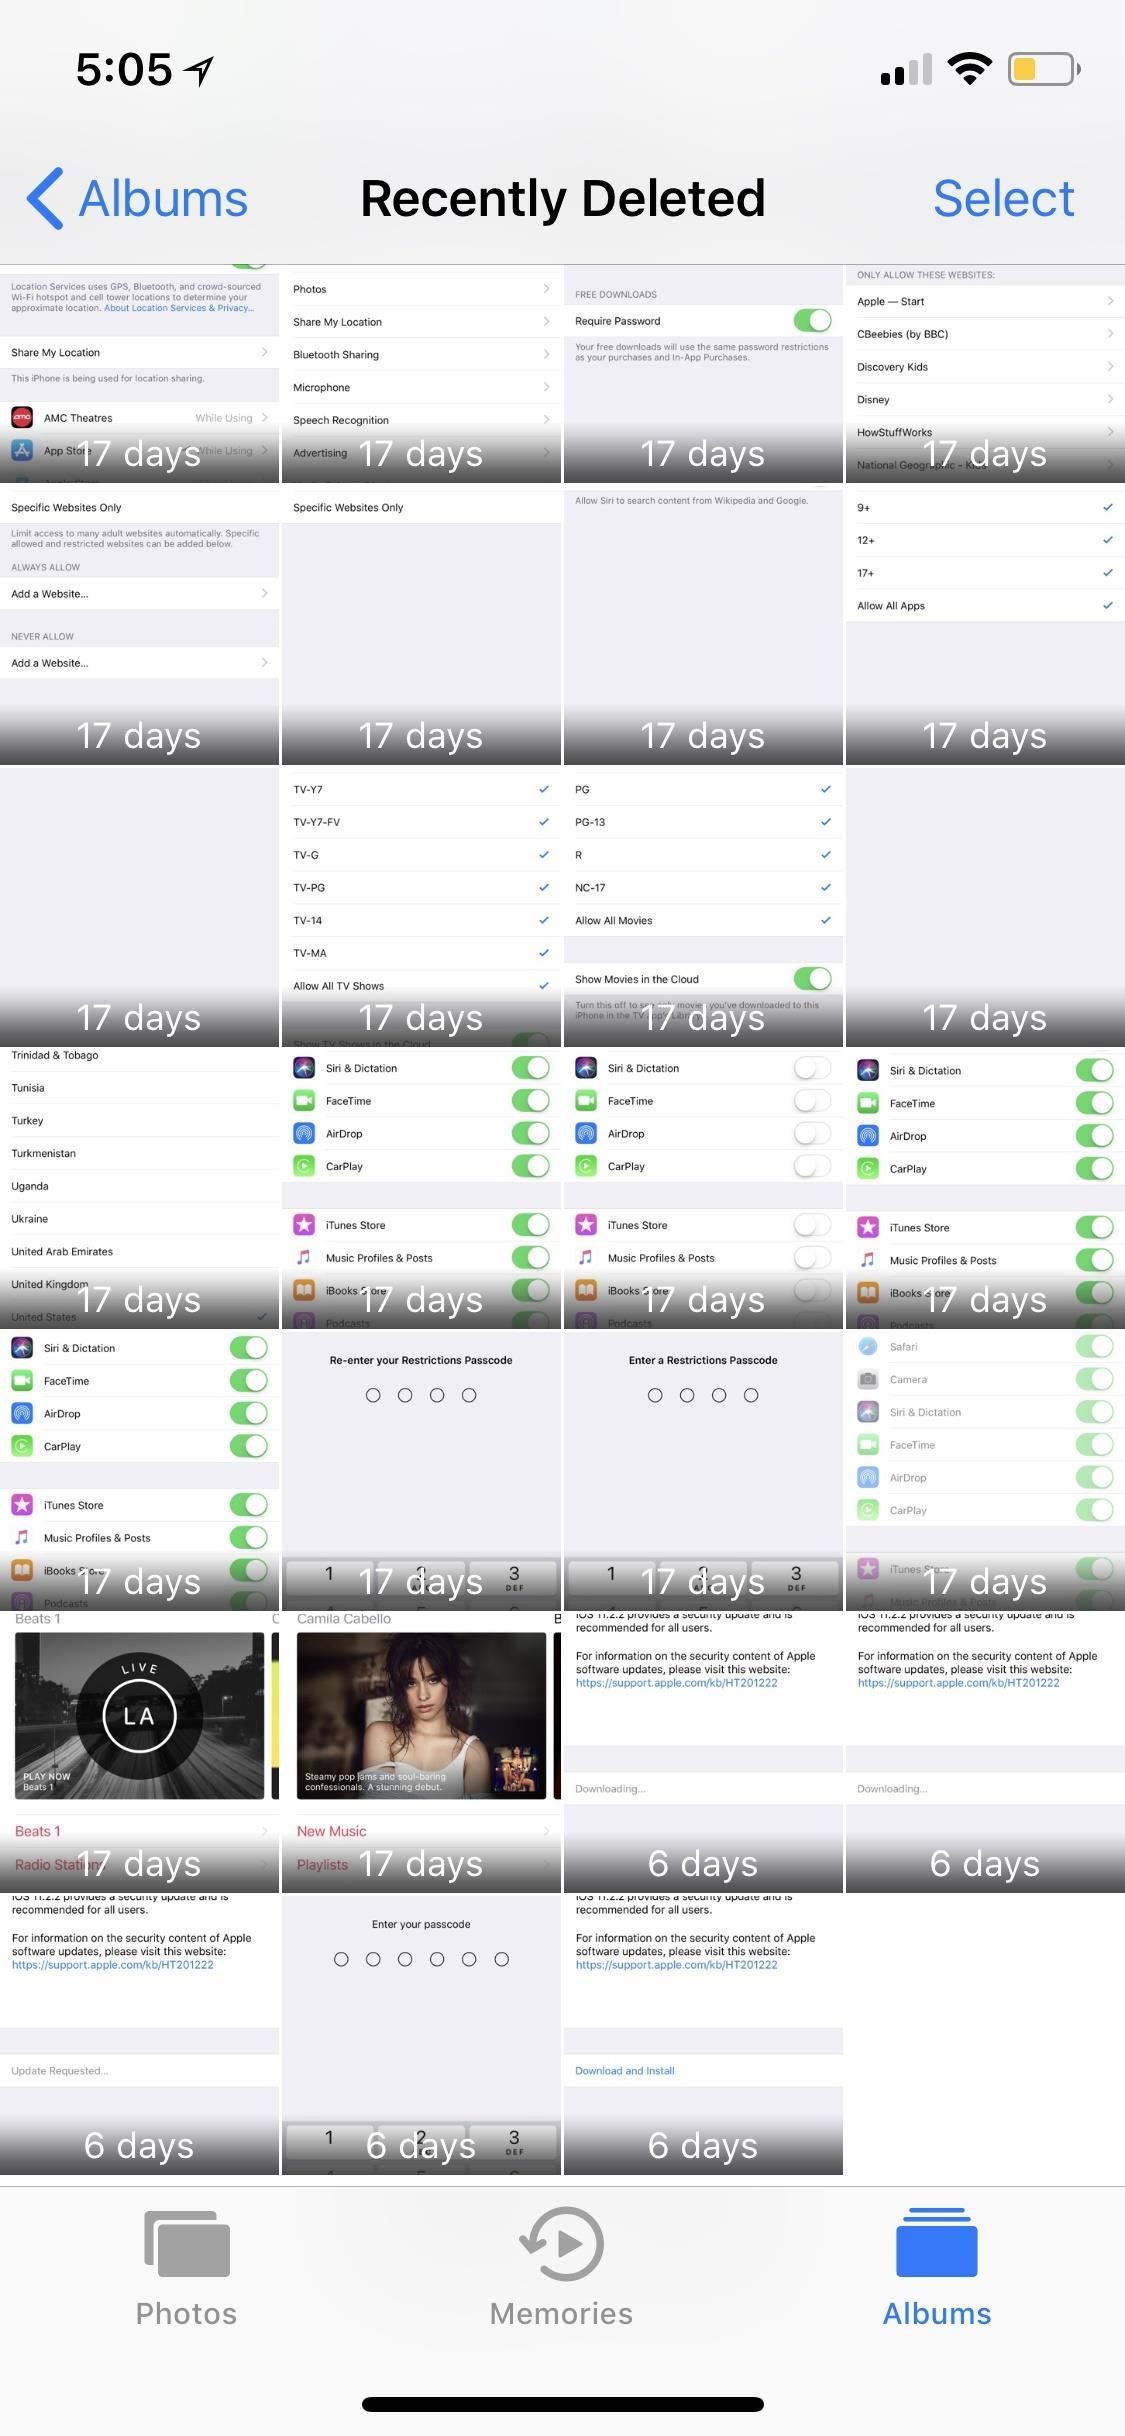
All of the photos and videos you delete in the Photos app aren't really erased, at least, not right away. They are thrown into an album called "Recently Deleted," where they will eventually be permanently deleted after 30 days. This also applies when deleting content from the Photos app from inside a third-party app such as Google Photos.
However, if friends or family tend to use your iPhone from time to time, photos you might not want them to see can be stored here, easily retrievable. To get rid of them right away, go into the "Recently Deleted" album, tap "Select" in the top right, then hit "Delete All" in the bottom left or select specific photos then hit "Delete."
Tip 5: Hide Photos & Videos from Certain Albums
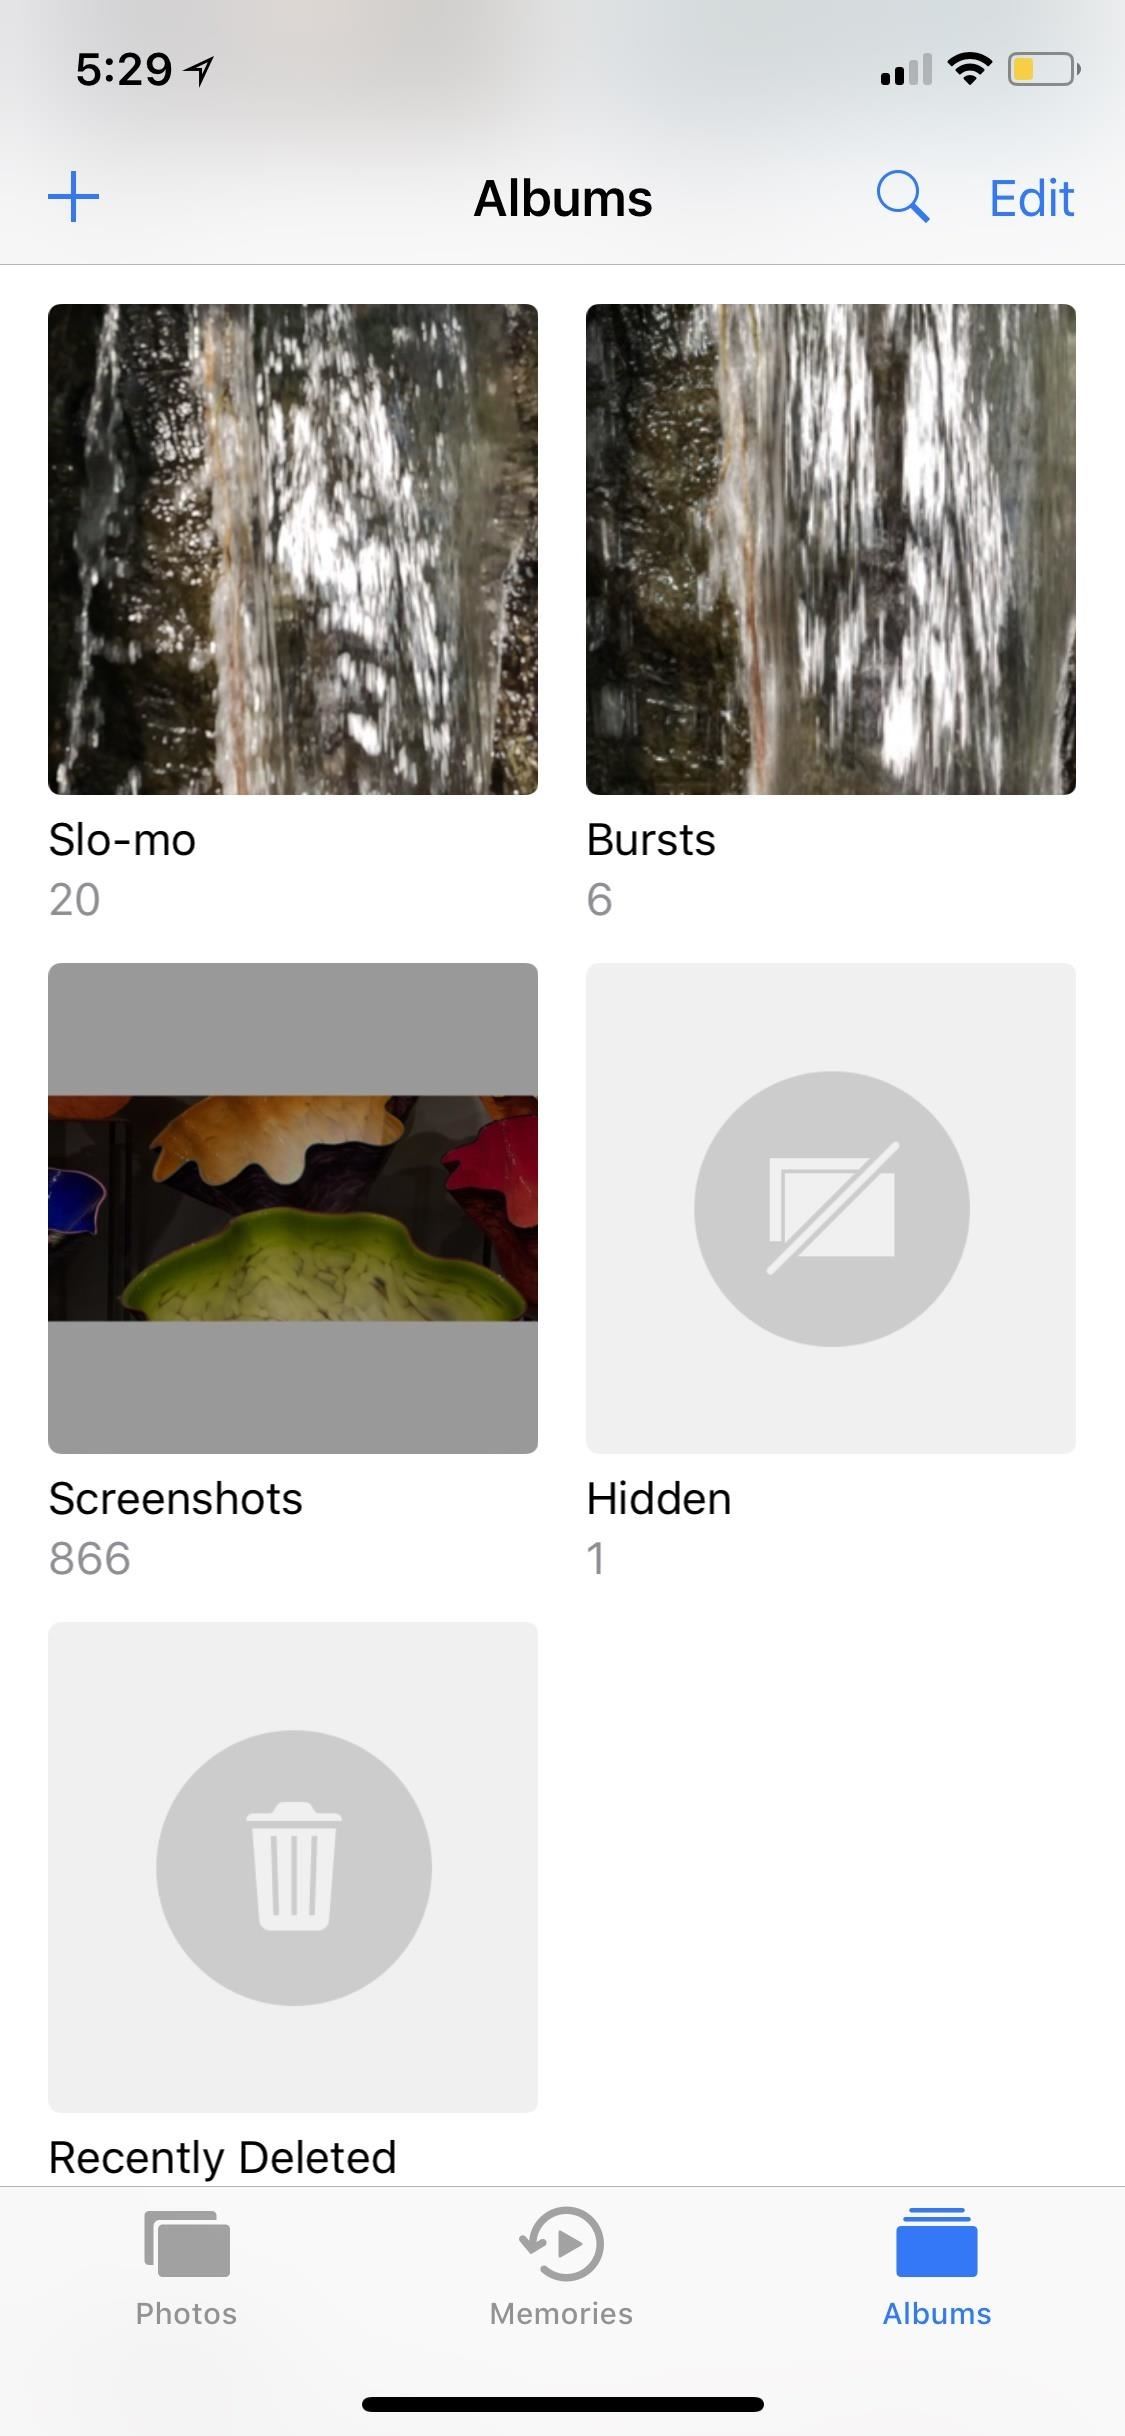
A little-known iPhone secret is that you can actually hide photos and videos in the Photos app. However, doing so will only hide them from your Moments, Years, and Collections view, as well any albums they appear in, but will keep the photo or video available in a new "Hidden" album.
While it would be nice if Apple could make this a passcode-protected folder one day, it still helps keeps eyes off your spicy media when showing off collections to your family and friends.
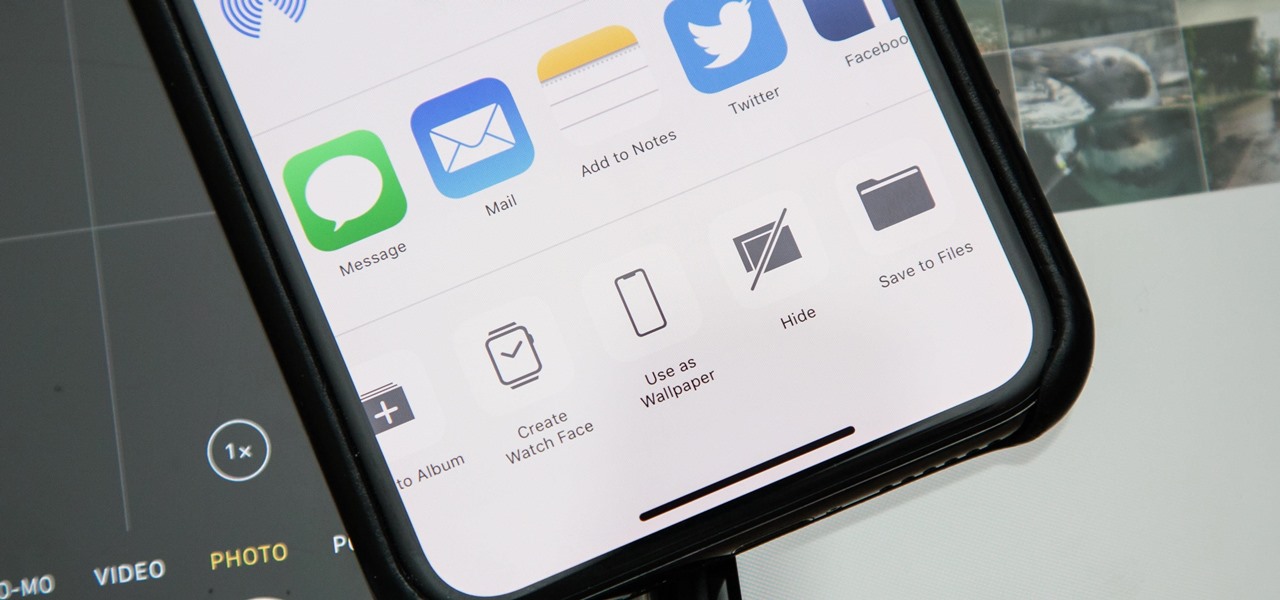
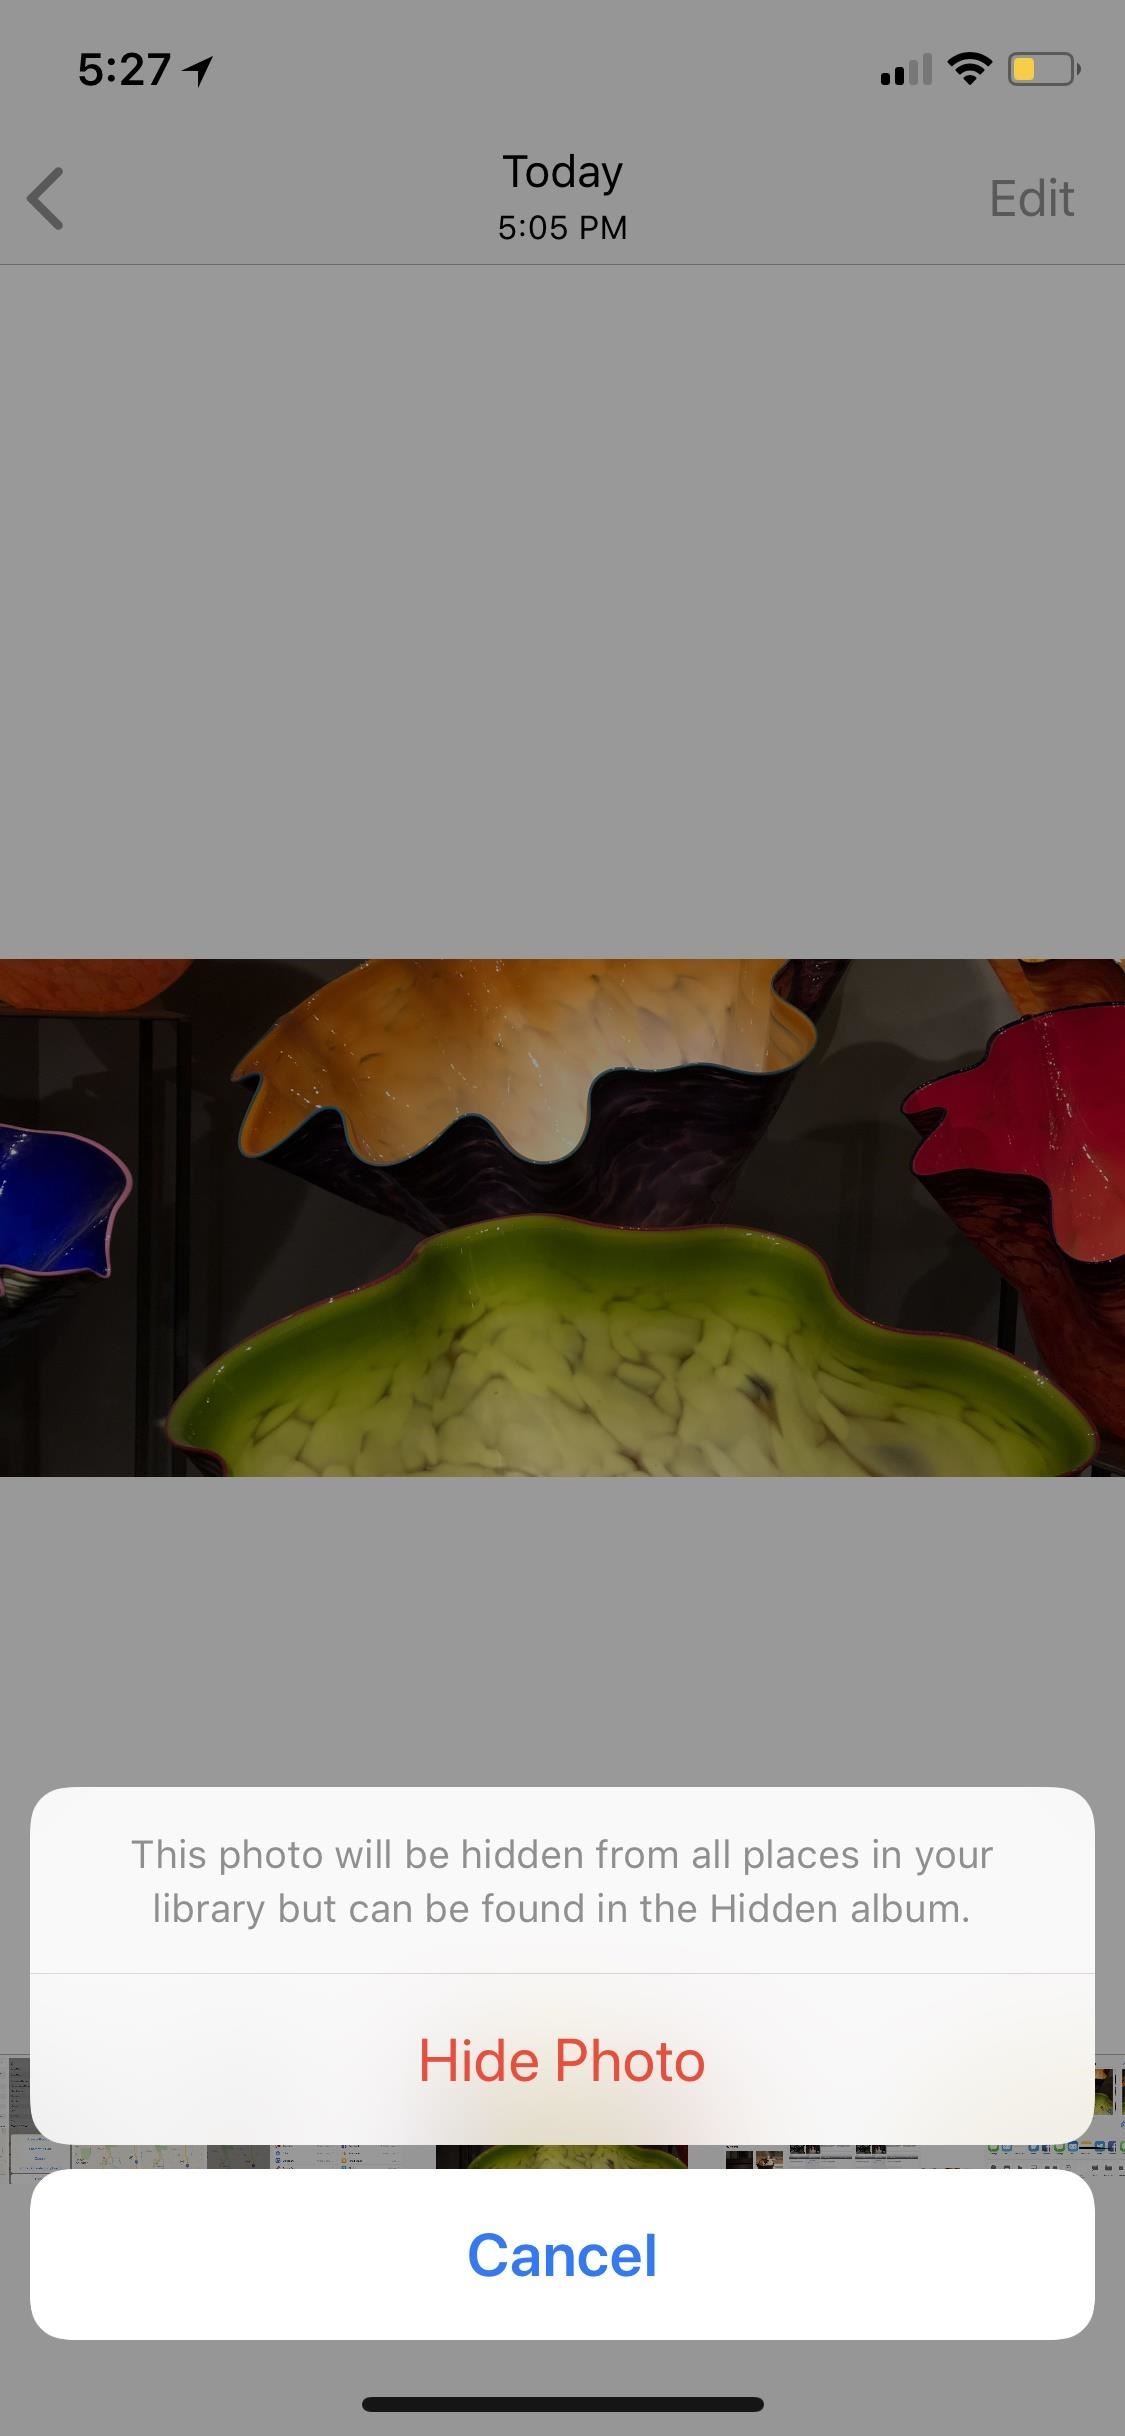
To hide a photo or video, select it, then use the share icon to bring up the share sheet. Scroll through the bottom row of activities until you see "Hide." Tap that, then "Hide Photo" or "Hide Video" to get the job done.

Tip 6: Password-Lock Your Photos & Videos
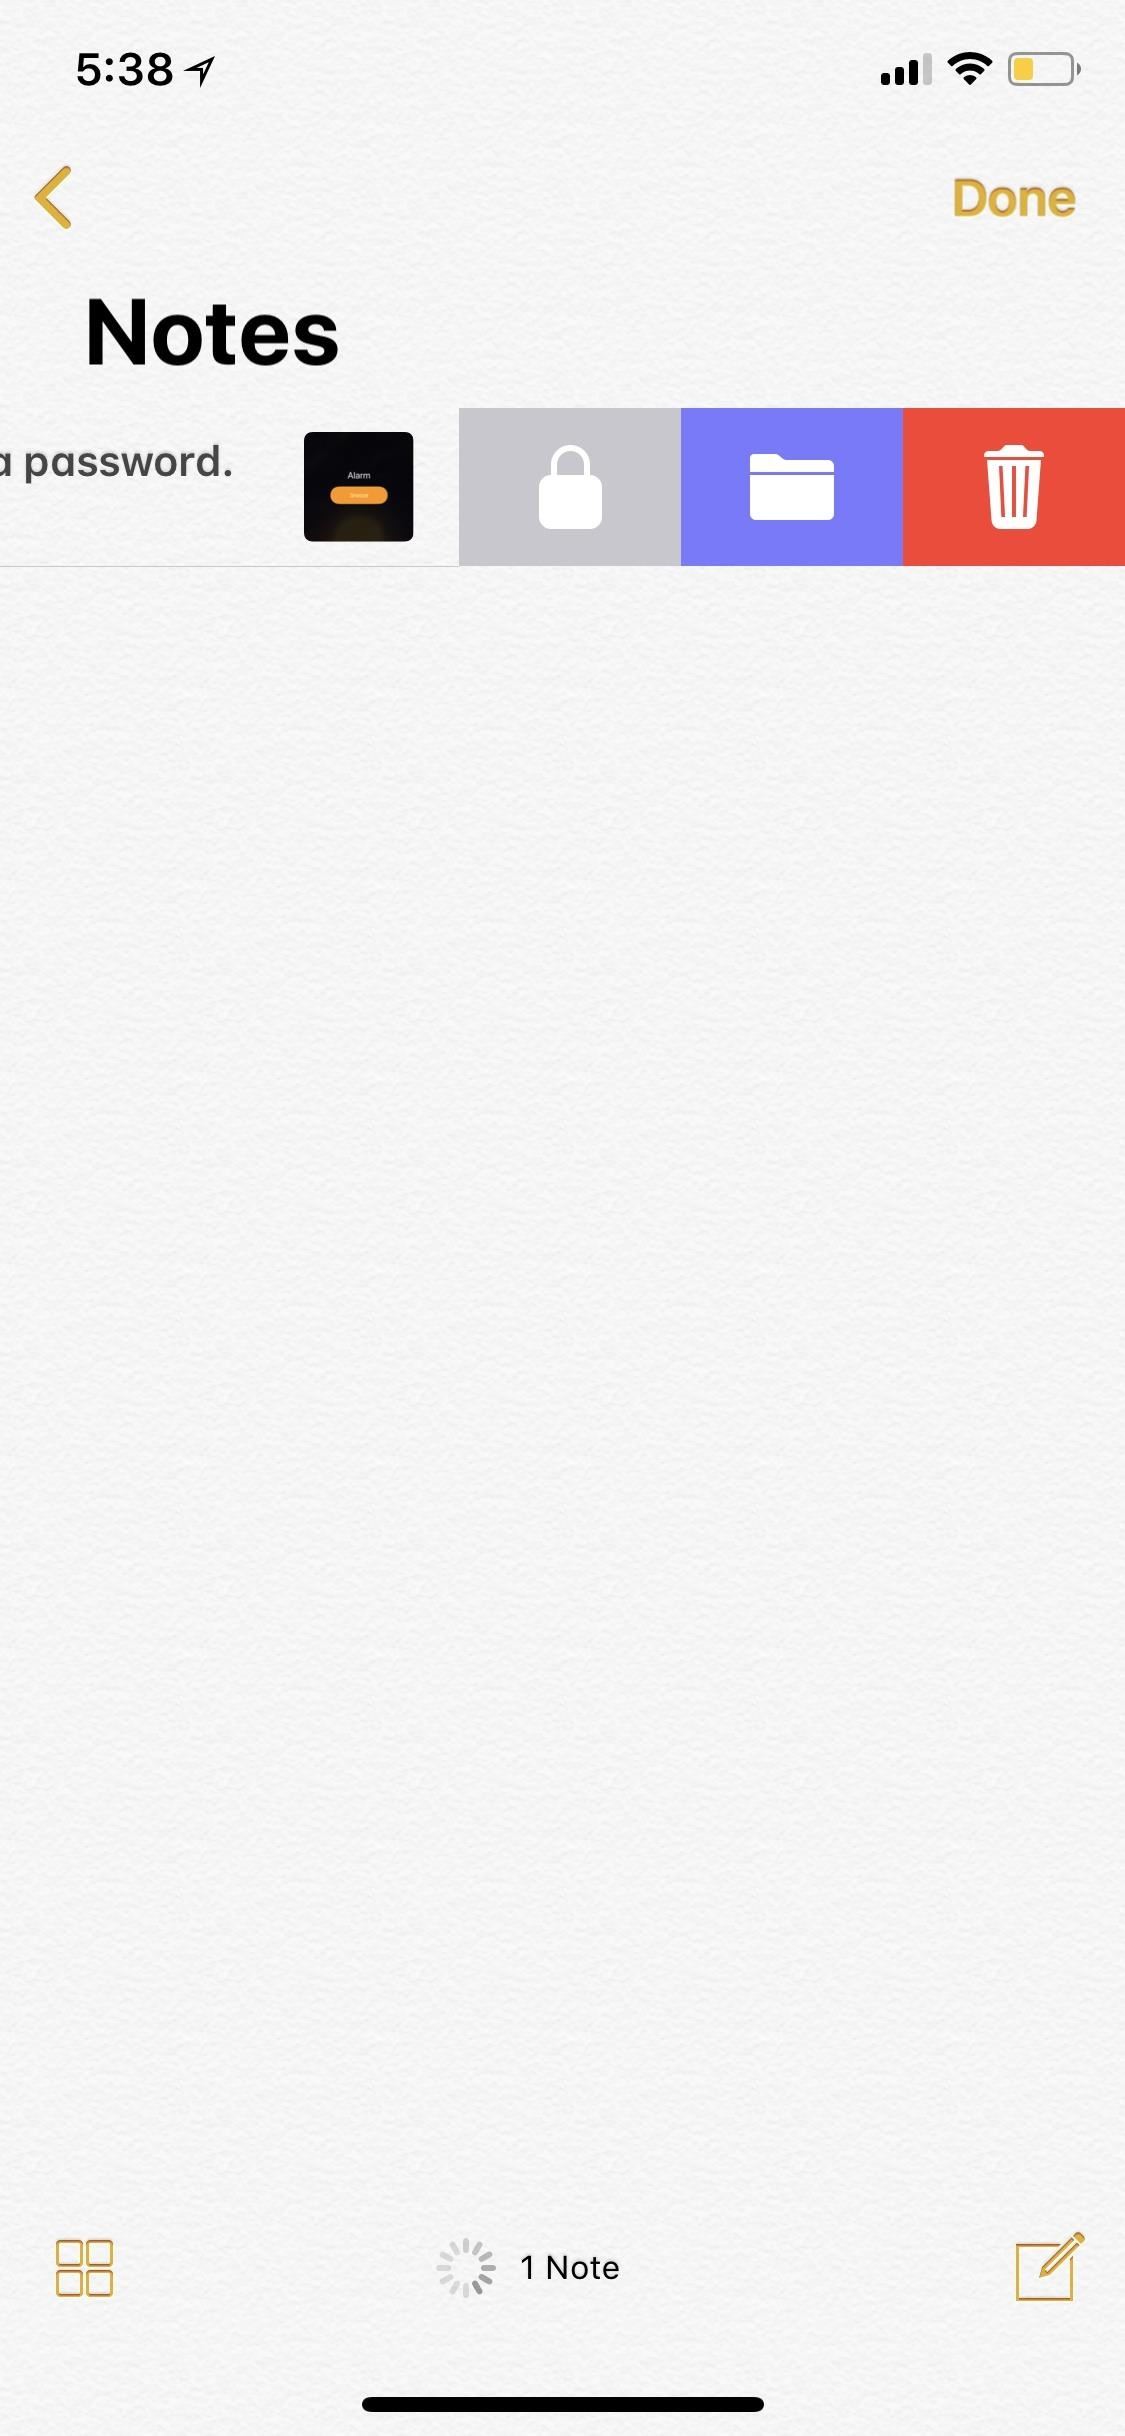
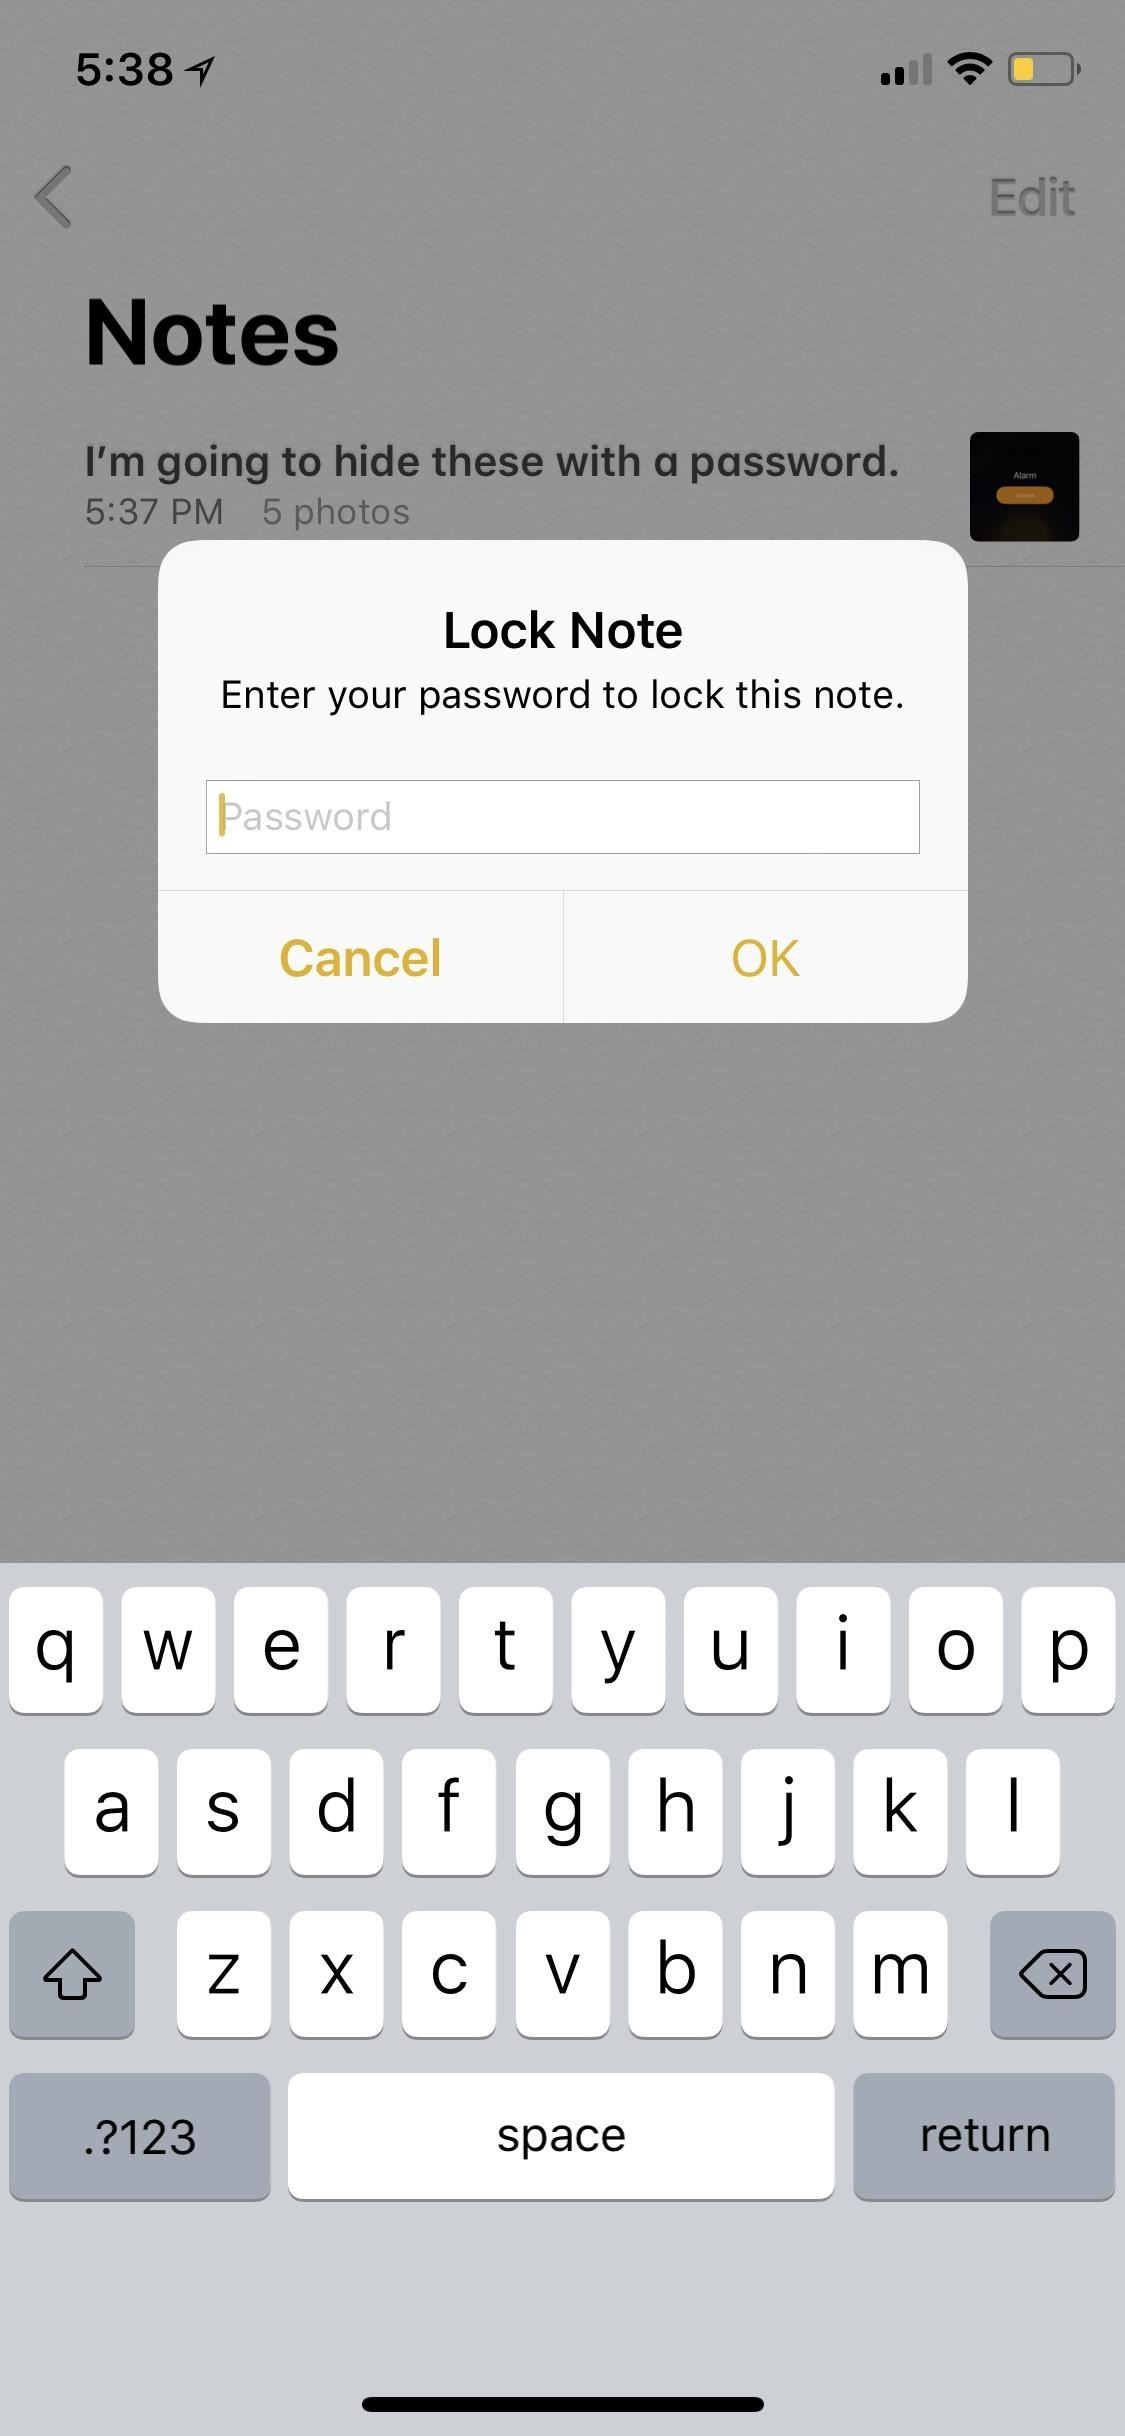
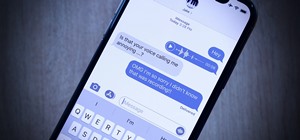
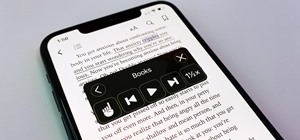
The above tip not good enough for you? Then you can put a little work into really hiding photos and videos. One way is that you can share the photos and/or videos as a new note in Notes. Once that's done, you can delete the photos/videos from Photos using Tip 4 above, go into Notes, swipe left on the note to show the options (or use the share sheet when in the note), then hit the lock icon.
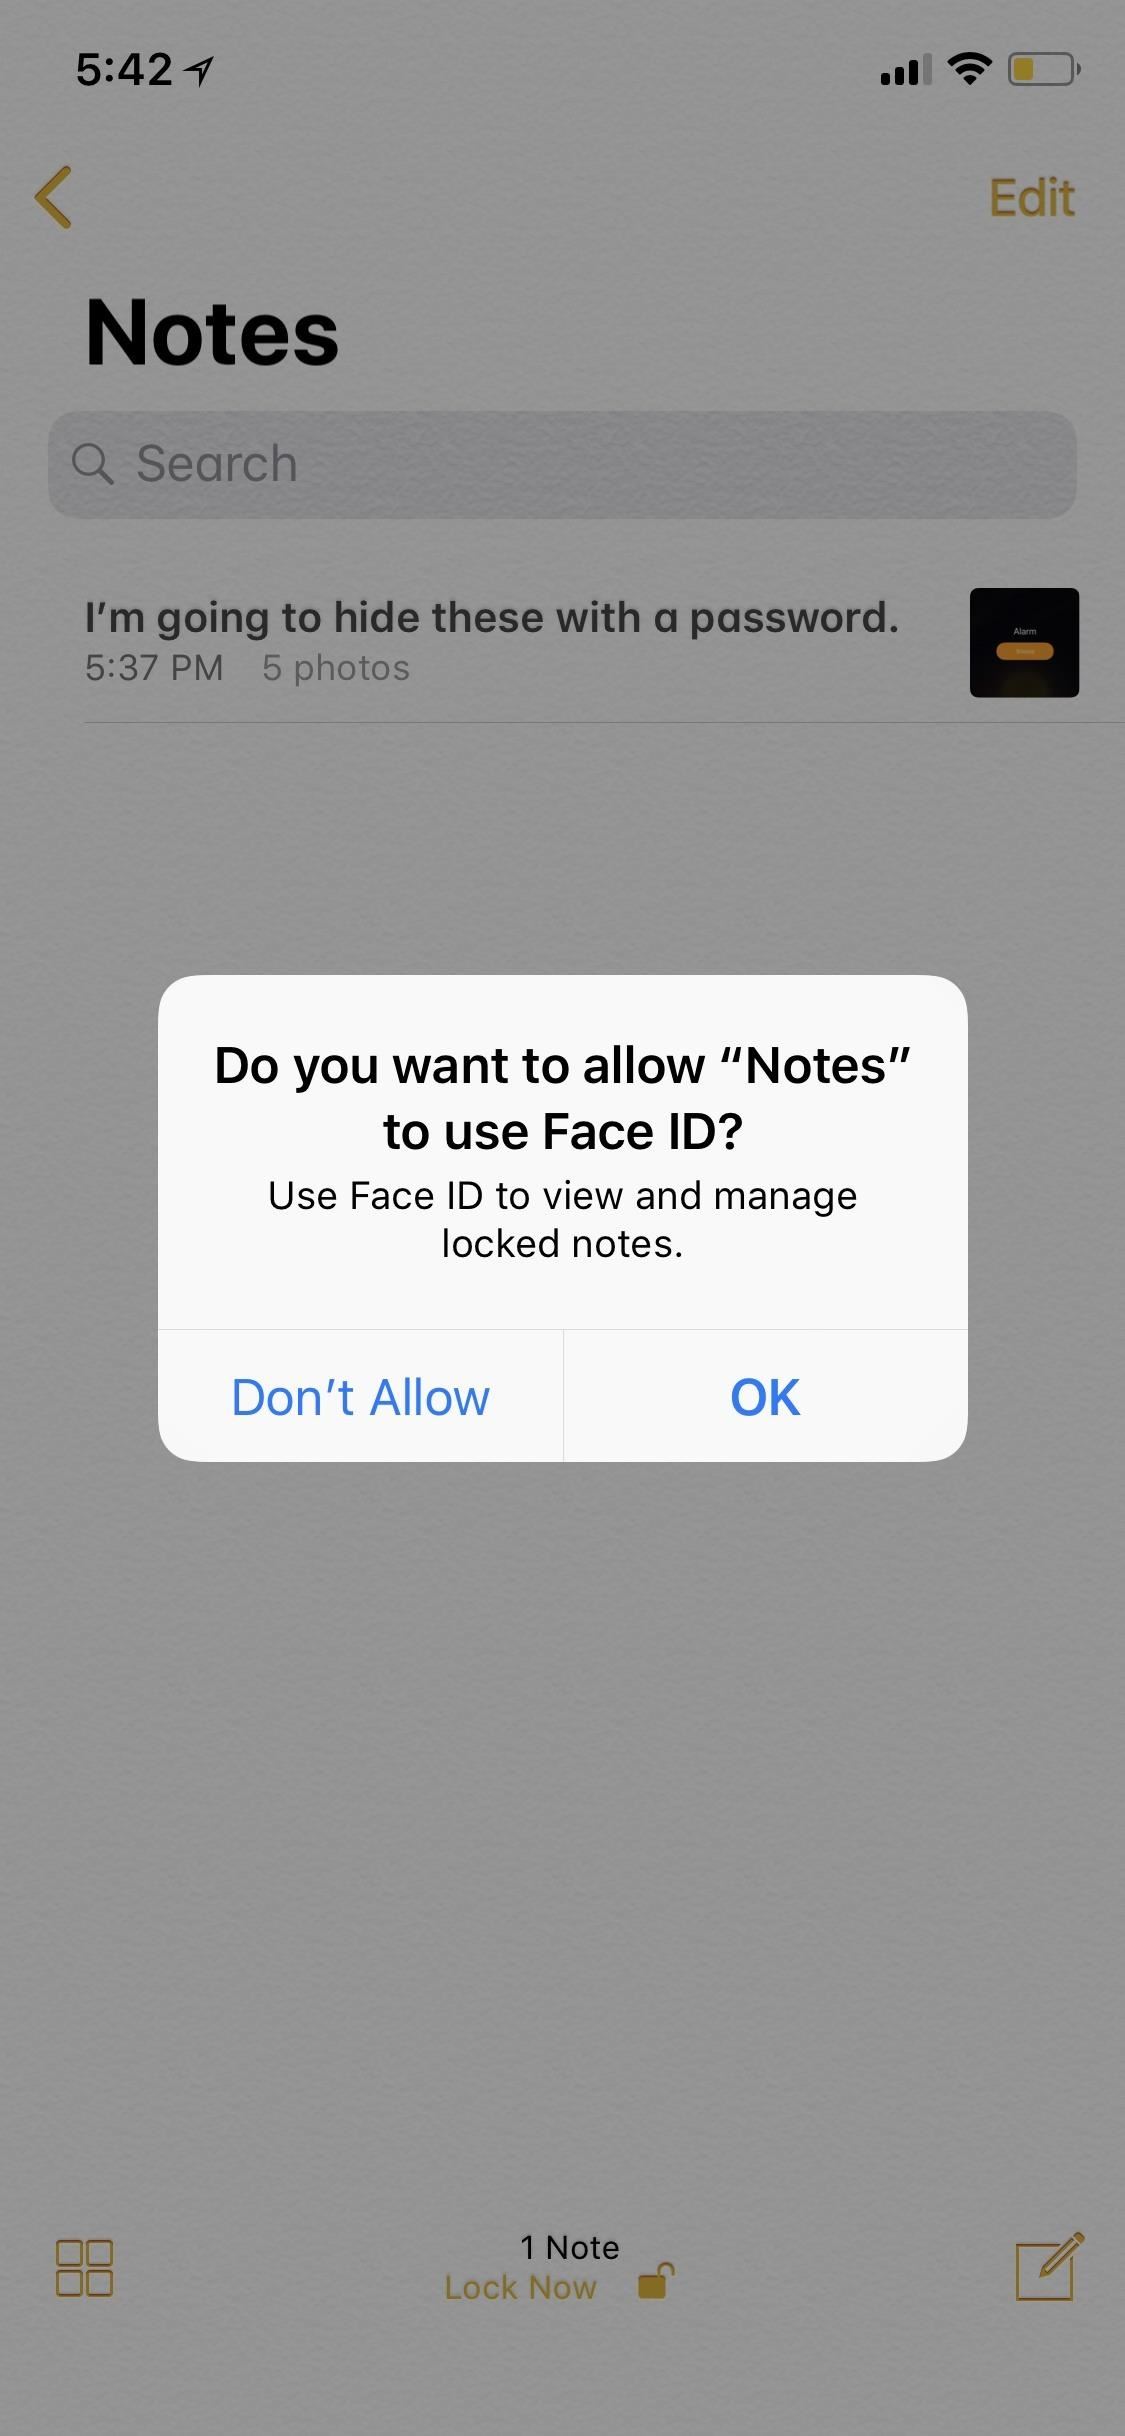
If it's your first time using the lock feature, you'll be asked to create a password. If it's not, you'll need to enter the password you already made for Notes. You can also opt to use Touch ID or Face ID to lock and unlock notes. After that's done, you'll have to actually lock the note by tapping on "Lock Now" at the bottom of the folder or by hitting the lock icon up top in the note itself.
- Don't Miss: How to Hide Private Photos on Your iPhone
Tip 7: Use Third-Party Media Lockers
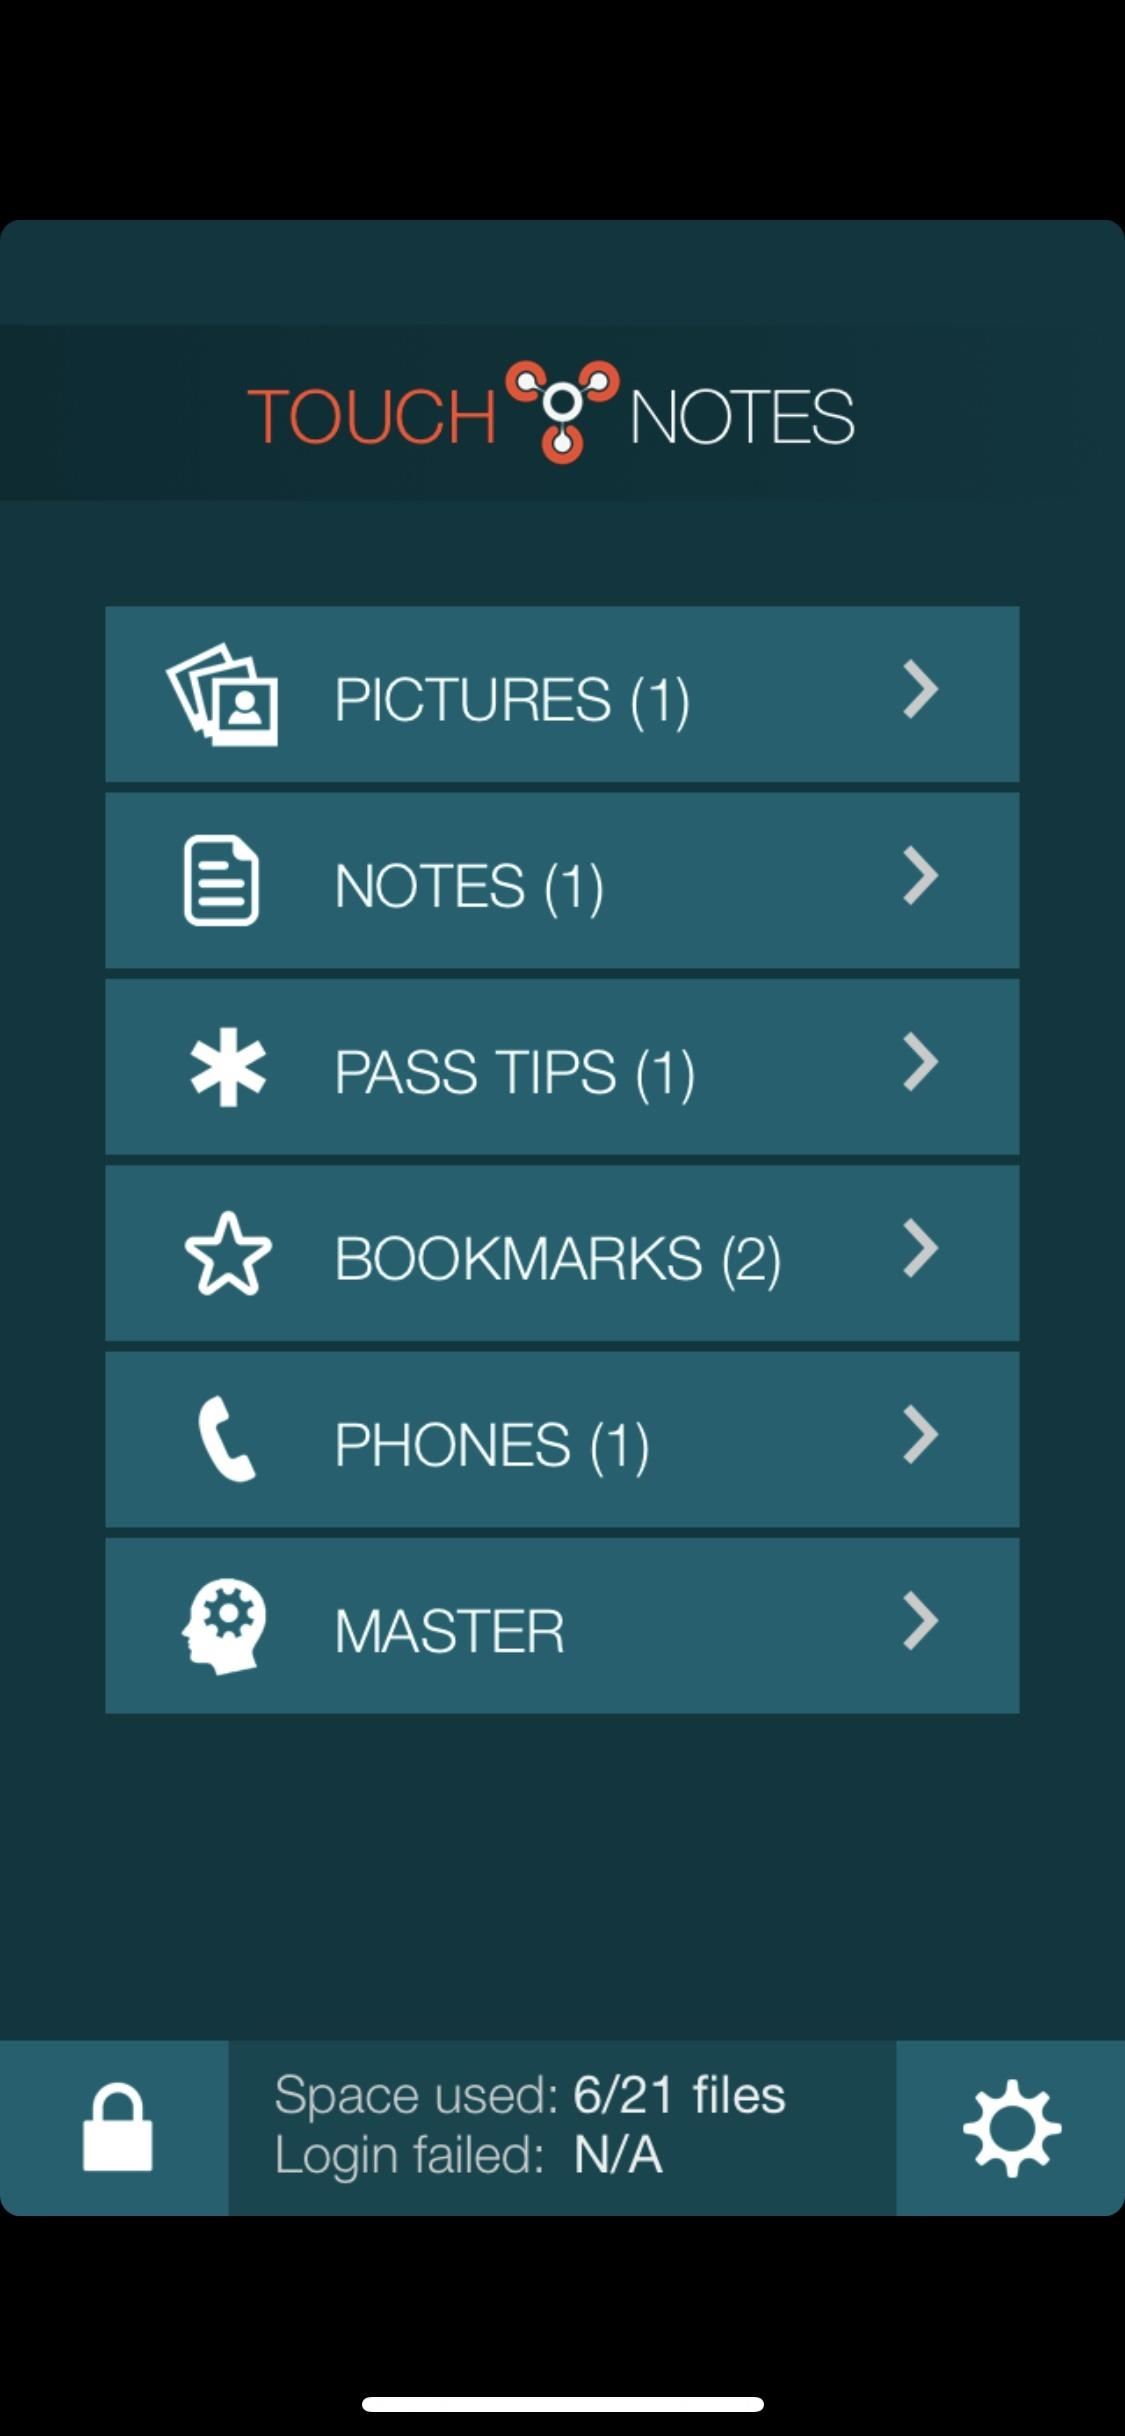
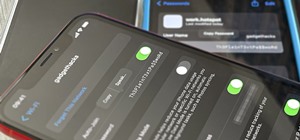
Yes, using the Notes trick above is kind of a pain in the ass. So until there is a better built-in way to do this on iPhones, you'll probably want to resort to third-party tools such as TouchyNotes (free), Folder Lock (free), Secure Gallery & Password Vault (free), Keeply (free), Private Photo Vault (free or $3.99), or another media locker.
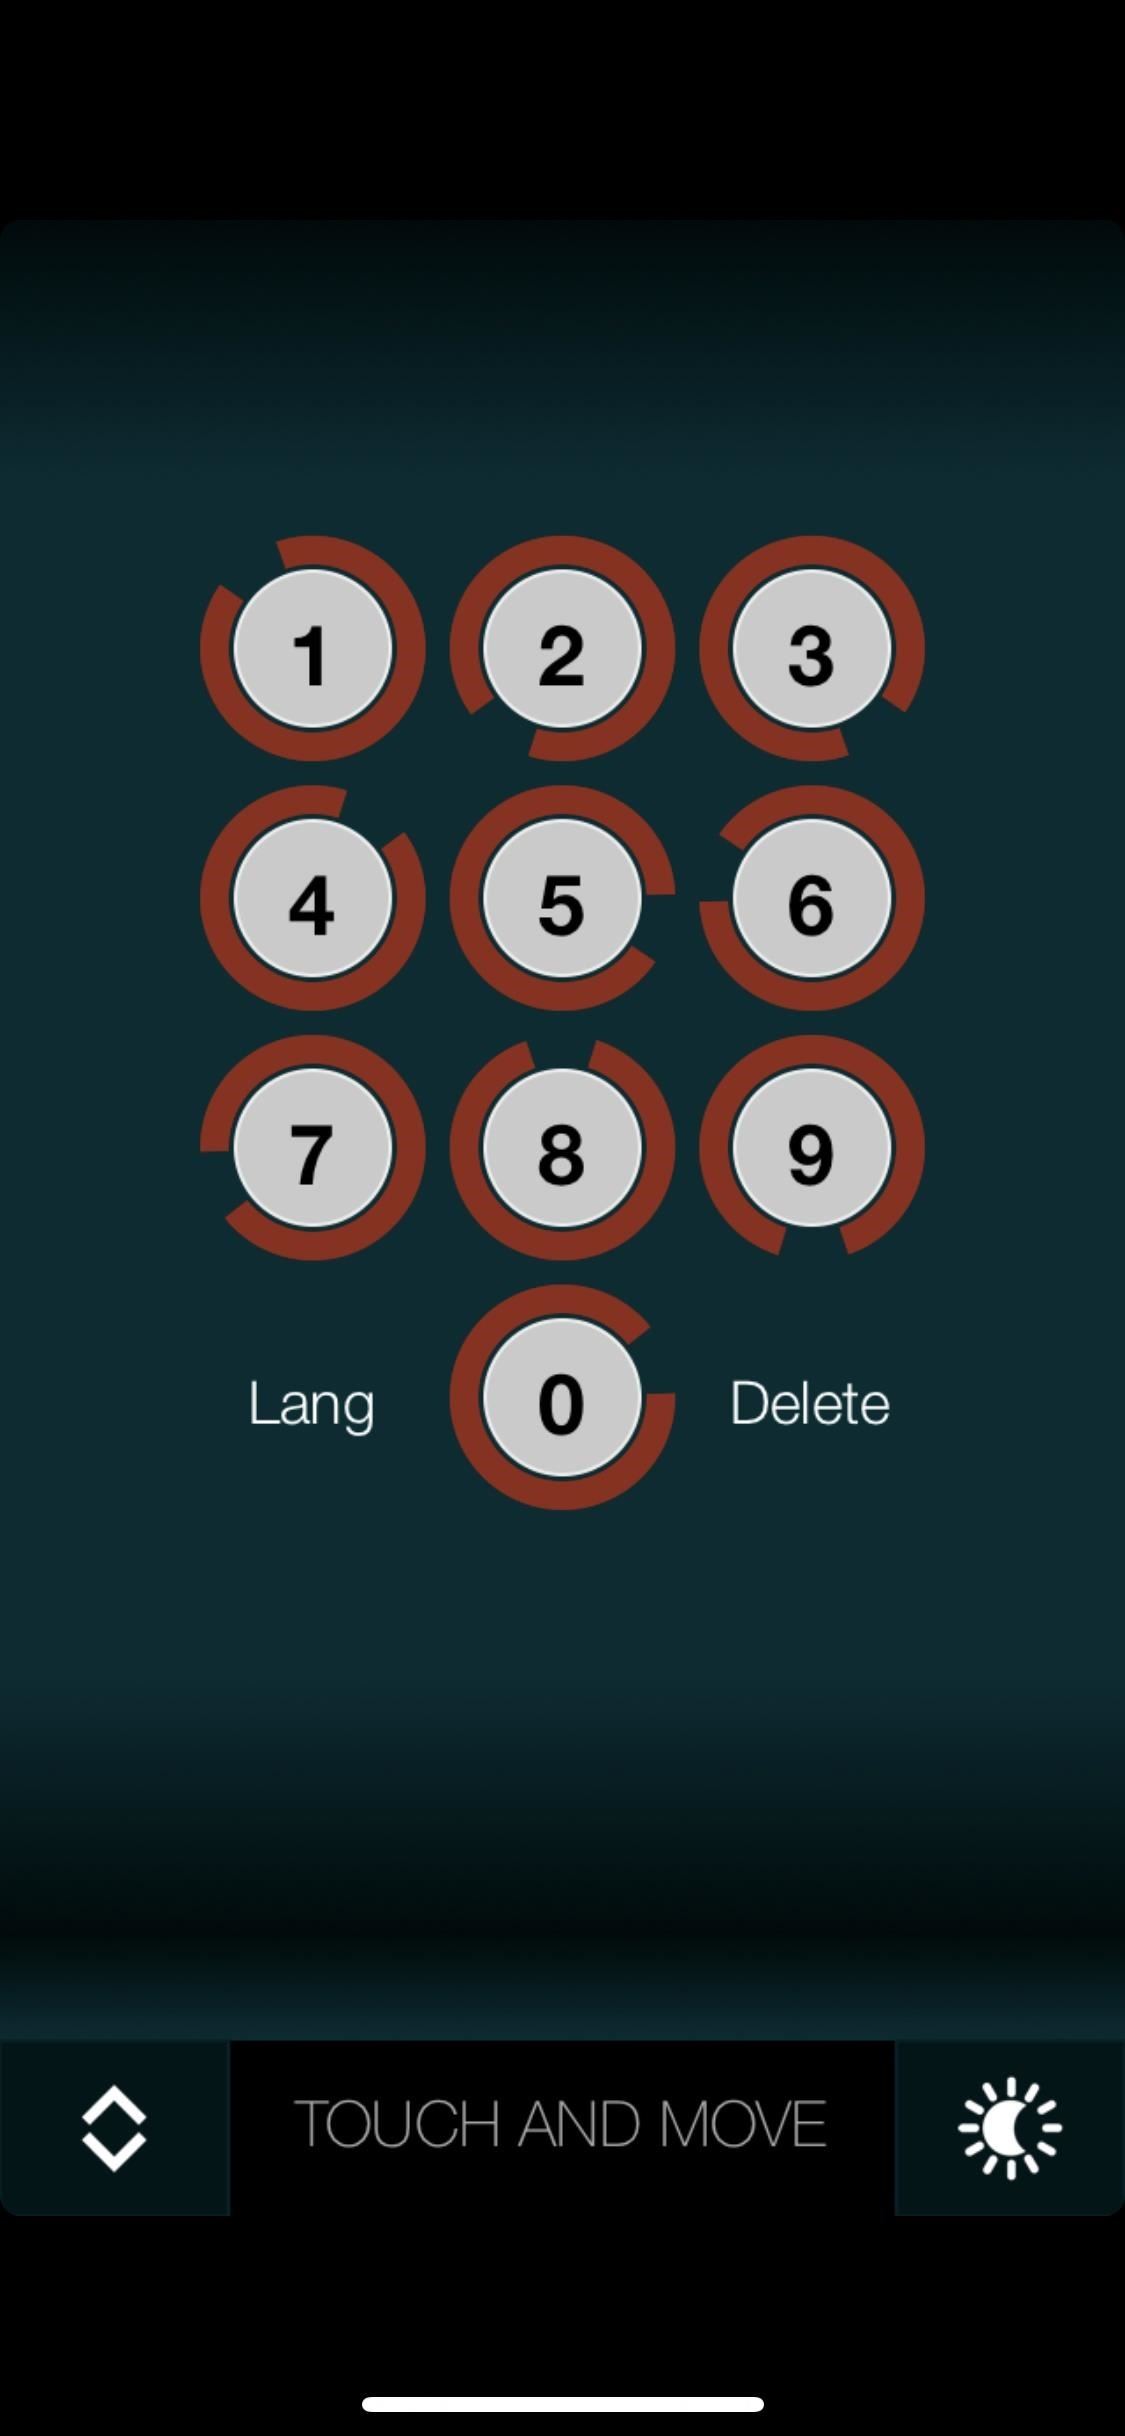
You'll still likely need to delete the media from Photos using Tip 4 above, but now you have more secure options for keeping your media private. For instance, TouchyNotes makes it so you can input your passcode right in front of people without them figuring out the passcode.
These tips focus mainly on photos and videos you take with the Camara app and store in your Photos album, so if you want privacy tips specifically for popular apps such as Facebook, Instagram, and Snapchat, you'll want to go check those out.
This article was produced during Gadget Hacks' special coverage on smartphone privacy and security. Check out the whole Privacy and Security series.
Just updated your iPhone? You'll find new emoji, enhanced security, podcast transcripts, Apple Cash virtual numbers, and other useful features. There are even new additions hidden within Safari. Find out what's new and changed on your iPhone with the iOS 17.4 update.


Be the First to Comment
Share Your Thoughts