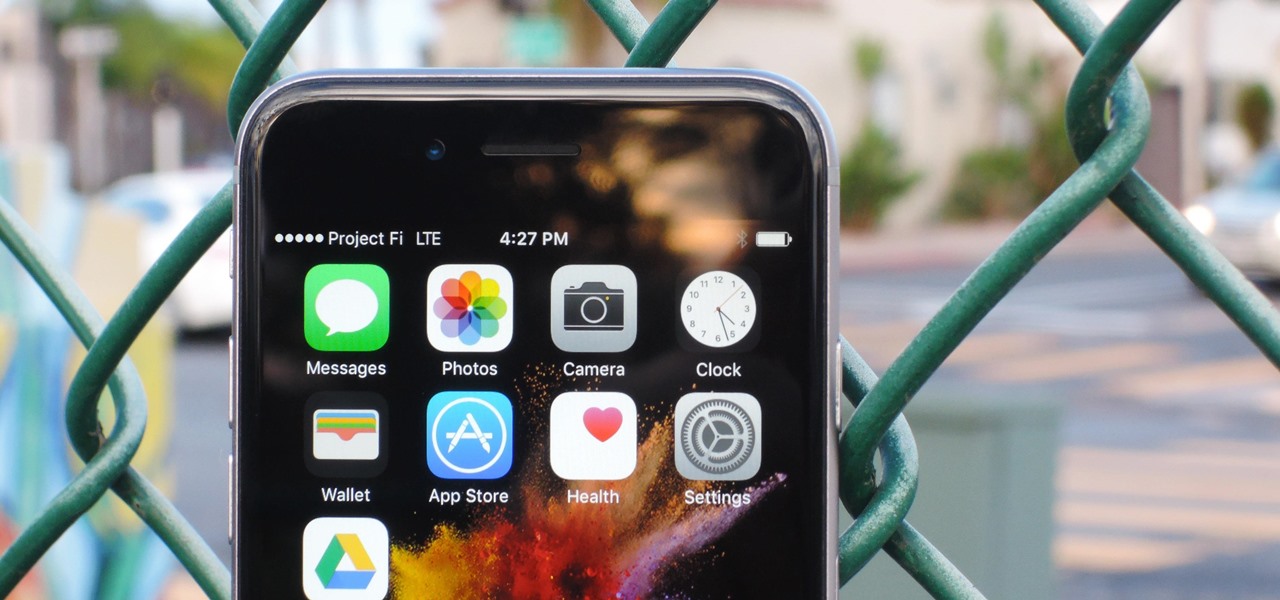

Google's next-gen cellular carrier, Google Fi, which replaces Project Fi, is making waves across the mobile industry. With super-cheap plans starting at only $20 and the ability to connect to millions of Wi-Fi hotspots across the globe, it's tempting many users to make the switch from AT&T, Sprint, T-Mobile, and Verizon Wireless.
And even iPhone owners can take advantage of Google Fi's cheap plans. Google Fi has officially supported iPhone models since late-2018, and there's also a Google Fi app on the iOS App Store. There are, however, a few quirks with setting Google Fi up on your iPhone, but we'll get to those below. So make sure to read through the entire guide before deciding if Google Fi is right for your iPhone or not.
Step 1: Make Sure Your iPhone Is Carrier-Unlocked
First up, you'll need to find out whether or not your iPhone is carrier-unlocked (also known SIM-unlocked or GSM-unlocked). If this isn't the case, your phone will refuse to connect to Google Fi's network, even if it's technically capable of doing so.
If you bought your iPhone from Apple directly, there's a good chance it's unlocked. If you purchased it from your carrier, you would probably have to unlock it. To learn more about carrier-locked phones and what needs to be done to get one unlocked, read through the following guide:
Step 2: Make Sure You're Okay with Fi's Limitations on iPhone
Next, you should know that iPhones are not capable of switching between Google Fi's three underlying networks, which are Sprint, T-Mobile, and US Cellular. Instead, any iPhone you use with Google Fi will be limited to only the T-Mobile network.
I'd recommend checking T-Mobile's coverage map before proceeding, just to make sure there's good coverage in your area. However, to ensure you get an exact representation of coverage, do not click the "Extended Range LTE-600 Mhz" overlay if you own an iPhone X or older (more on that later).
You might be concerned about the different bands and frequencies used by the various US carriers, but don't be. All iPhones sold in the US, regardless of if they were purchased through a carrier or directly from Apple, work on all critical T-Mobile frequencies. The lone exception is T-Mobile's new 600 MHz Band 71 network. The iPhone X and older — even ones purchased from T-Mobile themselves — won't work on this network. However, the iPhone XS, XS Max, XR, 11, 11 Pro, 11 Pro Max, and all future iPhone models do.
In other words, you'll get the same coverage with any US iPhone on Google Fi as a T-Mobile iPhone would get on the T-Mobile network, especially if you have an iPhone XS or newer.
Your iPhone will also lose a bit of functionality on Google Fi, at least for now. Texting (SMS) will not work over Wi-Fi. Apple's iMessage will operate as usual, but texting non-iPhone users will require that you're connected to a cell tower. Wi-Fi calling will not work, either. Google may add these features in the future, but I wouldn't hold out hope.
Finally, you will lose access to Visual Voicemail in the Phone app by switching to Fi. You will still get badges on the Phone app saying how many voicemails you have, but you will not be able to access them from there. Instead, you'll need to open the "Voicemail" tab in the Google Fi app to read transcripts of voicemails, as well as listen to and delete them. However, you may also receive transcripts of voicemails as text messages in the Messages app, which can be somewhat annoying if you don't want them showing up in two places.
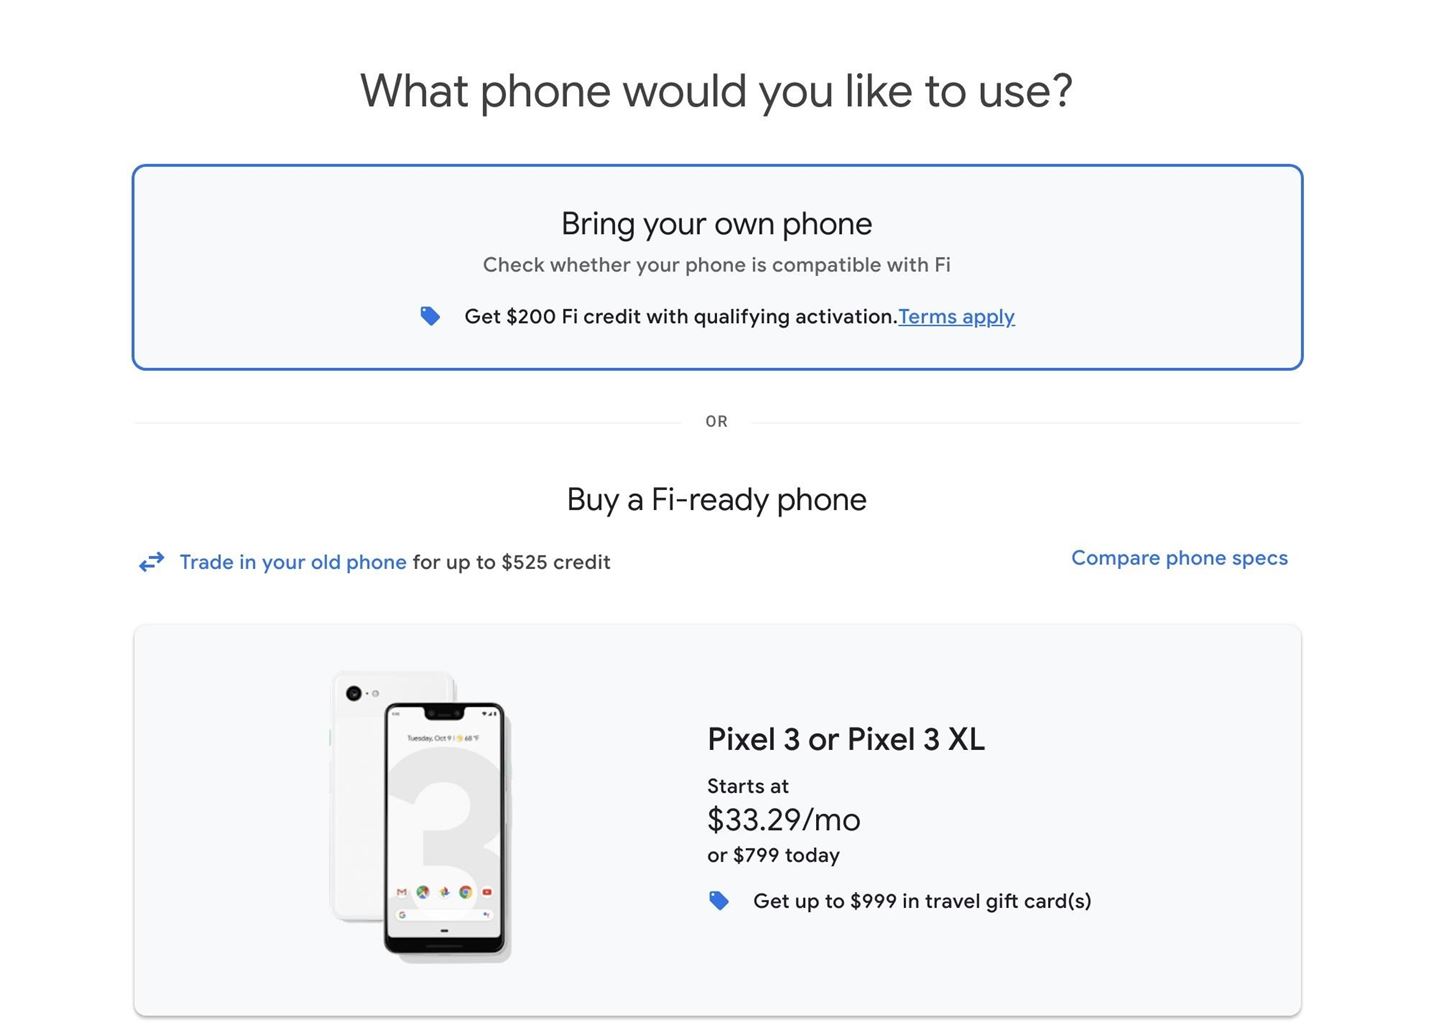
Step 3: Purchase a Project Fi SIM Card
If you're still interested in making the switch at this point, you'll just need a Google Fi SIM card. To get one, simply sign up for Google Fi, then make sure to choose "Bring your own phone" when asked to select a device. You won't be charged for the SIM kit that you can use with your iPhone.
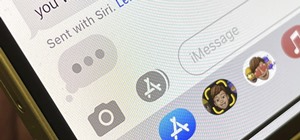
Step 4: Install the Google Fi App
Now, you'll need to get the Google Fi app on your iPhone. You can either search the App Store for "Google Fi," or you can jump right to the installation page by tapping the link below.
- App Store Link: Google Fi (free)

Step 5: Activate Your Google Fi SIM
From here, simply insert your Google Fi SIM card into your iPhone, then restart the device. When you get back up, open the Google Fi app, sign in with the Google account you used to activate Fi, then simply follow the prompts to get your new cell service up and running.
Step 6: Enable SMS & MMS Messages
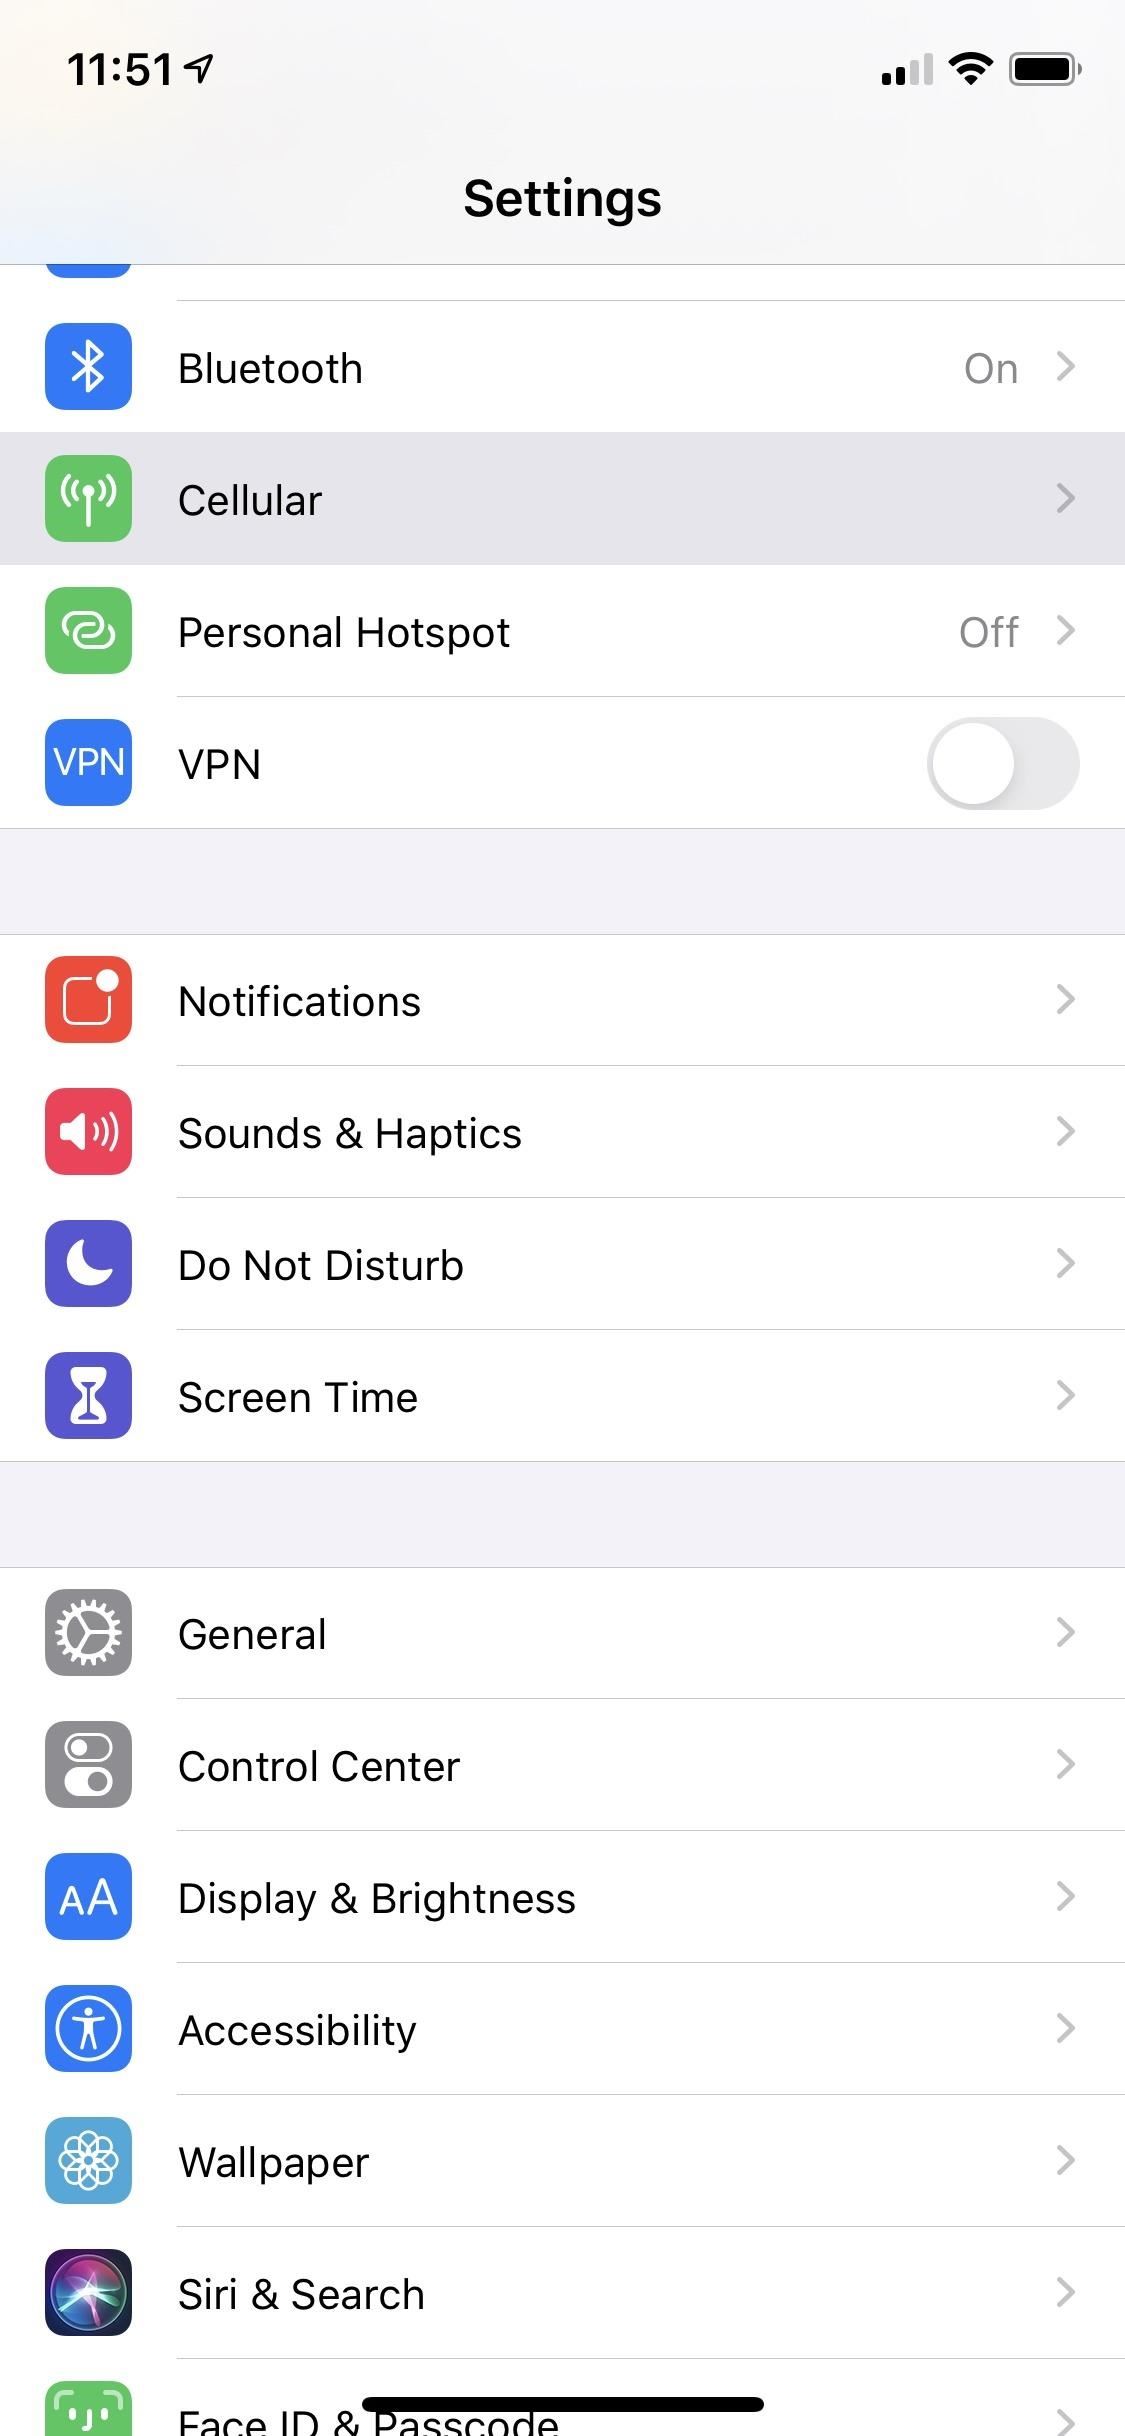
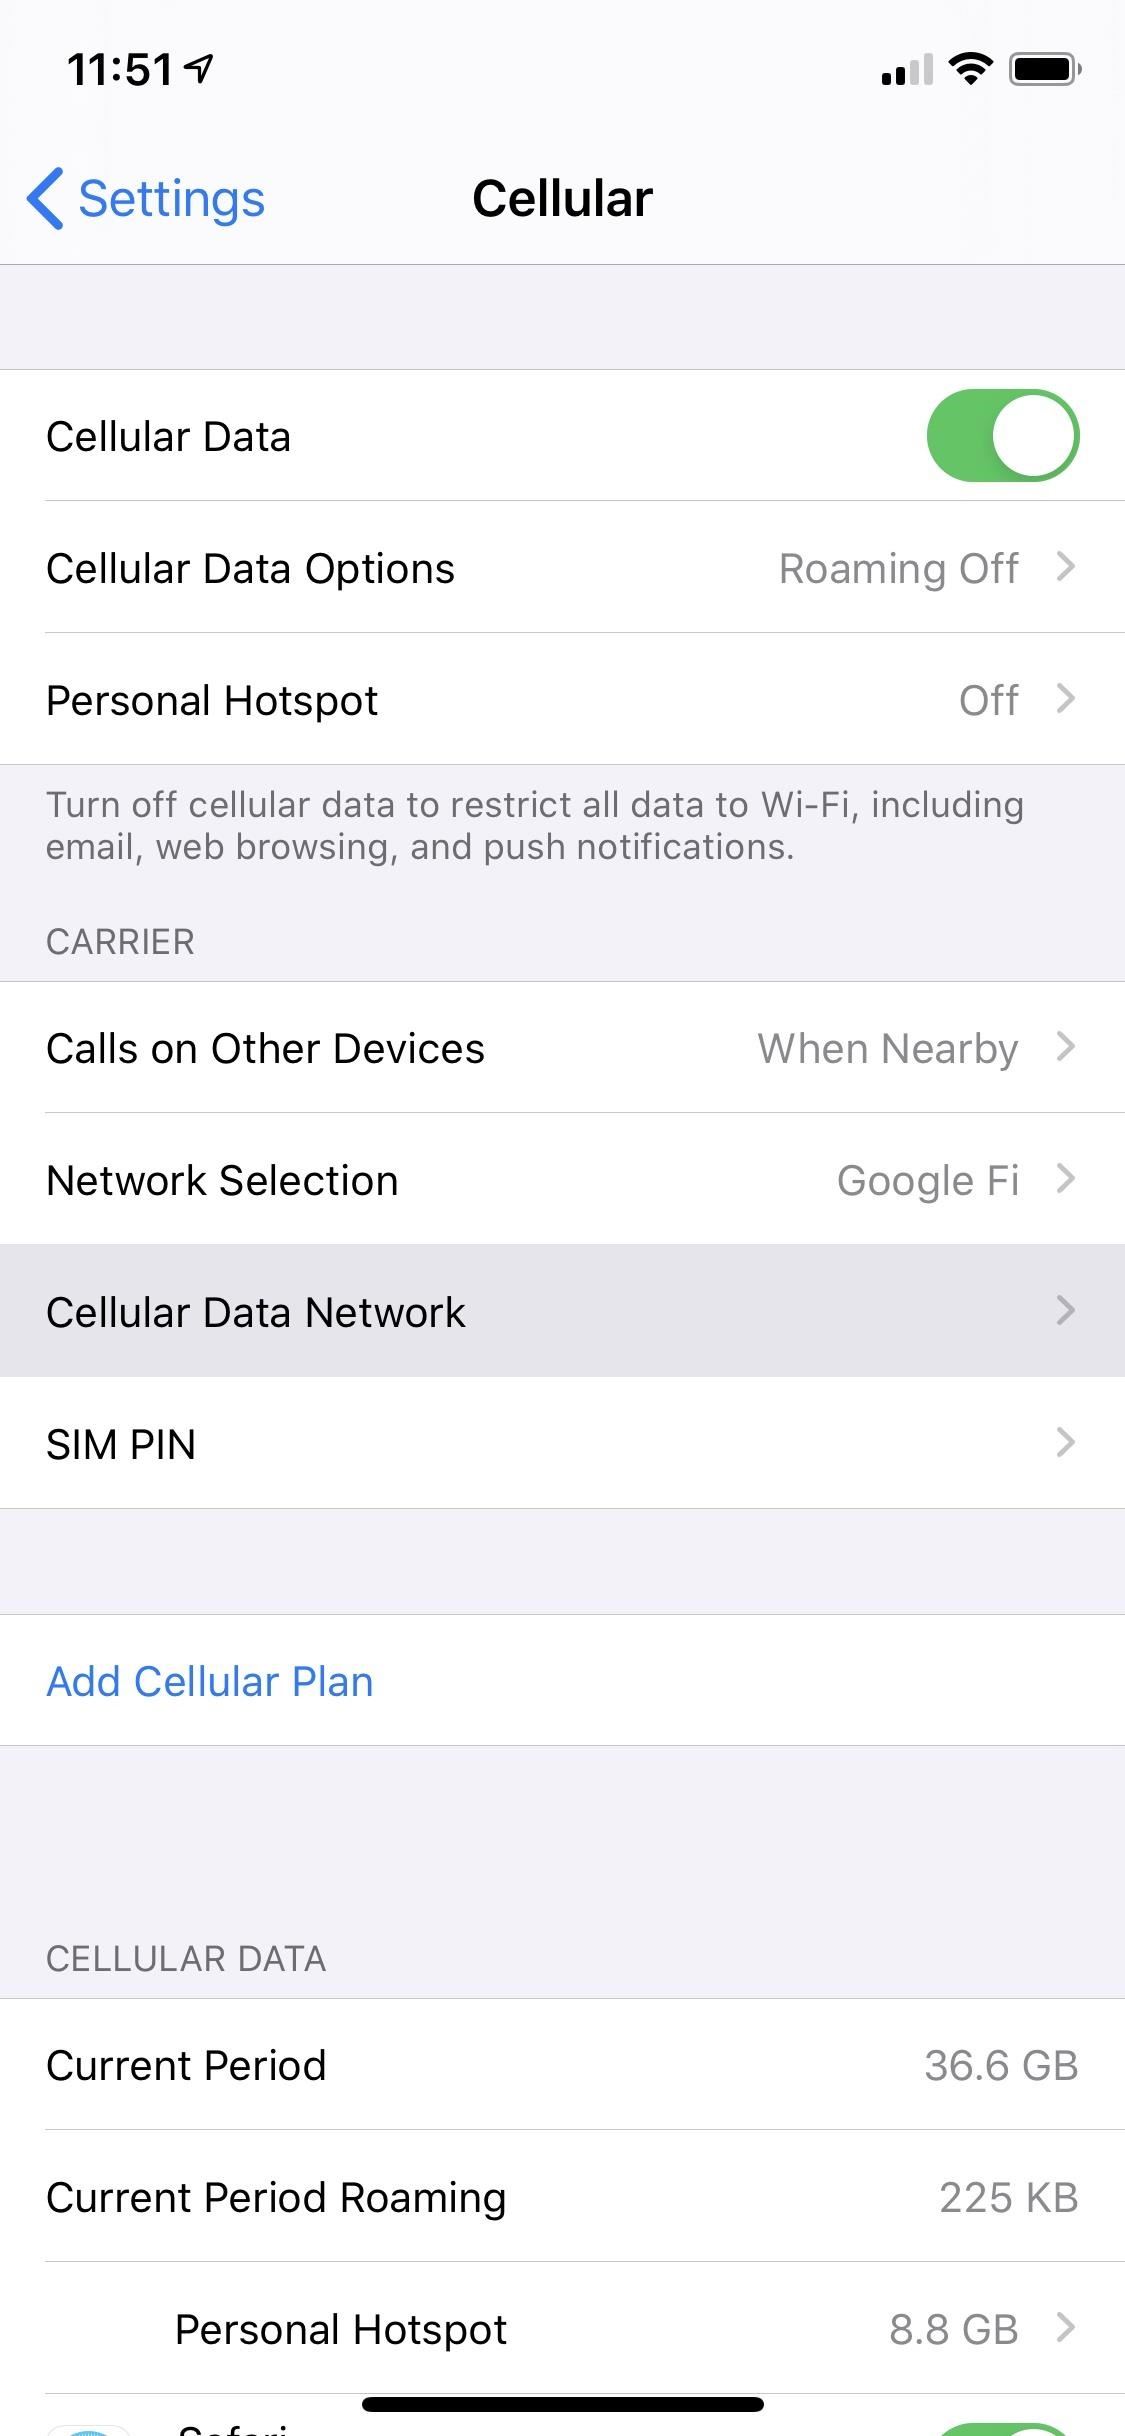
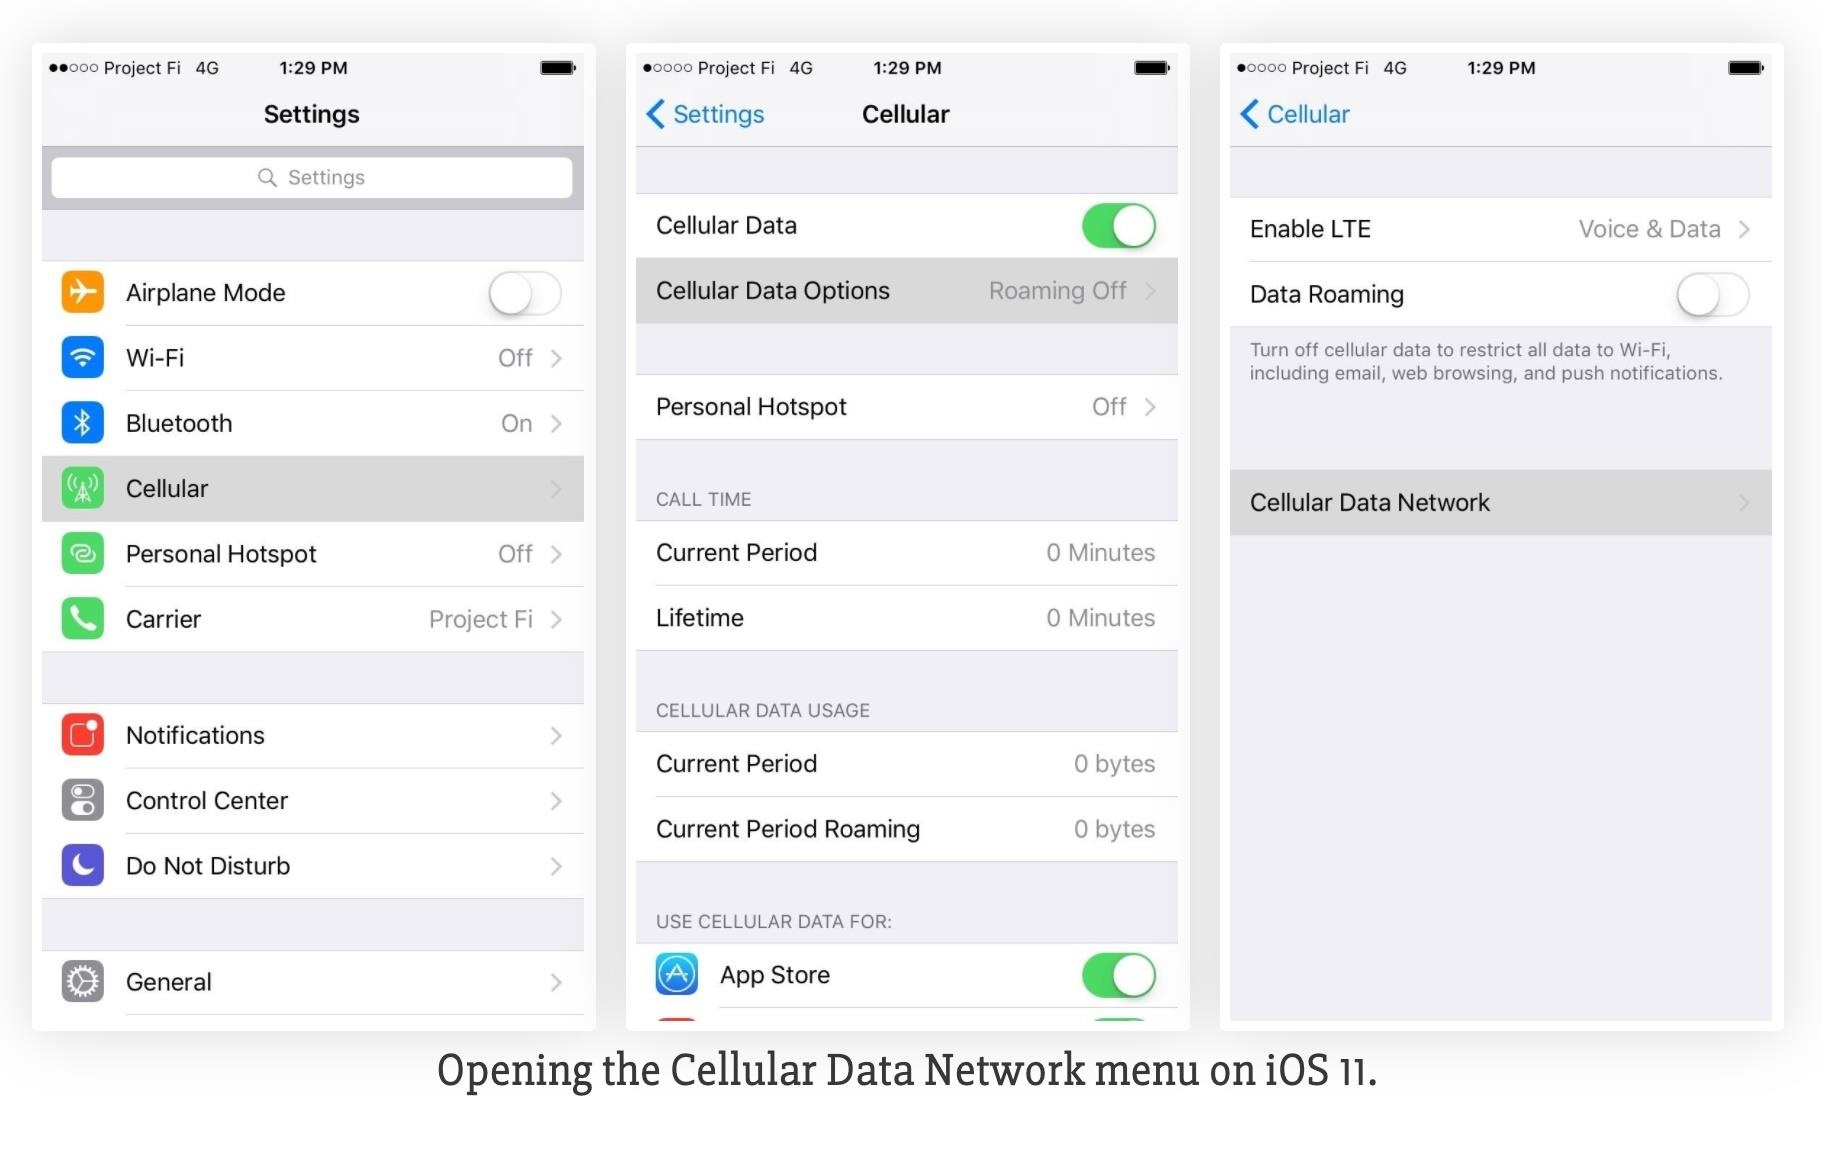
Now, to make sure your iPhone can send and receive regular non-iMessage text messages, you'll likely need to tweak some additional options. Open your Settings app and head to the "Cellular" menu. From here, if you're on iOS 12 or later, tap "Cellular Data Network." If you're on iOS 11, tap "Cellular Data Options," then "Cellular Data Network."
Next, you'll have to enter a few values into the provided fields manually. So copy the information below exactly as it's typed (leaving the blank fields blank, obviously), then enter it into the fields on your iPhone. Note that until recently, the MMSC field below was "fi.g.co/mms/wapenc" and MMS Max Message Size was blank, but Google changed those in early-2020, possibly because of MMS issues that users were having.
Cellular Data
APN: h2g2
Username:
Password:
LTE Setup
APN: h2g2
Username:
Password:
MMS
APN: h2g2
Username:
Password:
MMSC: http://m.fi.goog/mms/wapenc
MMS Proxy:
MMS Max Message Size: 23456789
MMS UA Prof URL: http://apple.com/mms/uaprof.rdf
Again, the MMSC and MMS Max Message Size fields were changed as recently as March 2020, likely because of issues iPhone users had sending photos and videos via MMS, which would almost always result in "Not Delivered" alerts. Now, that seems to be fixed.
- Need to Know: How to Get MMS Photos Really Working on Google Fi
Also, it should be noted that while Google Fi does not explicitly ask that you add the MMS UA Prof URL as we have it above, it doesn't hurt to include it. It's the User Agent Profile that Apple provides to wireless network carriers that give them information on how to best use MMS services on the iPhone, including the file types and character sets accepted.

When you're done there, restart your iPhone again. After that, Google Fi will be fully set up and ready to go!
Step 7: Disable Hangouts Integration (Former Fi Users Only)
If you've used Google Fi in the past on another device, there's a chance you'll have trouble receiving SMS and MMS messages on your iPhone, even after setting up the Cellular Data Network options. If this is the case, log in to Hangouts on the web with the same Google account you used to set up Fi.
From there, click the hamburger menu (three horizontal lines) in the top-left corner and choose "Settings" from the menu that appears. Next, disable the "Receive SMS and voicemail in Hangouts" option, and you'll be good to go.

It's worth noting that SMS and MMS messages you missed while that setting was enabled will be available to view in the Hangouts app or on the web. Still, unfortunately, you can't import these missed messages into your iPhone's standard Messages app. However, future messages will show up in your Messages app going forward.
Conclusion
Even though Google Fi is slightly handicapped on the iPhone, it's still a very cost-effective network, and your reception will always be at least as good as it would be if you were on T-Mobile. The potential for saving money is very high with Google Fi, as we found that you'll pay less than the average monthly cell phone plan regardless of how much data you use.
However, considering all of the quirks, Google Fi might not be the best low-cost carrier for all iPhone users. For one thing, you're limited to T-Mobile cell towers, so you're losing half of the benefit of Fi — its ability to connect to Sprint, T-Mobile, or US Cellular towers.
Of course, Google Fi could still be the right solution for some iPhone users — particularly if you use less than 1 GB of data every month. If that were the case, you'd be paying less than $30 for service, and there aren't any cell service plans that can beat that price.
Editor's note: This article previously featured the workaround for getting Project Fi working on an iPhone when Google did not support iPhones. It has been updated to reflect Google's new Google Fi plan which does support iPhones.
Just updated your iPhone? You'll find new emoji, enhanced security, podcast transcripts, Apple Cash virtual numbers, and other useful features. There are even new additions hidden within Safari. Find out what's new and changed on your iPhone with the iOS 17.4 update.


14 Comments
iPhones purchased from Apple, Verizon and sprint are capable of using GSM and CDMA networks. So if that's the case could you force roam on sprints network if T-Mobile is down? like near aviation bases??
You can't force your none official Project Fi phone (aka iPhone) to use any CDMA network like Sprint or Verizon even if it technically supports them. The reason being it was never activated on those networks to begin with. When you are activating Project Fi sim in official Google Phone it also activates that phone for access on Sprint network.
this site was referenced on multiple other sites.
https://apn.gishan.net/
look up your phone manufacturer, model, and service provider. make sure you look at the correct phone model. the settings for each phone are slightly different.
Great guide I used your guide many months back to get Project Fi for traveling. Aside from some quirks, it works pretty good. You can also install Google Hangouts on your iPhone for Voicemail and Text. If you want to read my experience of using Project Fi for 5 months, I wrote a post on it.
Have had no luck getting mms to work. Has anybody else had any luck? I can neither send not receive them - although it appears to try. In both cases I either get (or send) an sms message that starts with MMS: xxxxx
Using the second method (T-mobile APN) I can send MMS to android, but cant receive. Any idea why? Also, how come you dont have the "-" in t-mobile for the first few URLs?
I activated my own SIM on a Nexus 5x that I purchased, but was unable to activate a second line on the device. I'm guessing the "use a friend's google phone" trick will only work if their phone doesn't also use Fi already.
One of the other benefits to Fi is the ability to request additional data-only SIM cards, which can be put into any unlocked device: iPads, iPhones, other tablets, etc. These SIM cards draw data from the same pool, rather than having their own minimum charge monthly.
Lastly, international travelers pay the same $10/gb in many countries, meaning you can skip the huge fees from other carriers, and also skip trying to sort a local SIM when you are bouncing around tiny countries in Europe, or border hopping on other continents.
So a few comments from someone who JUST set this up...
This all came up because the phone i used to activate my sim on, started getting my SMS messages, in addition to me. So make sure you use someone's phone you can make sure will deal with possible problems. This sorted all my issues and allowed me to get regular SMS to my iPhone messages app (but with the weird ~12345Number thing... but who cares)
Hi,
With this procedure, were you able to activate two Fi SIM with the same phone? I'm trying to activate multiple SIM for family's iphones when I get a Pixel on Project Fi.
Anyone used their iPhone abroad on the Fi network?
One of the benefits of the Google Fi is that you can use it in 135 countries the same as you use in the US.
My friend's fi sim works fine in my iPhone, but my own fi sim isn't working for me... how can this be? I've followed the instructions, but my iPhone just says "no service" when I put the sim in, even if I restart, add h2g2 for APN settings, toggle airplane mode. Anyone have any ideas? I checked my fi account settings, and international use is enabled. I can't think of any reason for this - what should I do?
Was the issue resolved? I ordered two sim's, one activated perfectly, the 2nd one however after activation shows "no sim" on multiple iphones? wonder if its issue with the sim card.
I had a smiliar issue. Got a replacement SIM and it worked fine. I believe its a faulty SIM. Worth a try.
I've installed my sim into my unlocked iphone. SMS and MMS messages work fine, and I can make calls, however, my phone does not ring or receive calls. Does anyone else have this problem? Does anyone have a solution to this?
I'm having to forward my number to a skype number, and use wifi or data to receive calls, which defeats the purpose :(
Share Your Thoughts