

You can't predict the future, but you can prepare for it. On the off chance that you get hurt in a car accident, take a nasty tumble, fall down a cliff, have a seizure, or get struck by lightning, it's always good to carry up-to-date information about your health in case you can't speak for yourself. A physical medical ID wallet card or bracelet can provide the information, but so can your iPhone.
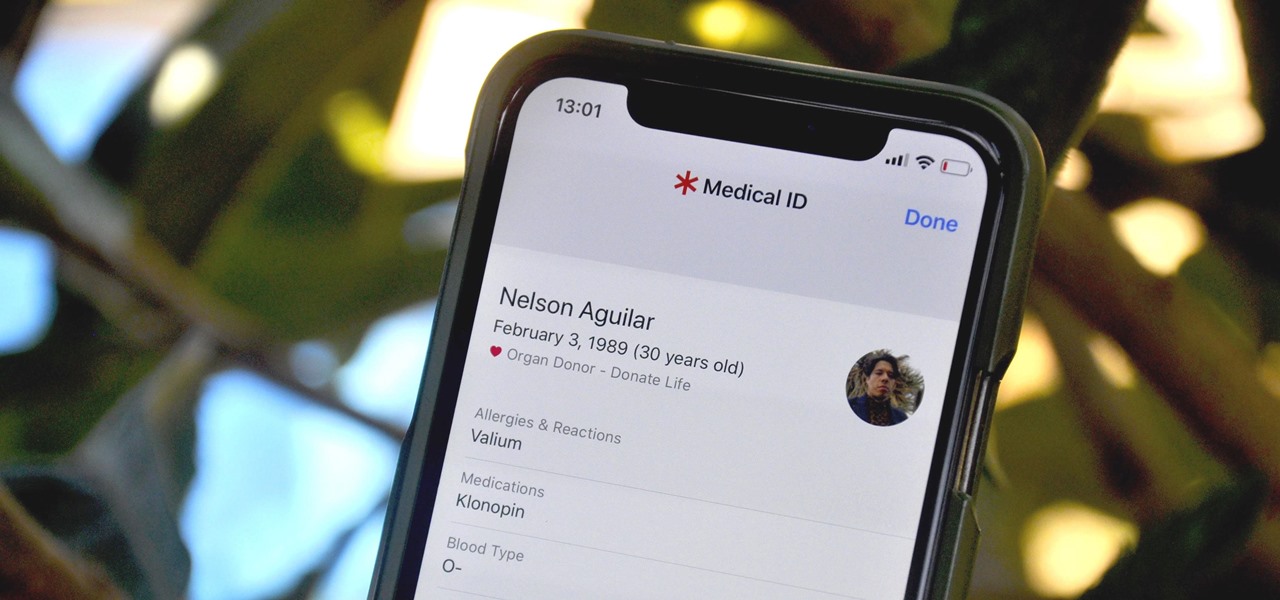
The little-known feature is in Apple's Health app, an excellent tool for keeping track of exercise stats, nutrition data, sleep activity, and more. Introduced in iOS 8, you can set up a Medical ID on-screen "card" consisting of your most pressing health data. That info can help first responders, nurses, doctors, and caregivers, as well as coworkers, family, friends, and even strangers, in the event of an emergency.
Step 1: Create Your Emergency Medical ID
While the feature has been available in the Health app since iOS 8, it's best to make sure you're running the newest iOS version possible, so update your iPhone if need be. Currently, you'll want to be at iOS 13 or higher, which we focus on in this guide. To get started, create your Medical ID using one of the following ways:
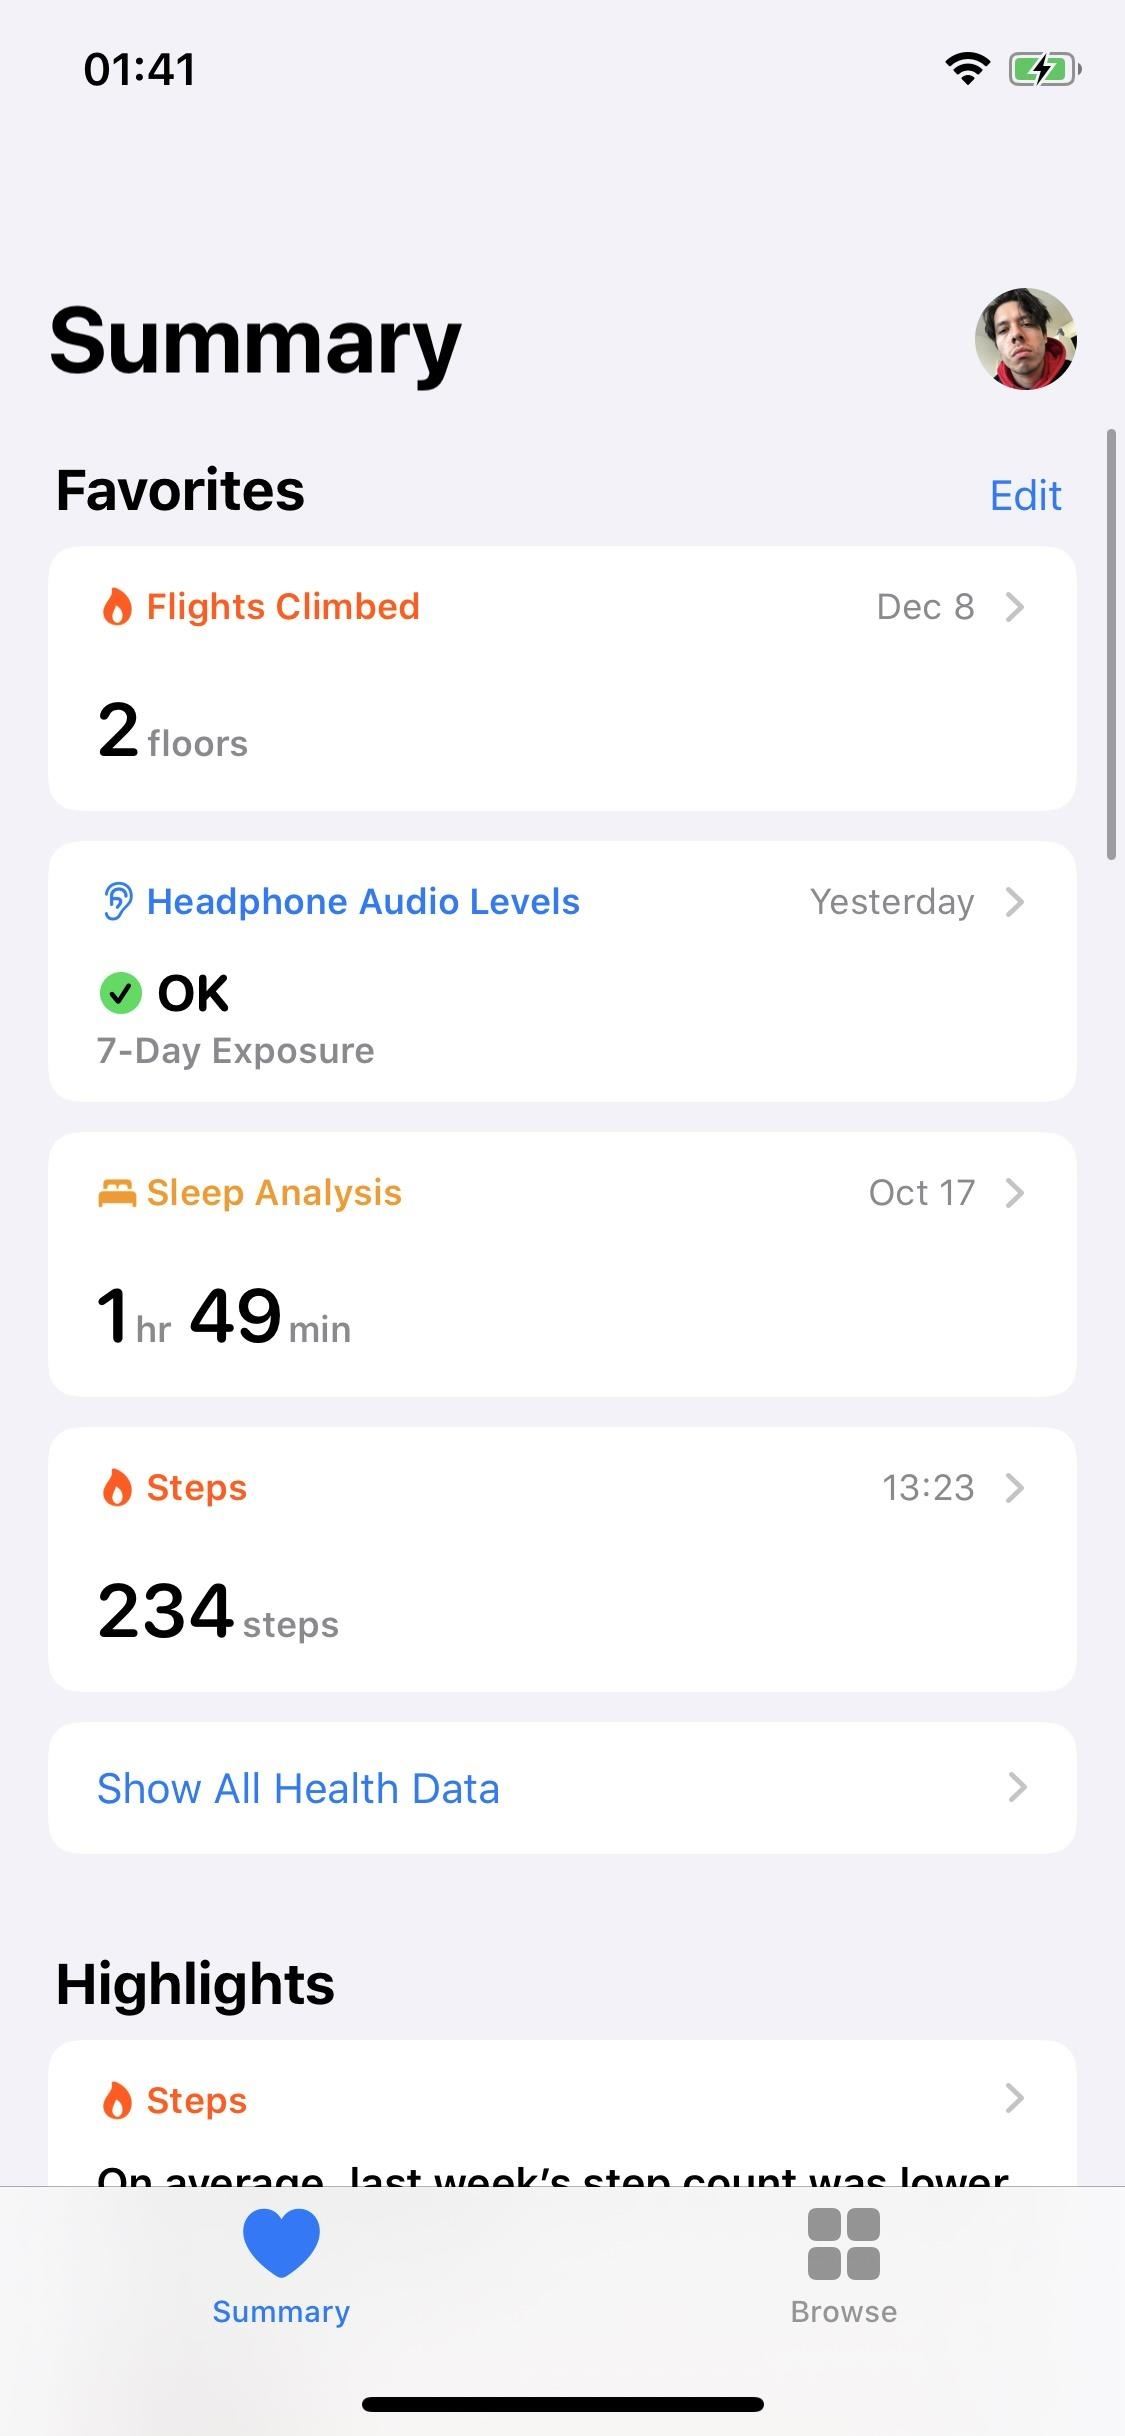
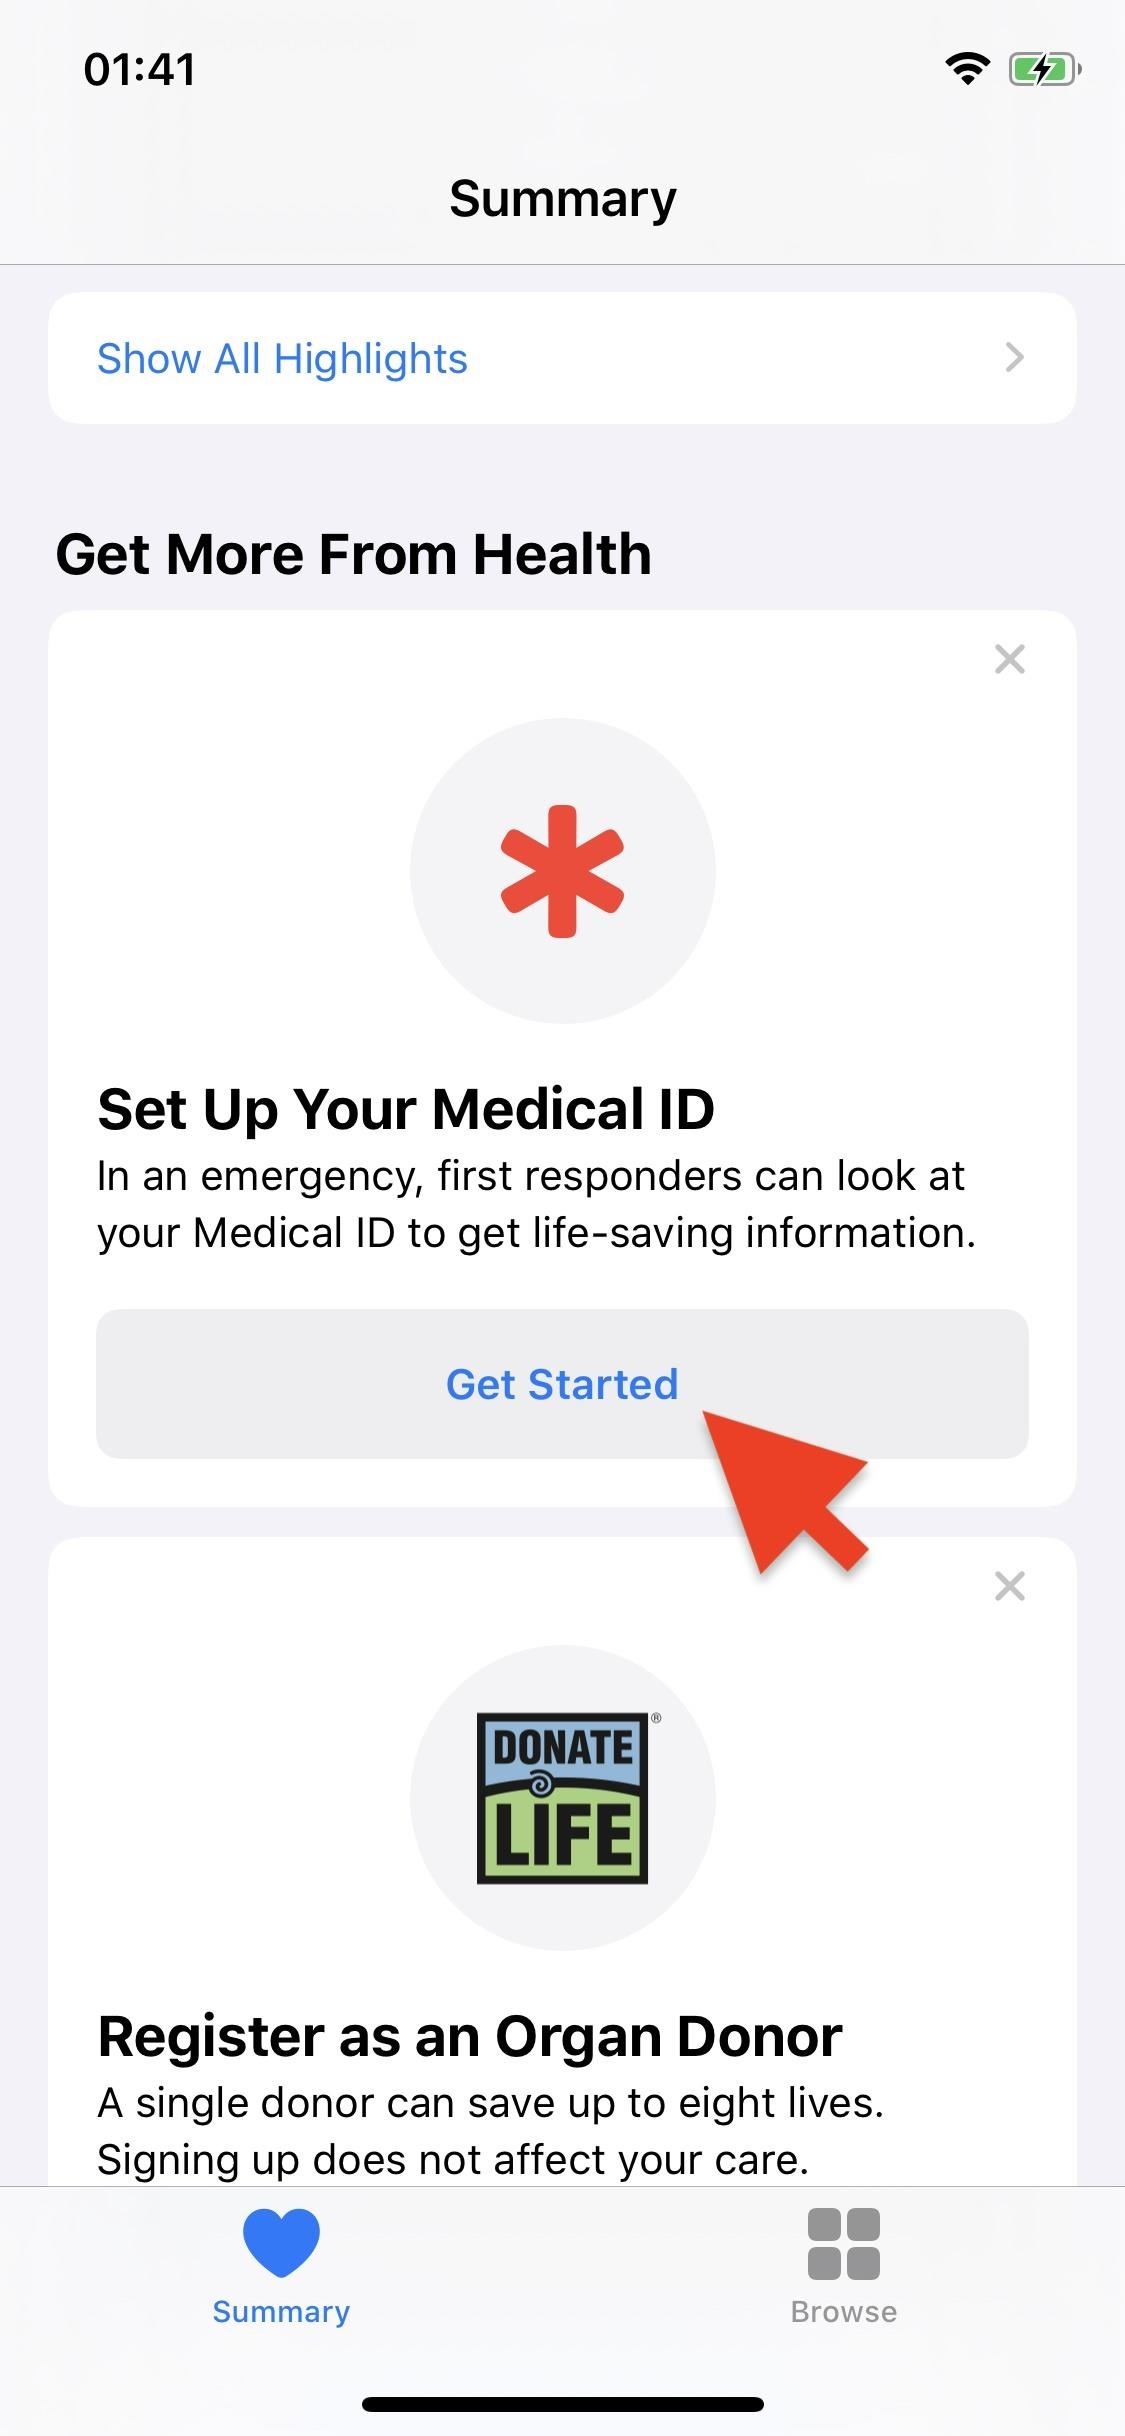
- Scroll down the "Summary" tab in the Health app, and tap "Get Started" on the Set Up Your Medical ID card. (Shown in the images below.) If you already have one set up, it will not appear here.
- In Health, select the "Summary" tab, tap your profile icon in the top right, then on "Medical ID" under Medical Details and "Get Started." If you already have one set up, tap "Edit" to update it.
- From either the Phone or Contacts app, tap "My Card" at the top of the contacts list, scroll to the bottom, and tap "Create Medical ID." You can also create one while editing your contact information. If you already have one set up, tap "Edit" on your contact card, then "Edit Medical ID" to update it.
- In the Settings app, tap "Health," then "Medical ID," followed by "Create Medical ID." If you already have one set up, you can't edit it here.
In iOS 12 and under, open up the Health app, tap "Medical ID" in the bottom right, then "Create Medical ID" to get started. You can also get started from your contact card, as mentioned above.
Step 2: Add Health Facts That Could Help in an Emergency
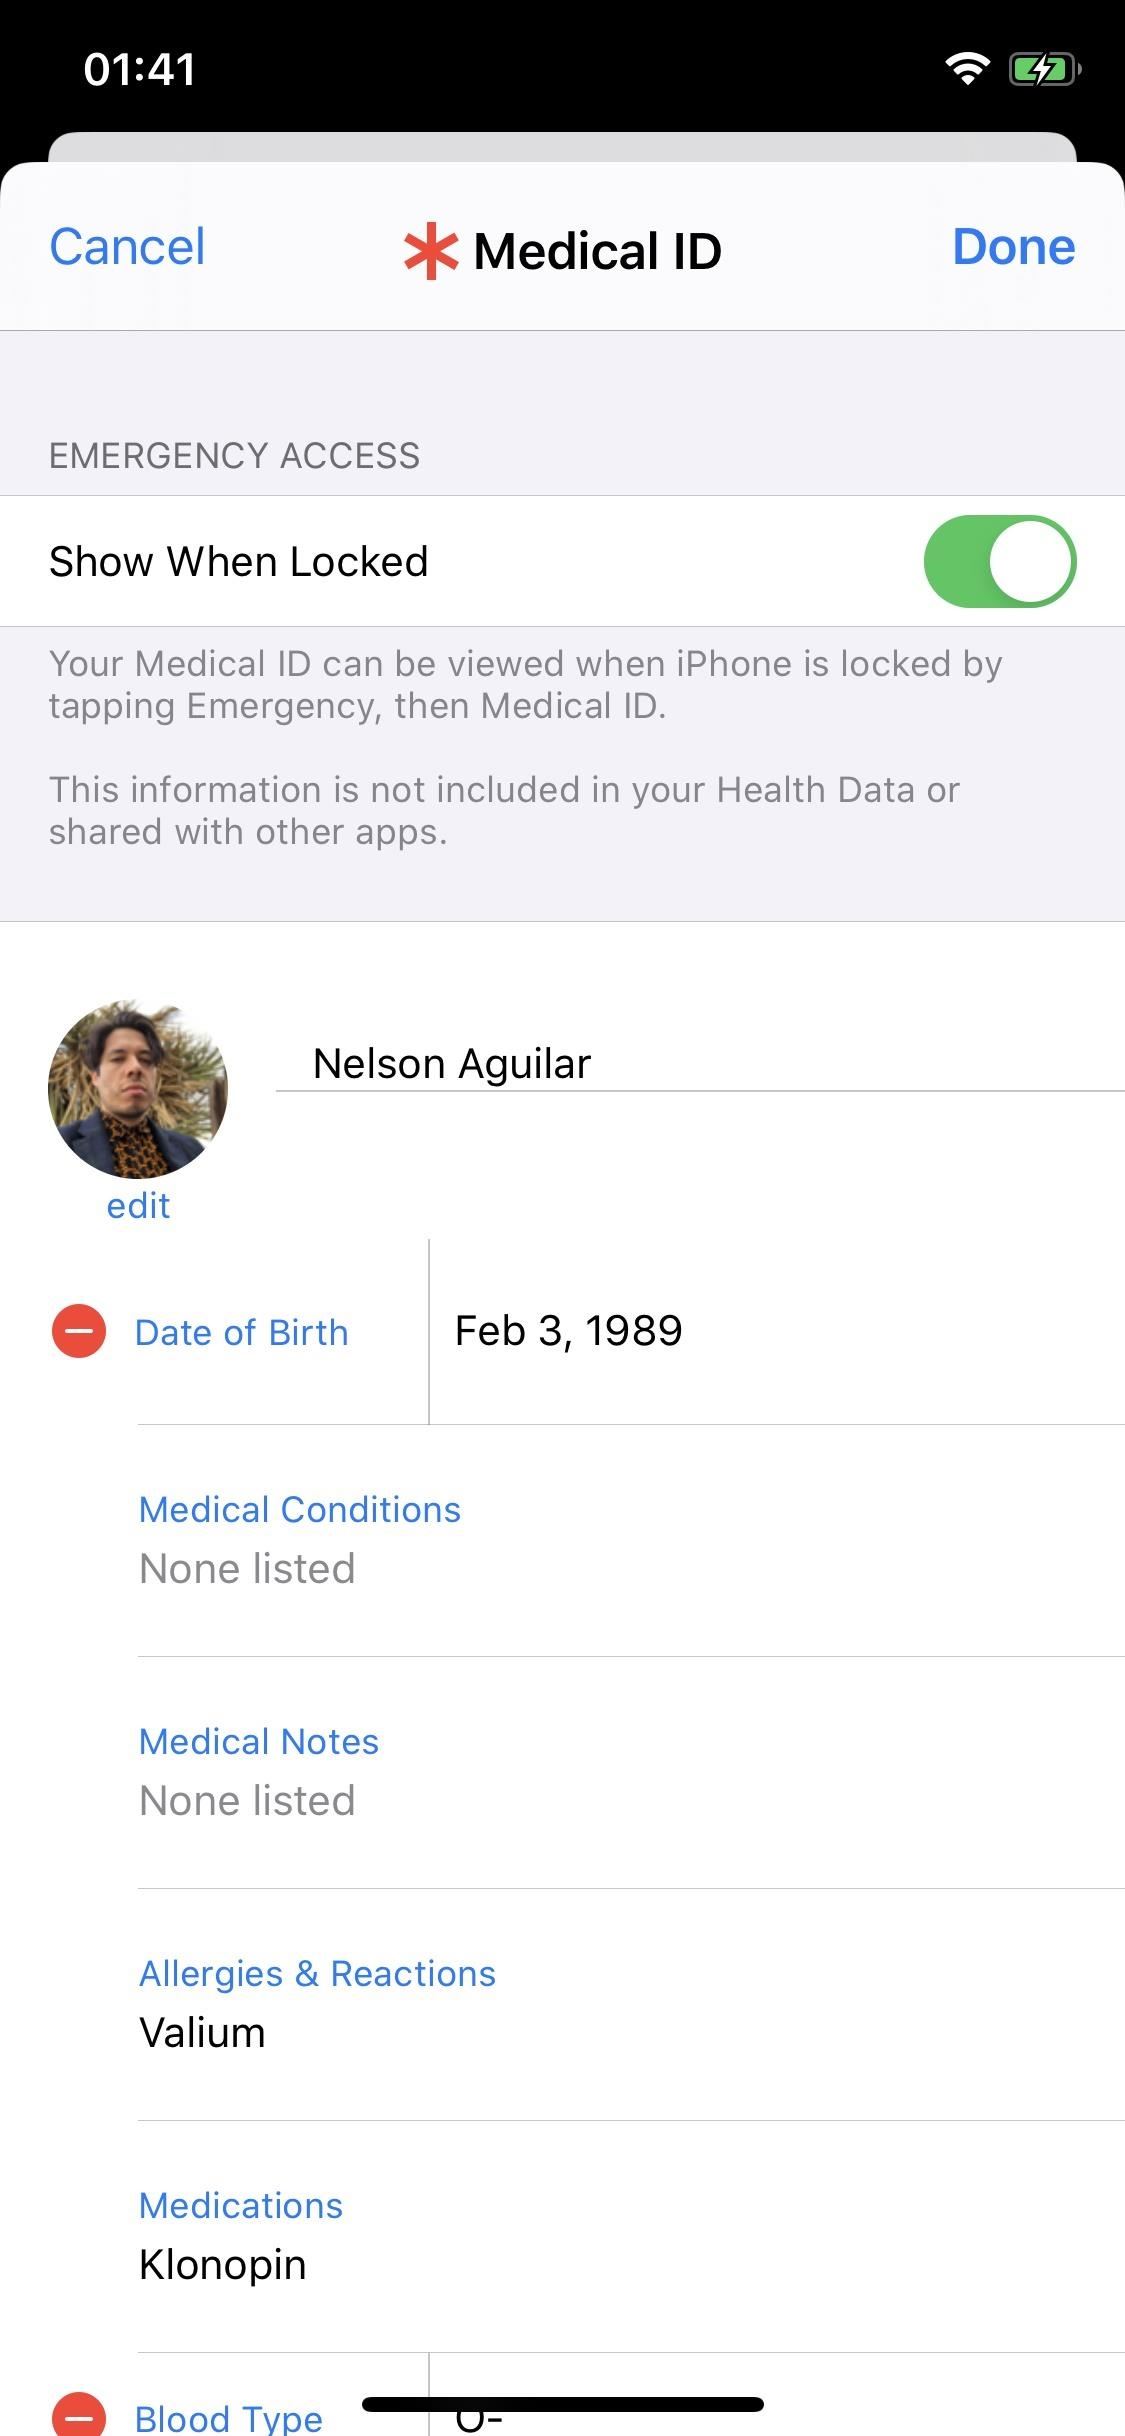
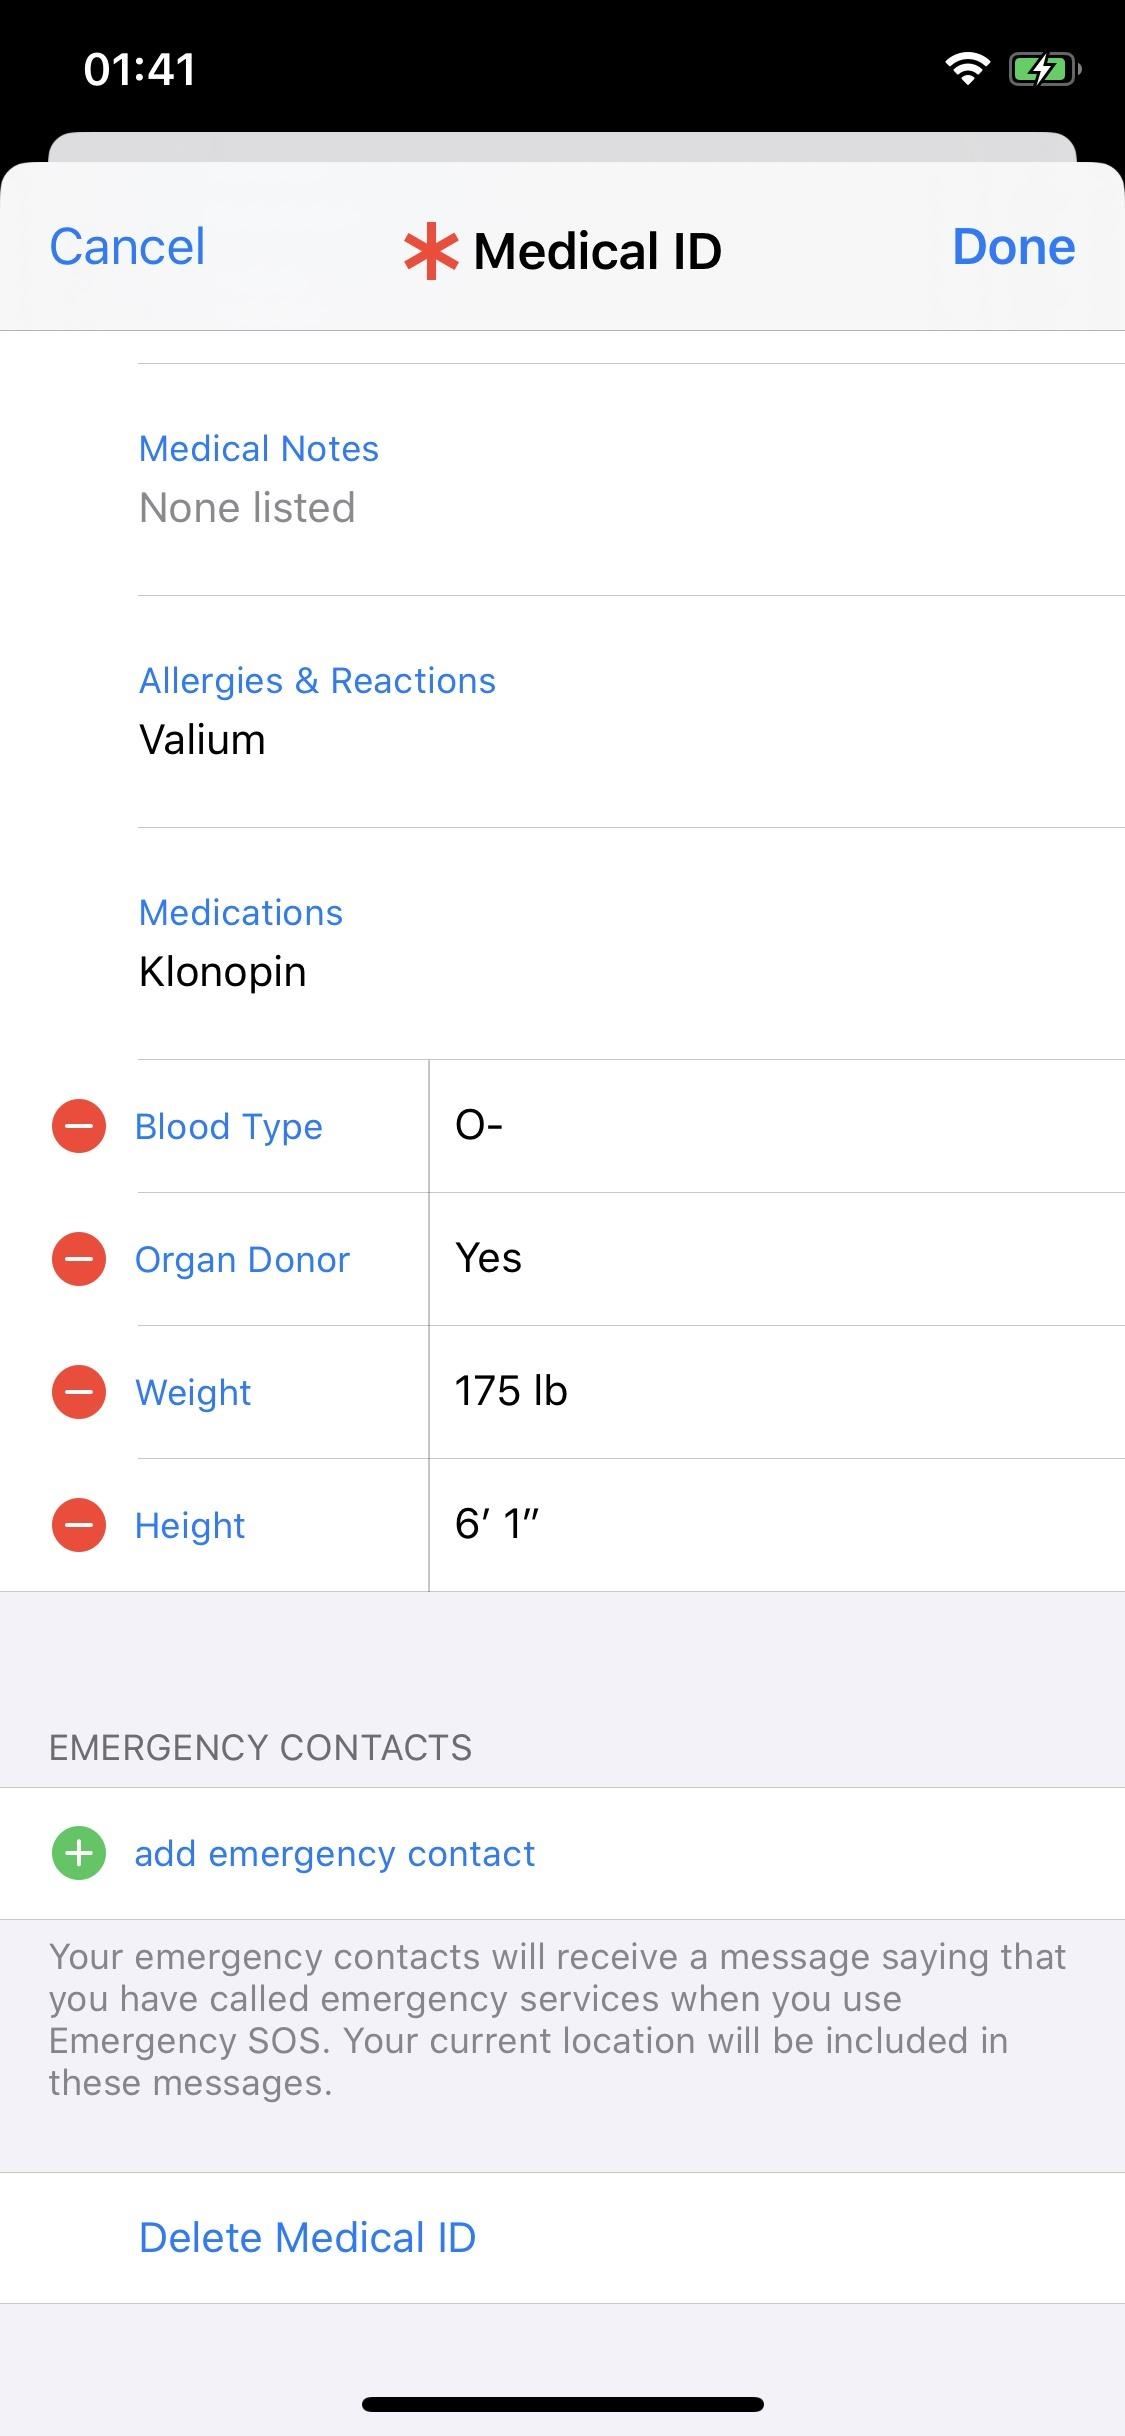
Once the editor is open, begin filling out information such as your full name, photo, birth date, medical conditions, allergies, medications, blood type, whether you're an organ donor or not — anything that is relevant to your health. Put down anything that could help in saving your life or making medical treatment smoother in an unforeseen health predicament.
For instance, if you're in an ambulance for an abnormally fast heart rate and get queasy, they may give you Phenergan to treat nausea. If you're allergic and can't speak to tell them, you could end up with idiosyncratic reactions that impair your mental and physical ability, which could complicate the whole reason you're there. Adding a reaction or allergy here can decrease the odds of this happening.
Step 3: Edit Your Emergency Contacts
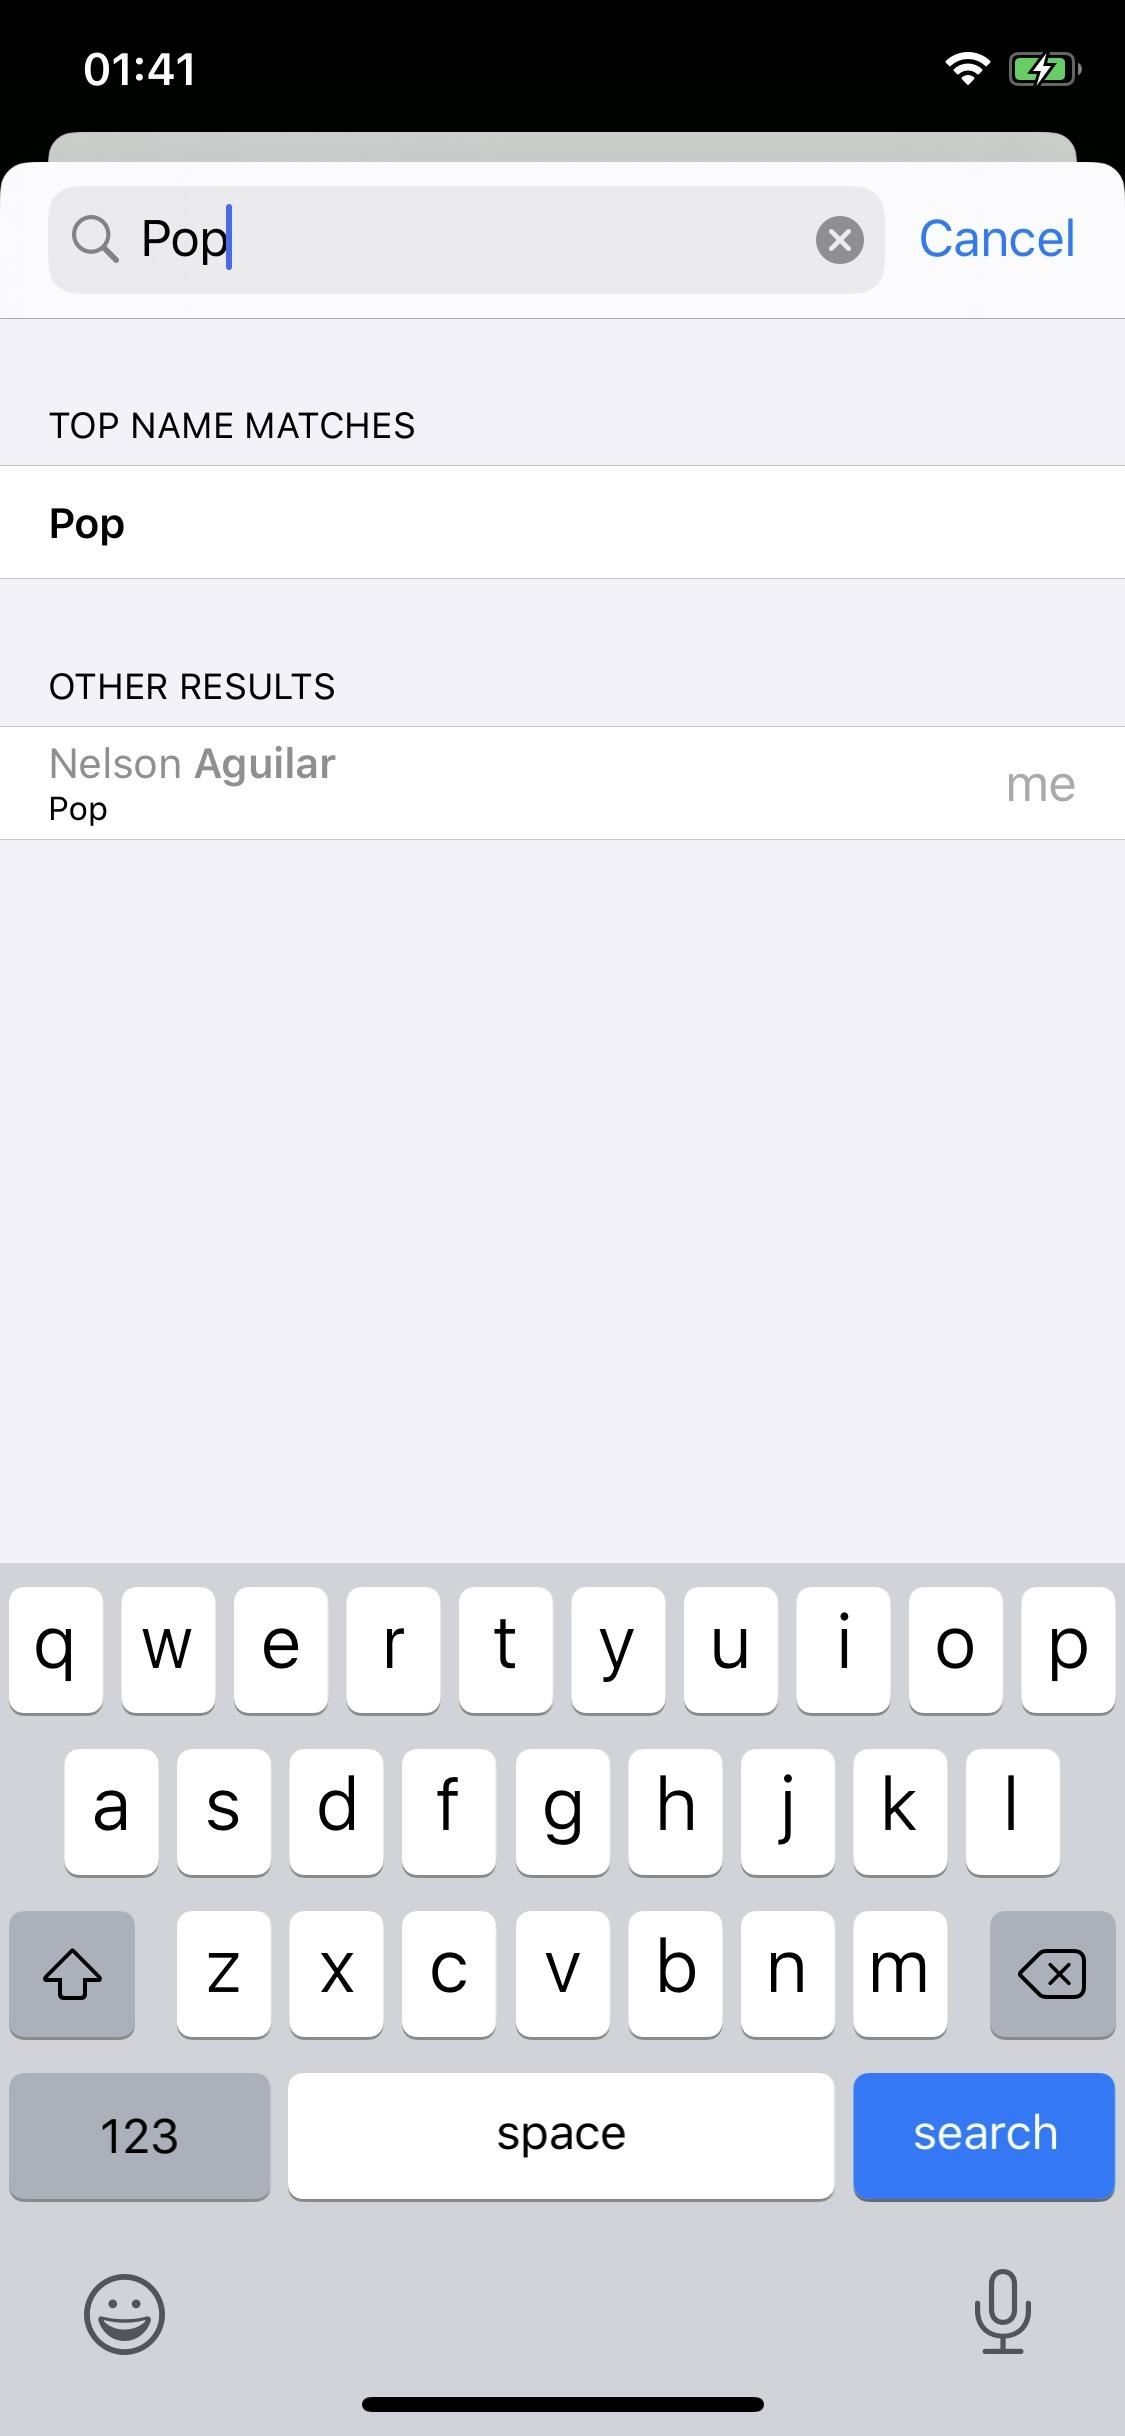
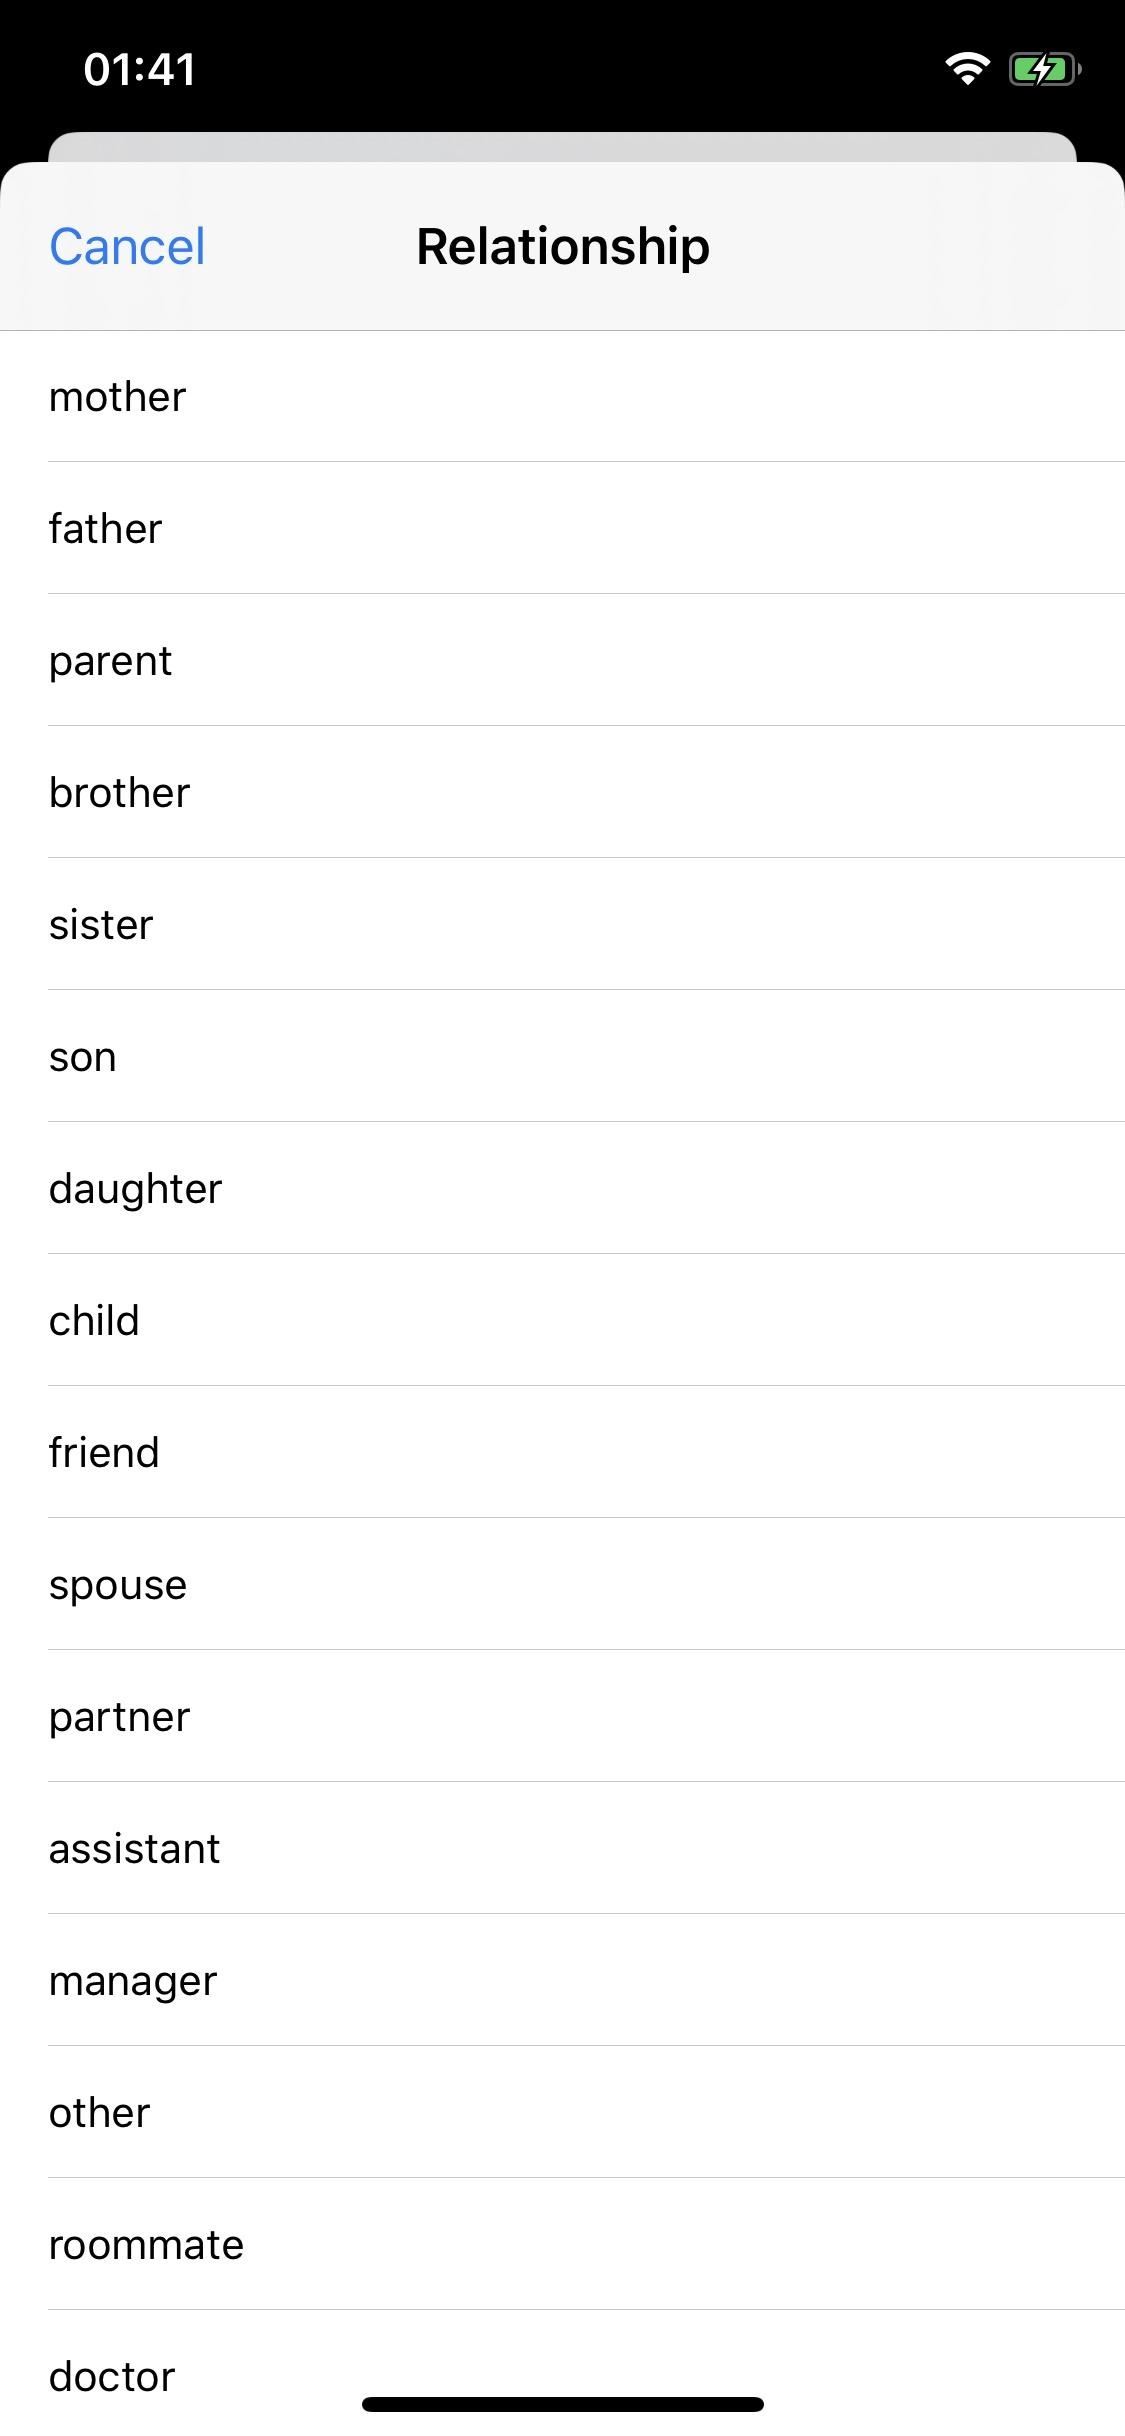
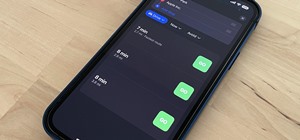
Aside from your health data, you can tap "add emergency contact" to do just that. Choose a contact from the list, then the best phone number, and establish your relationship to that contact. That way, if you end up in a hospital or someone finds you walking around confused, they can contact your emergency contact to notify them or find out what to do.
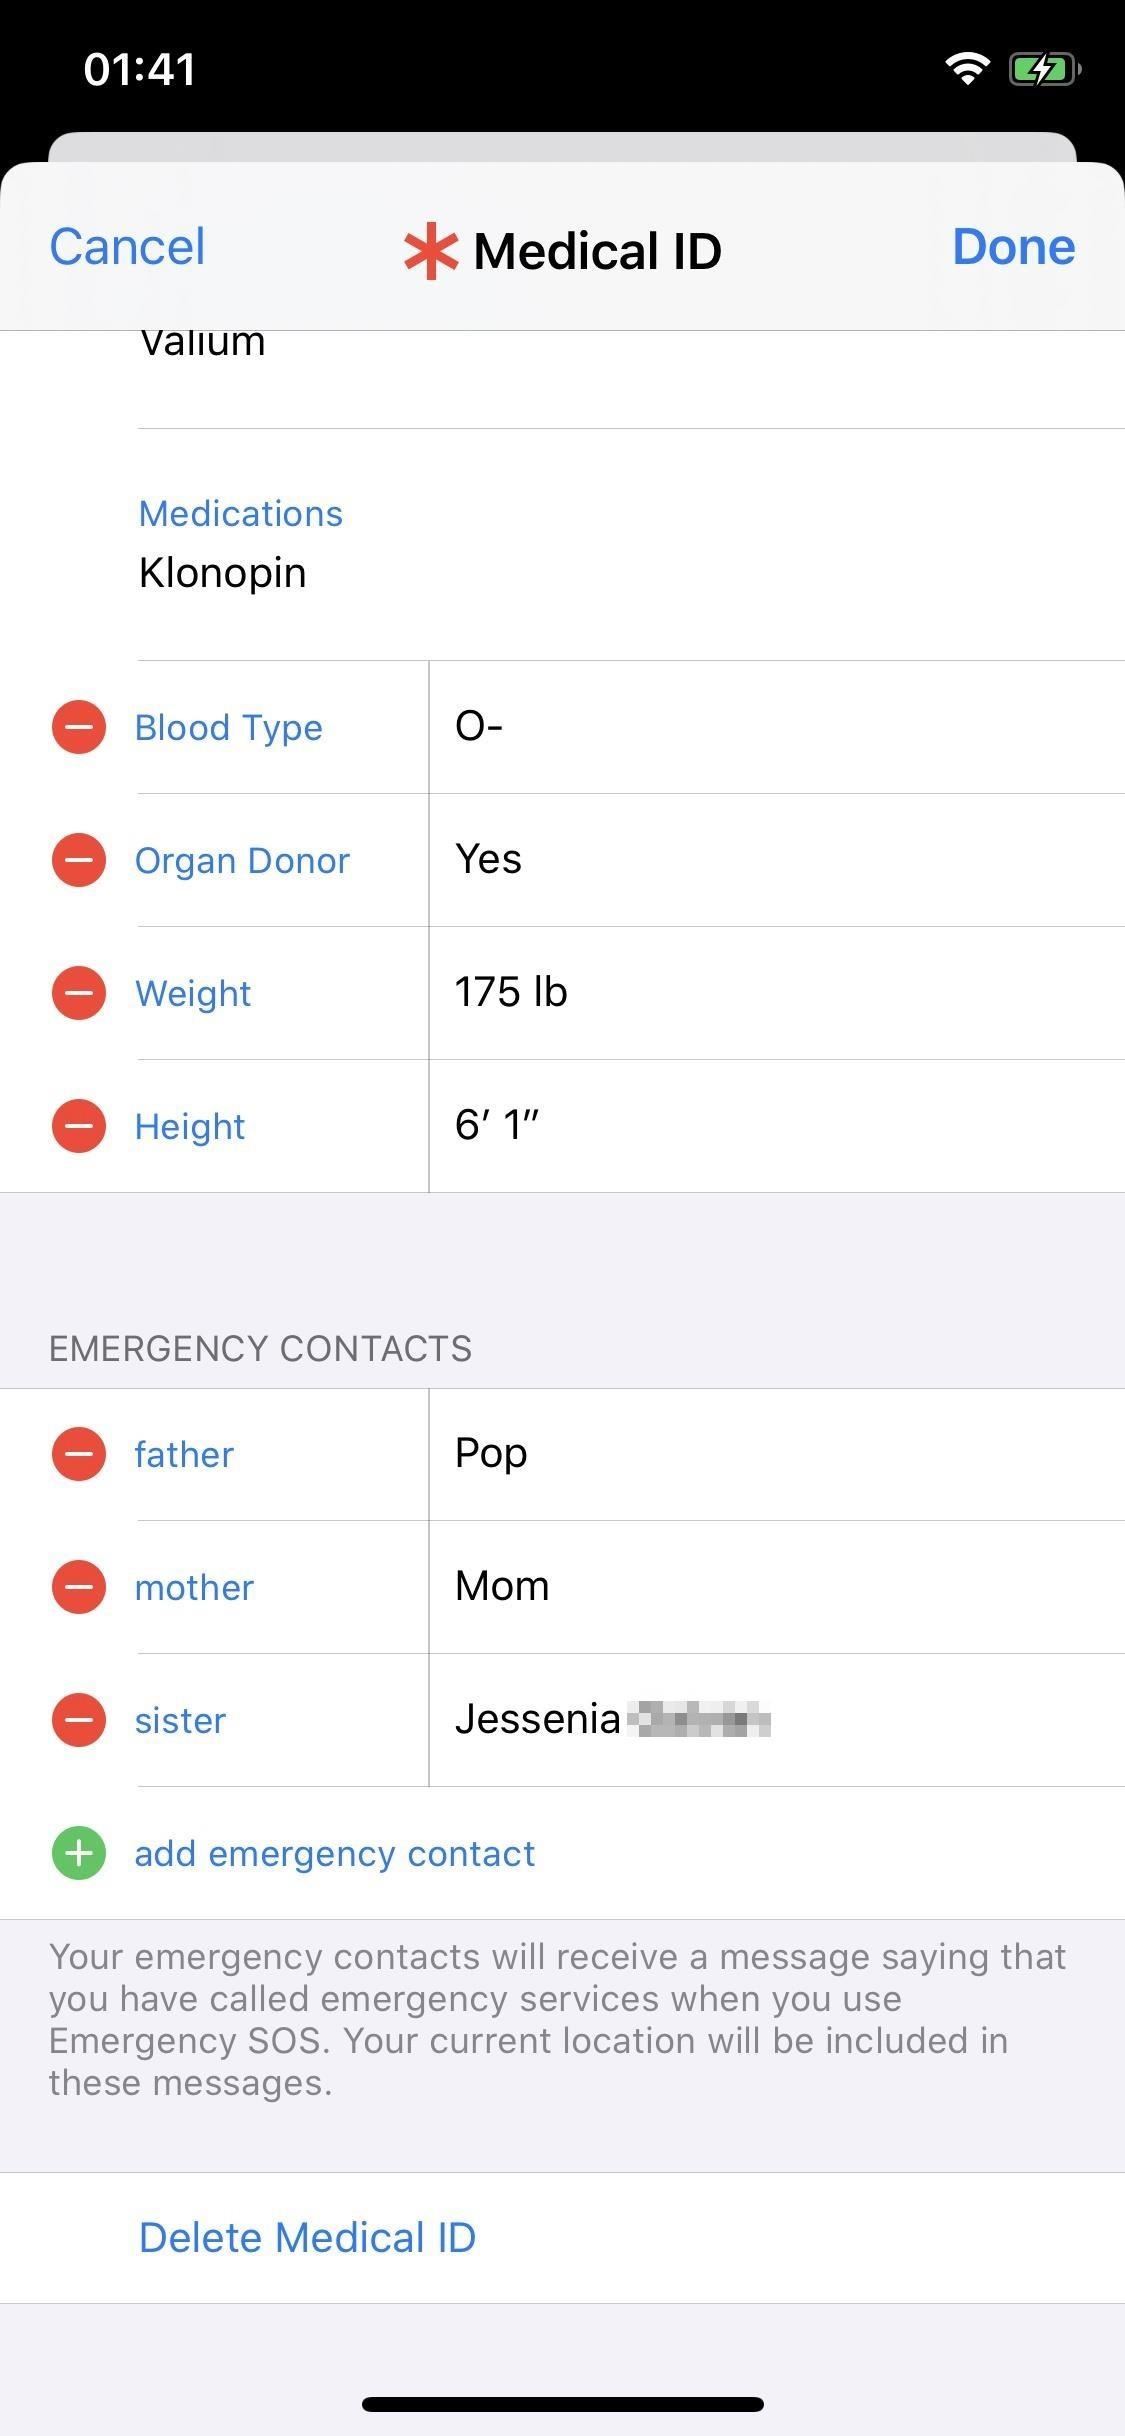
If you need to add another contact, tap on the green plus button next to "add emergency contact." To erase an emergency contact, tap the red minus button next to the contact, then hit "Delete."
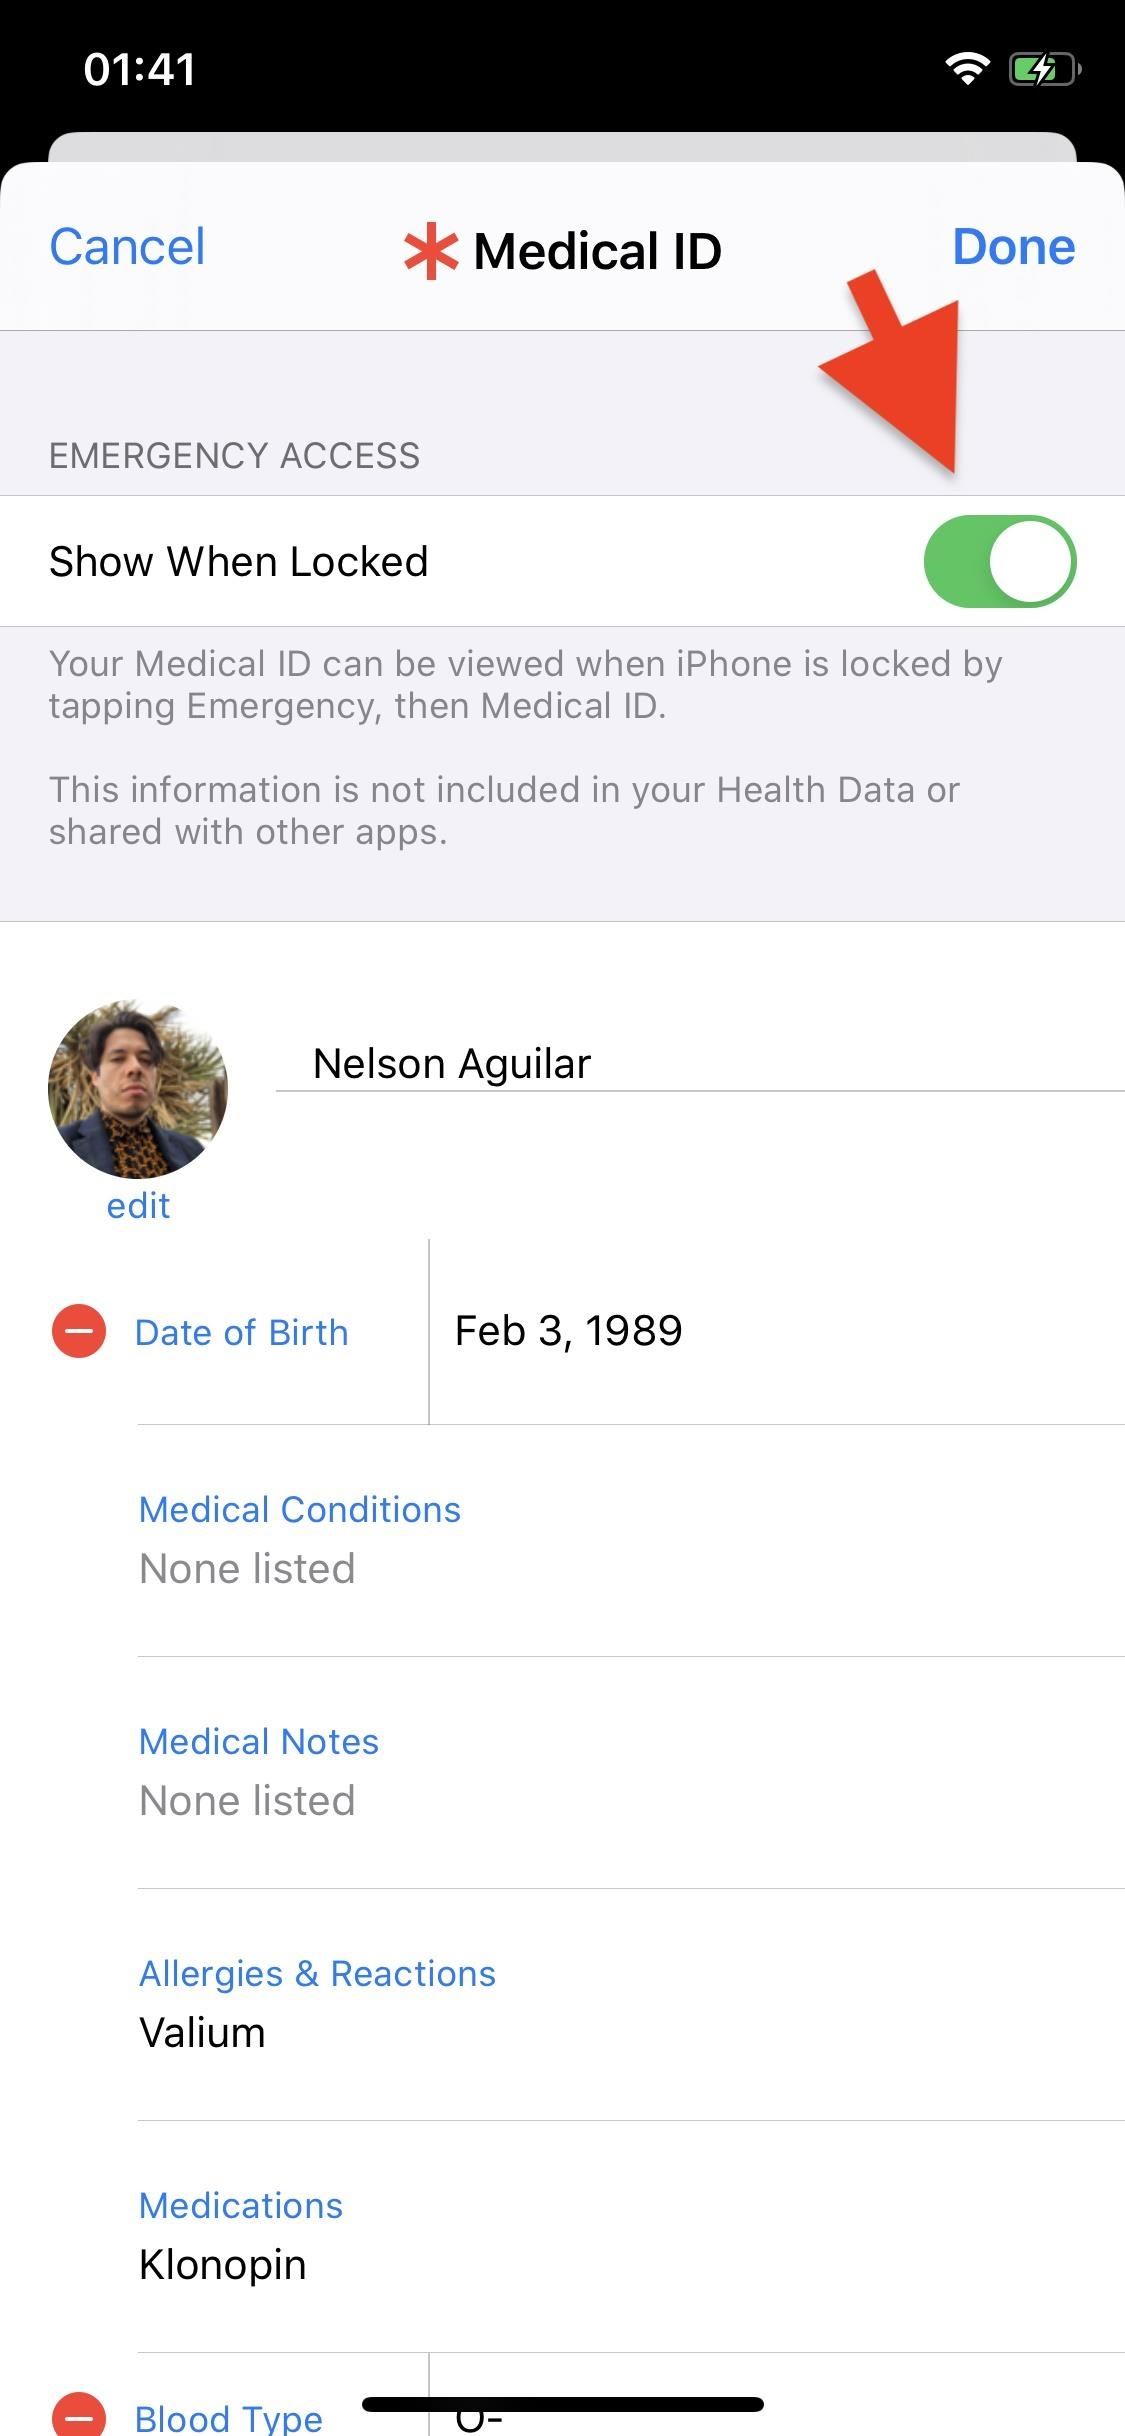
Step 4: Save with Lock Screen Access
Before tapping "Done" to complete your Medical ID, make sure that "Show When Locked" is enabled at the top of this page under Emergency Access. That way, anyone that needs access to your information can bring up your Medical ID through your iPhone's lock screen.
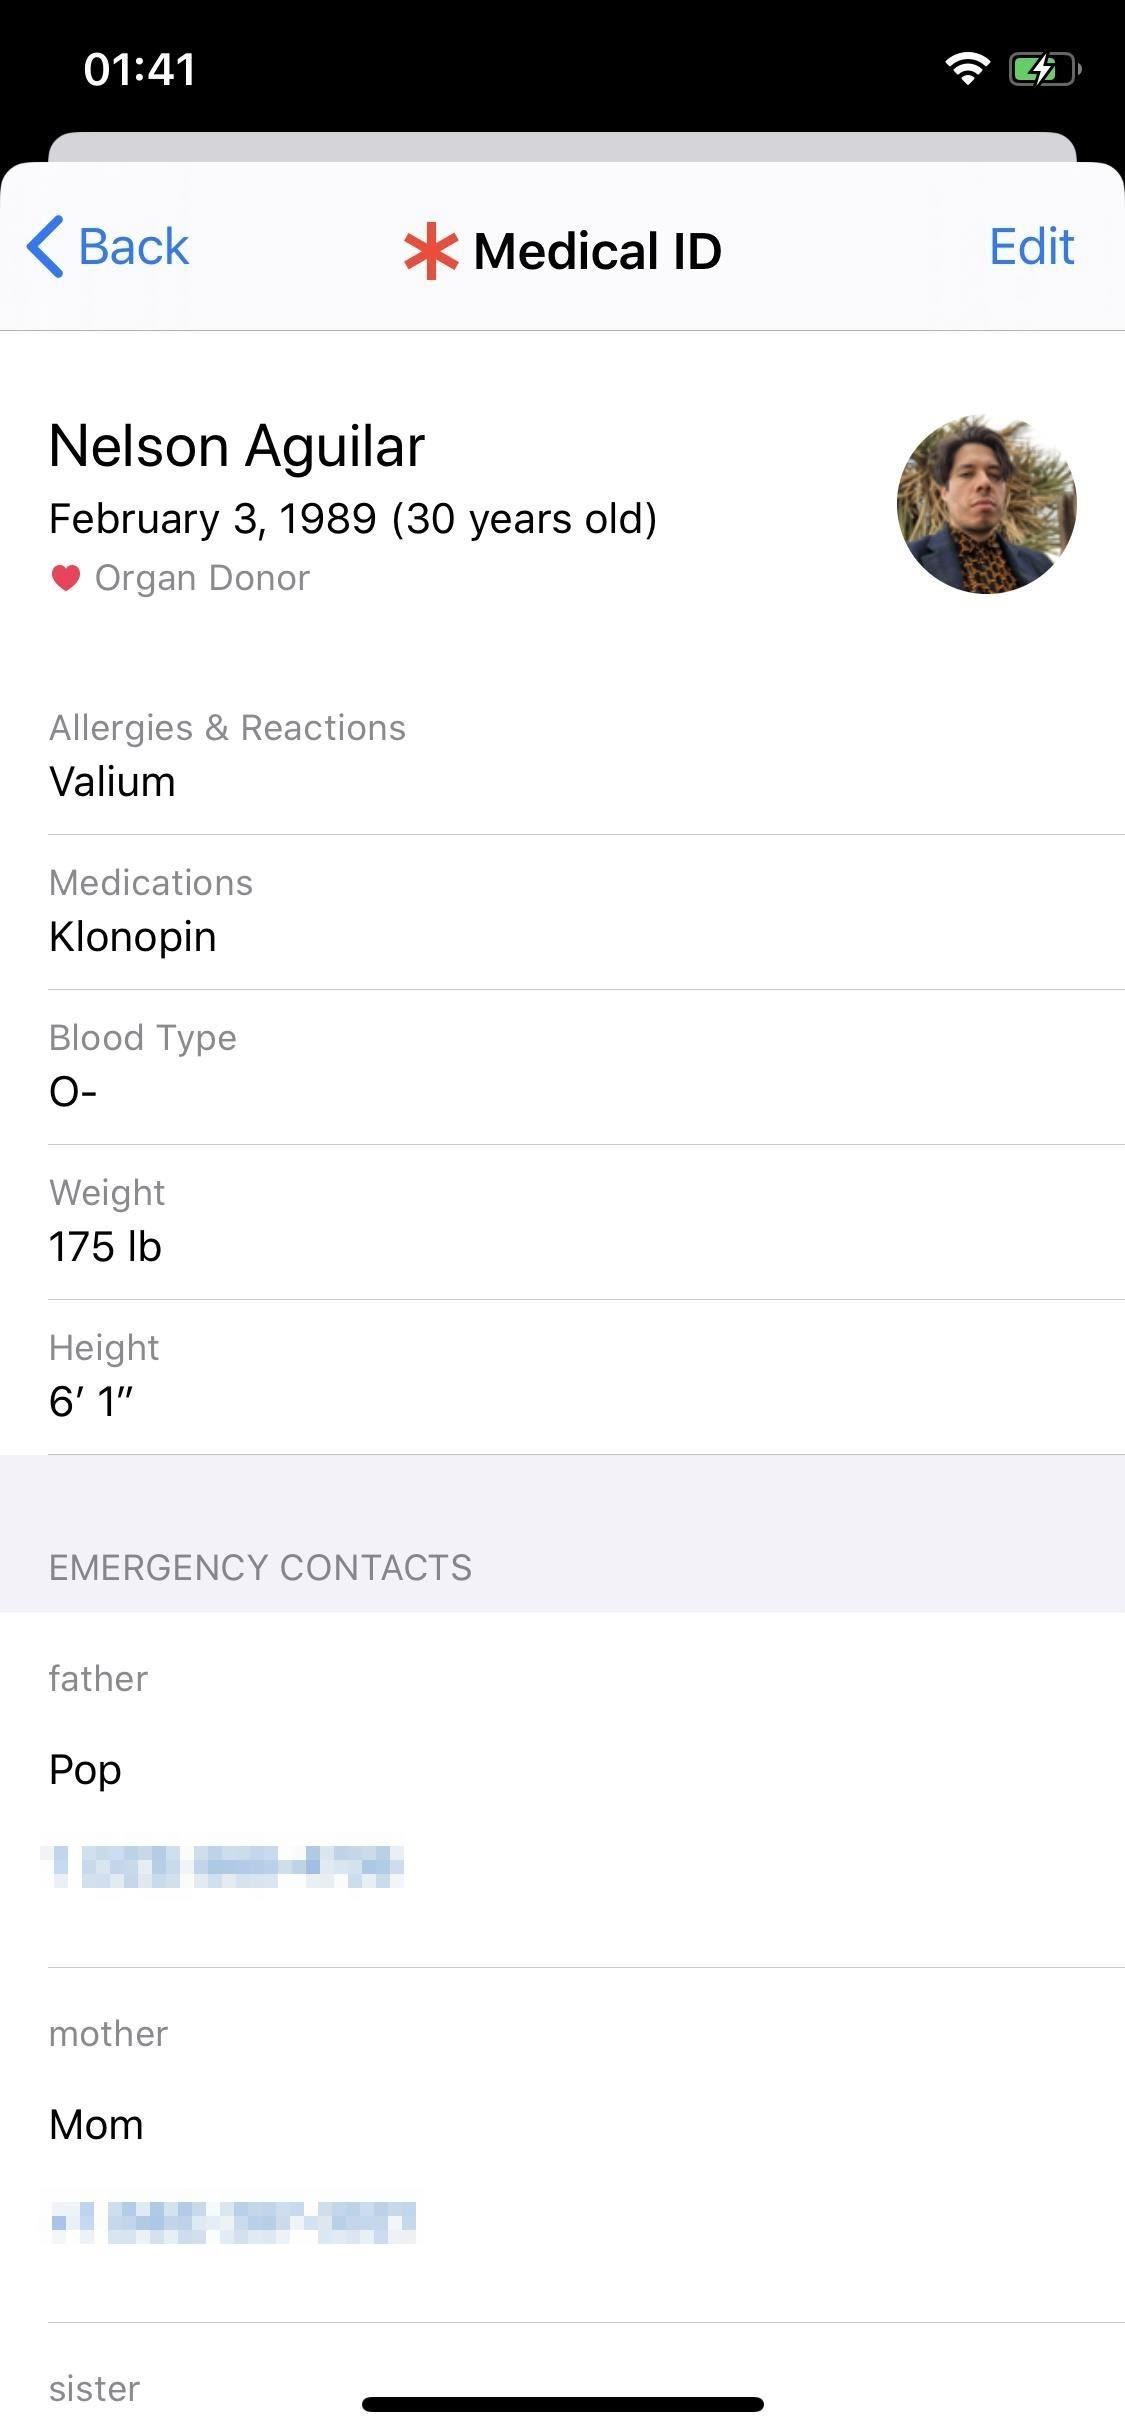
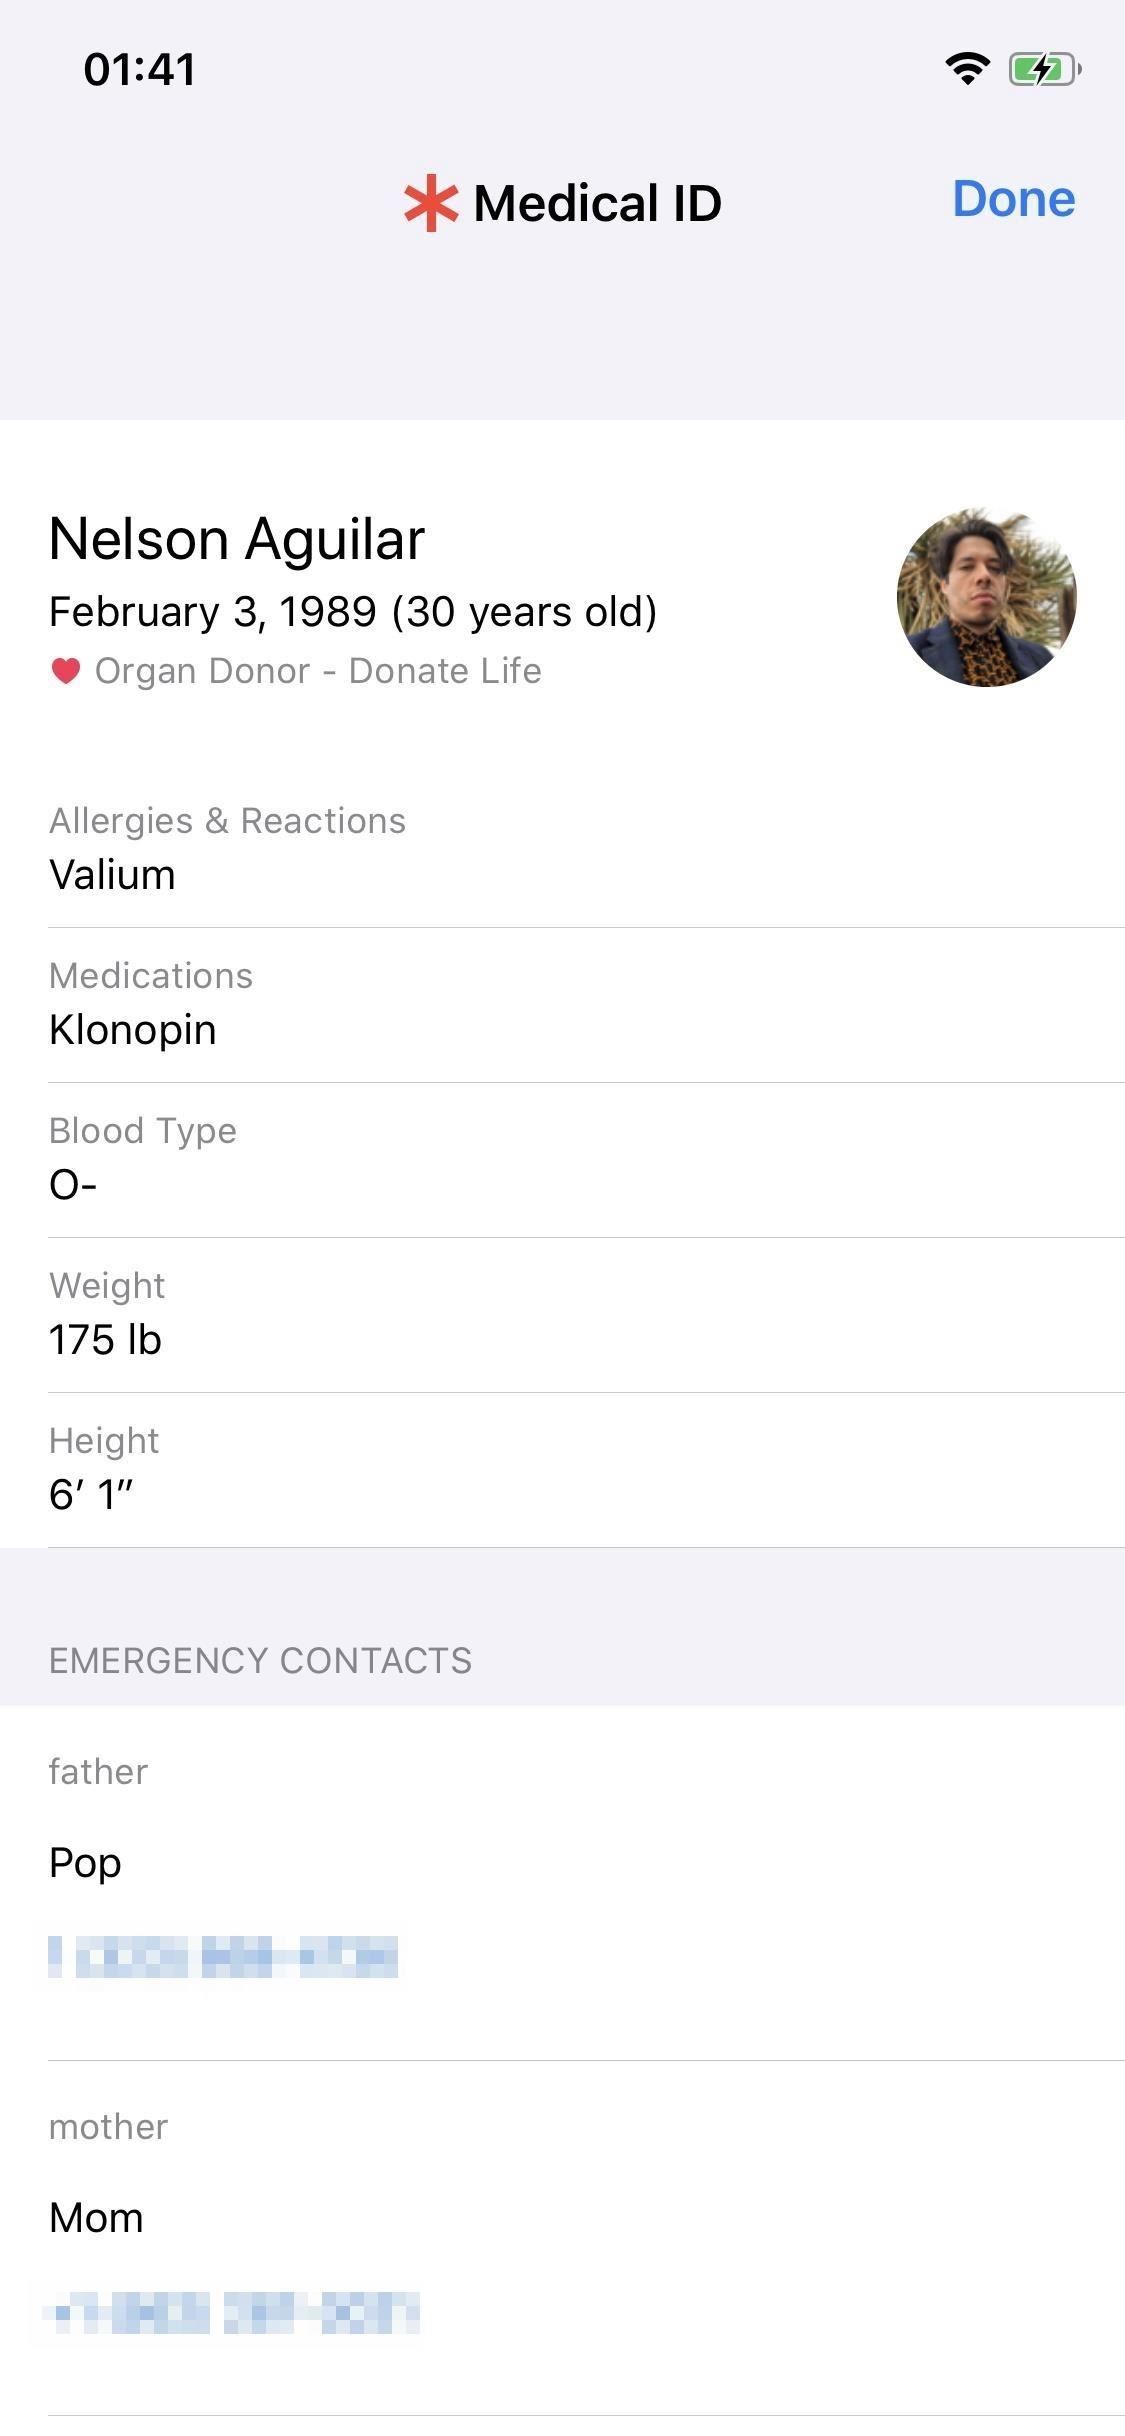
None of the information entered in the Medical ID section is included in your Health Data tab in Apple Health or shared with any other apps, third-party or Apple-owned. Hit "Done" when you're finished. You can then view a preview of your Medical ID. If you need to add or correct information, tap "Edit."
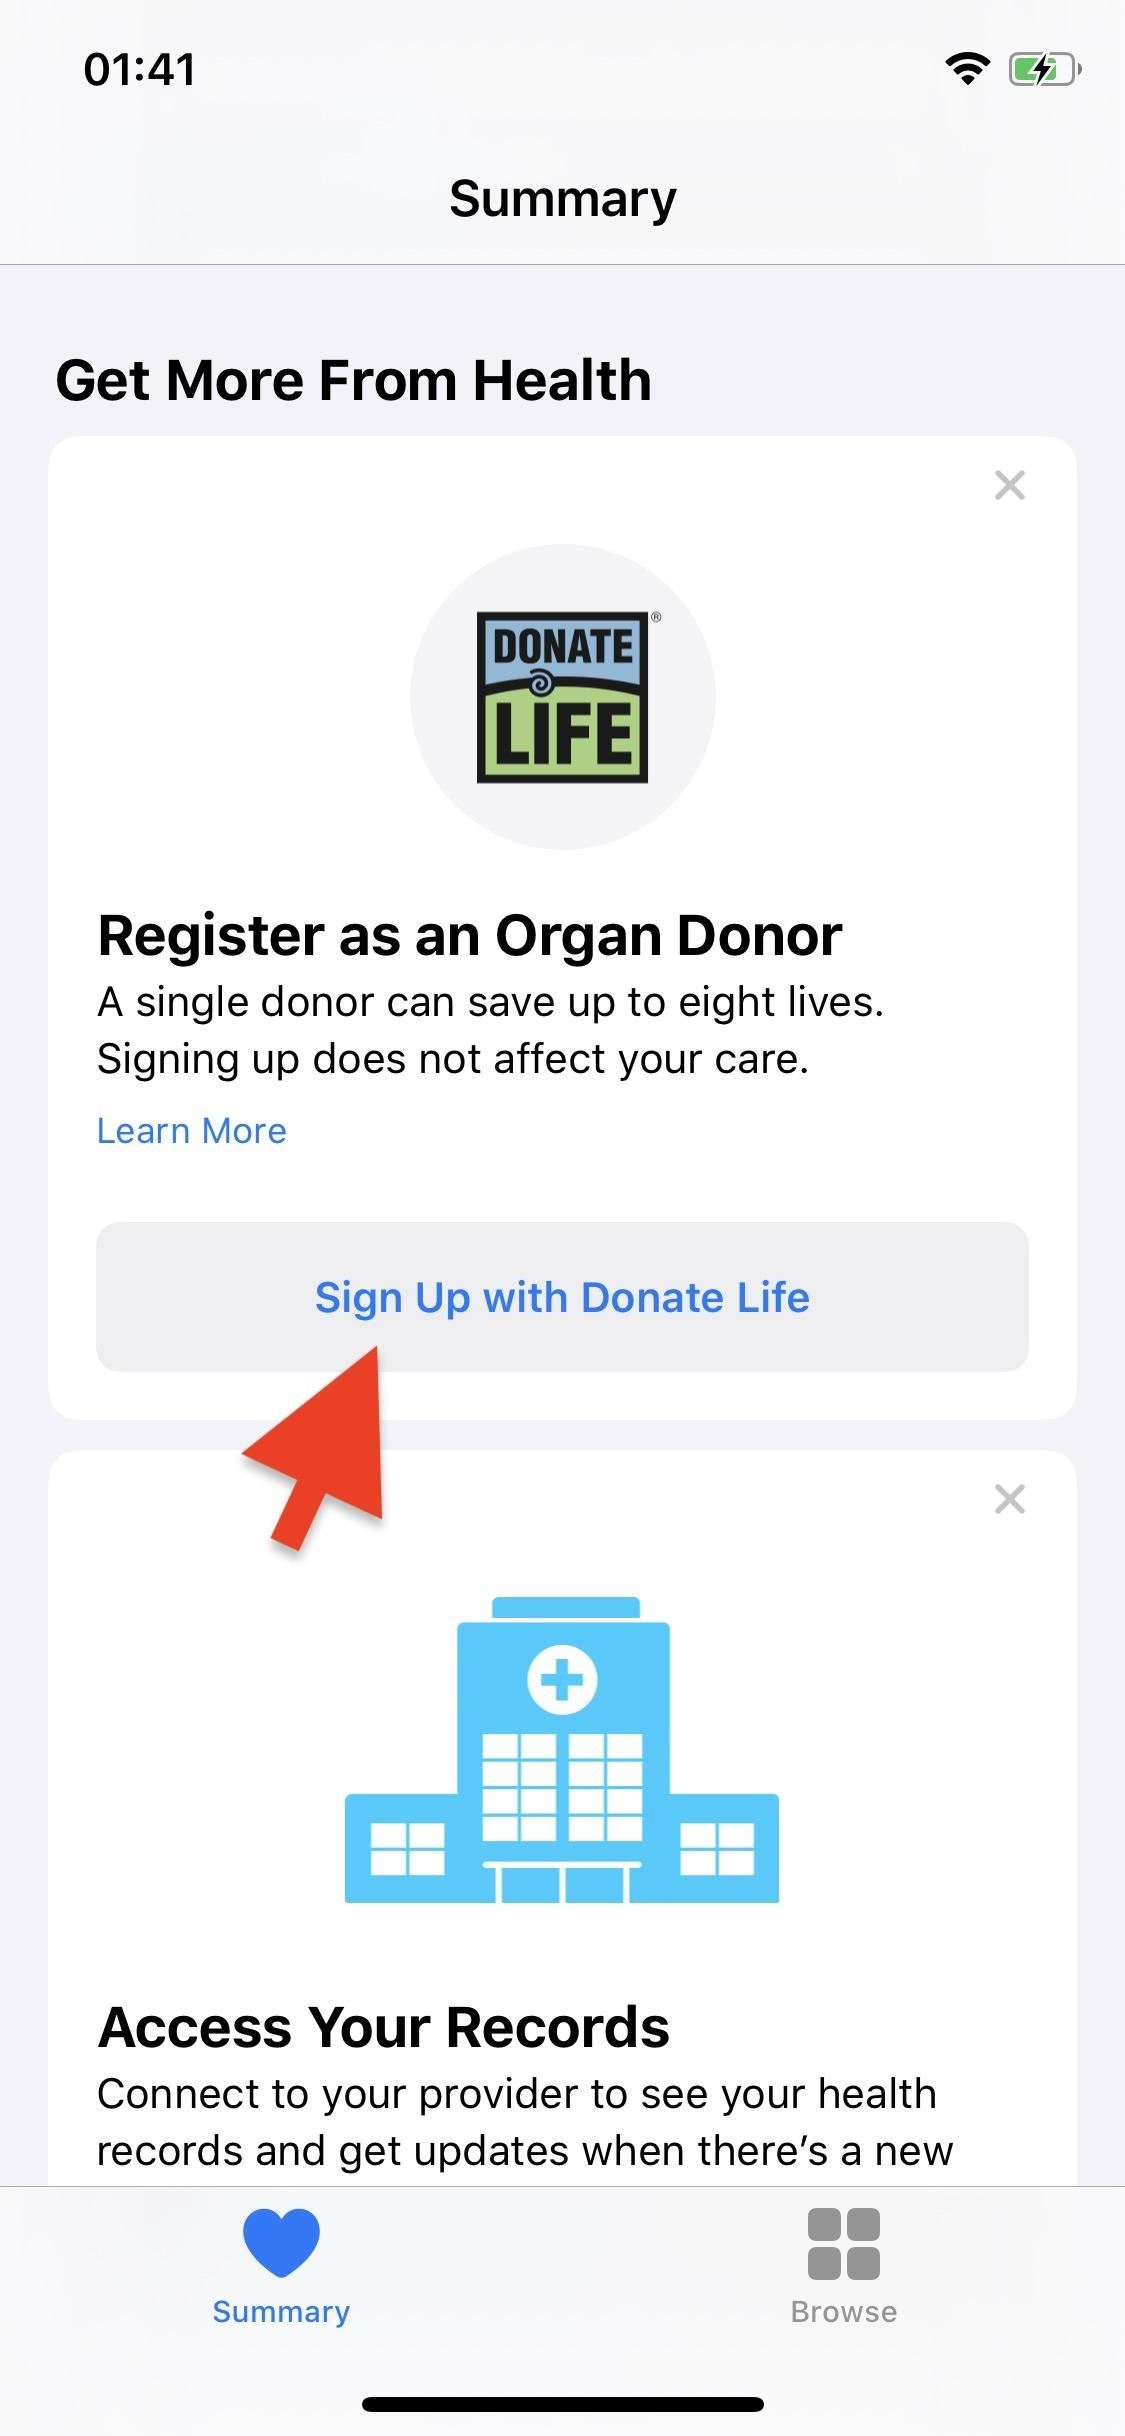
Step 5: Sign Up to Be an Organ Donor (& Manage Info)
If you're already an organ donor (which you can usually sign up for when you first get your driver's license or identification card), you can skip this step, but if you want to register to be an organ donor, you can do so from the Health app. There are a few ways to do it too:
- Scroll down the "Summary" tab in the Health app, tap "Sign Up with Donate Life" on the Register as an Organ Donor card, then fill out the form. (Shown in the images below.)
- In Health, select the "Summary" tab, tap your profile icon in the top right, then on "Organ Donation" under Medical Details. Next, tap "Sign Up with Donate Life," and fill out the form.
- From either the Phone or Contacts app, tap "My Card" at the top of the contacts list, then scroll to the bottom and tap "Create Medical ID." Next, select "add organ donor," then choose "Register with Donate Life" from the action sheet. Finally, tap "Sign Up" and fill out the form.
In iOS 12 and under, open up the Health app, tap "Medical ID" in the bottom right, then "Sign Up with Donate Life" to get started. You can also get started from your contact card, as mentioned above.
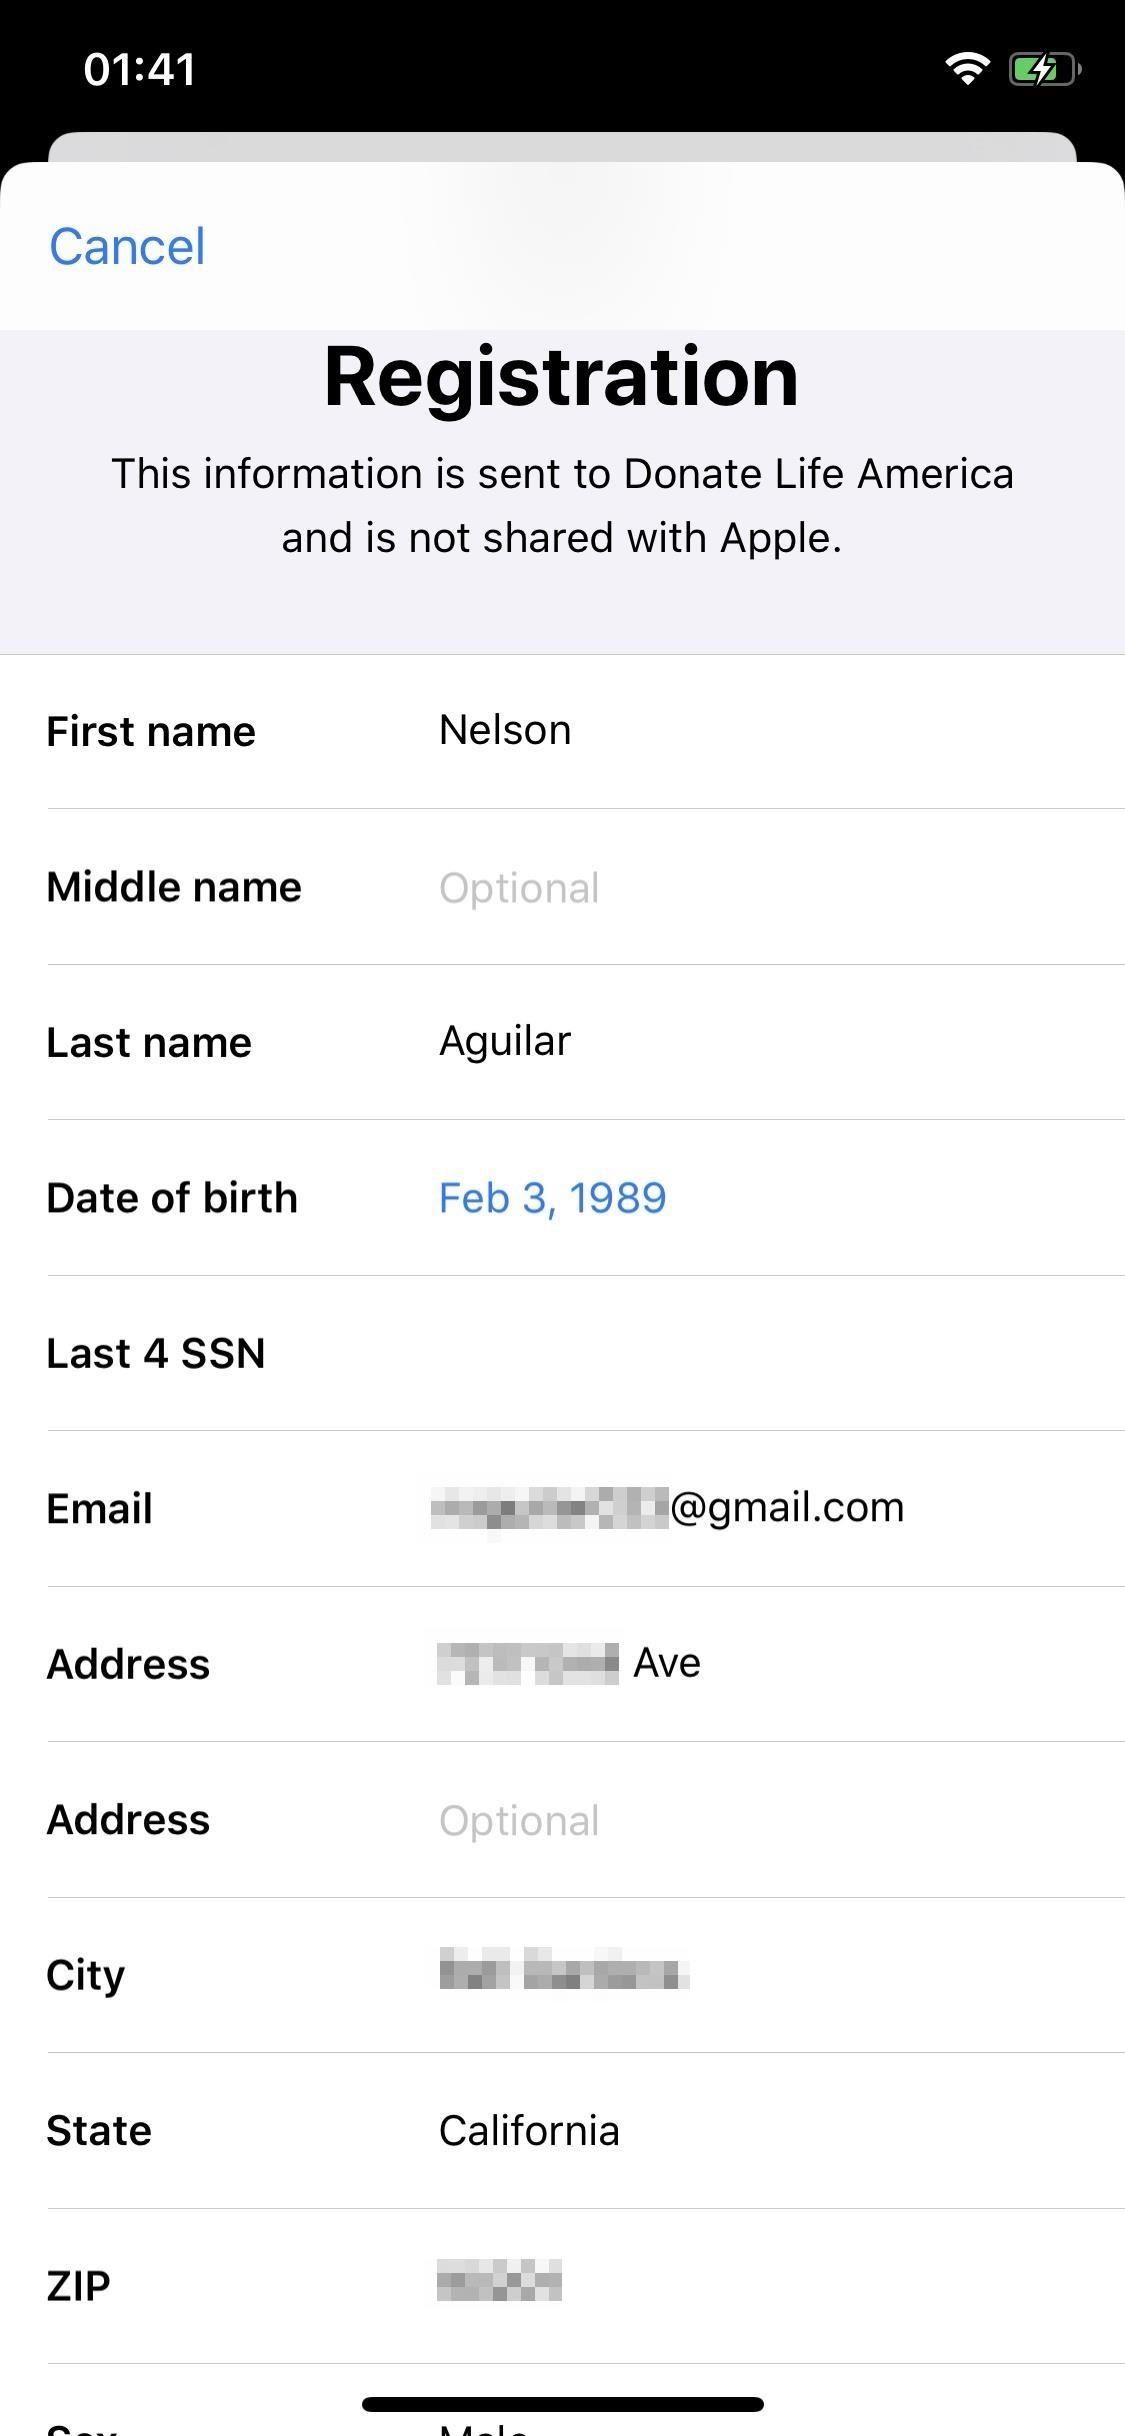
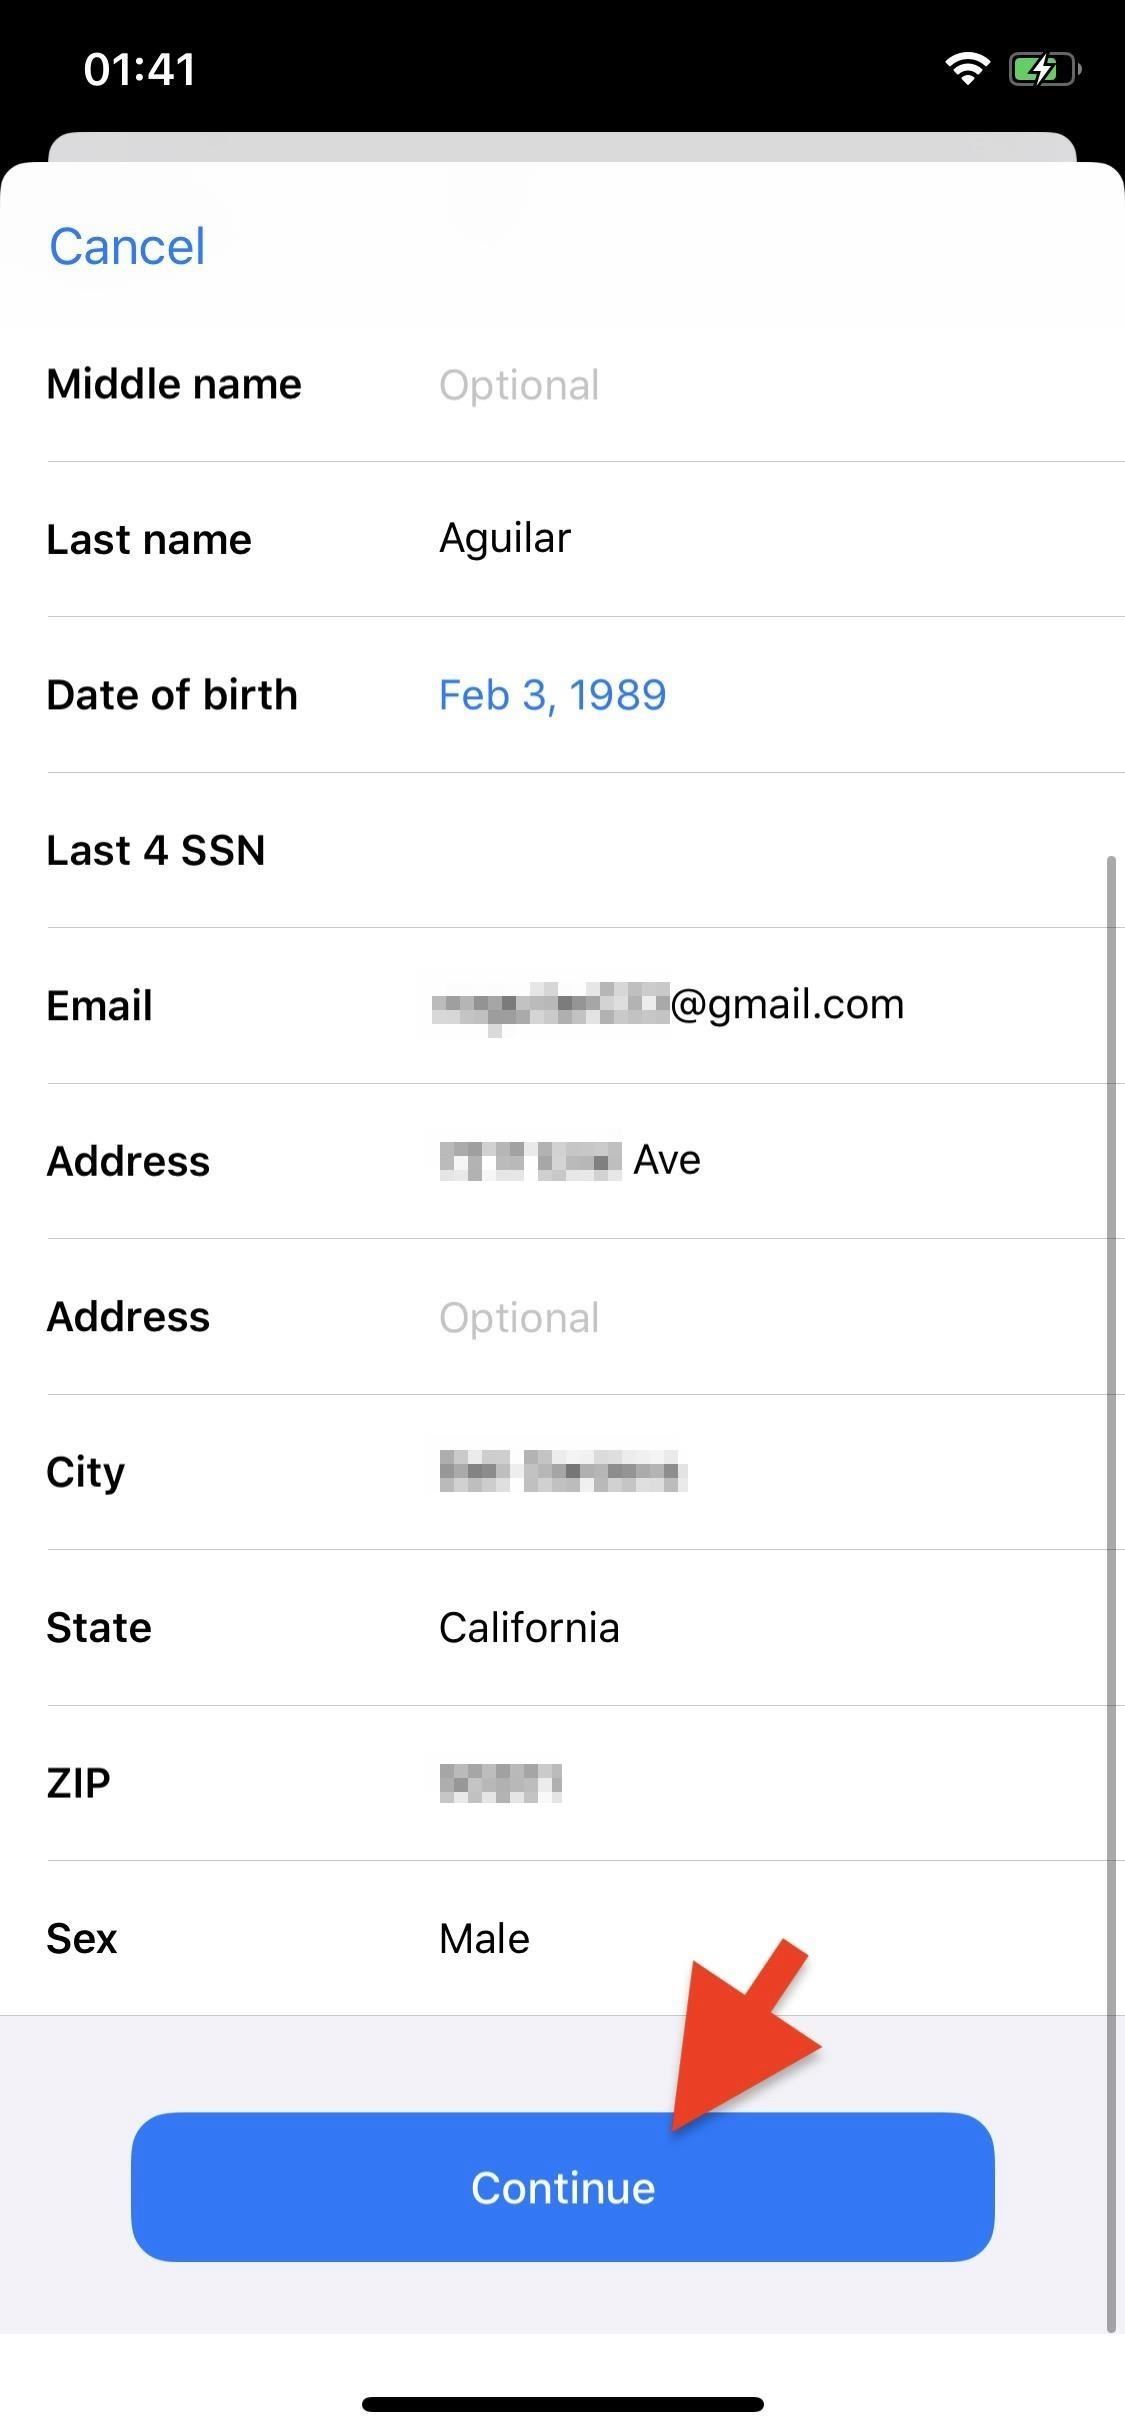
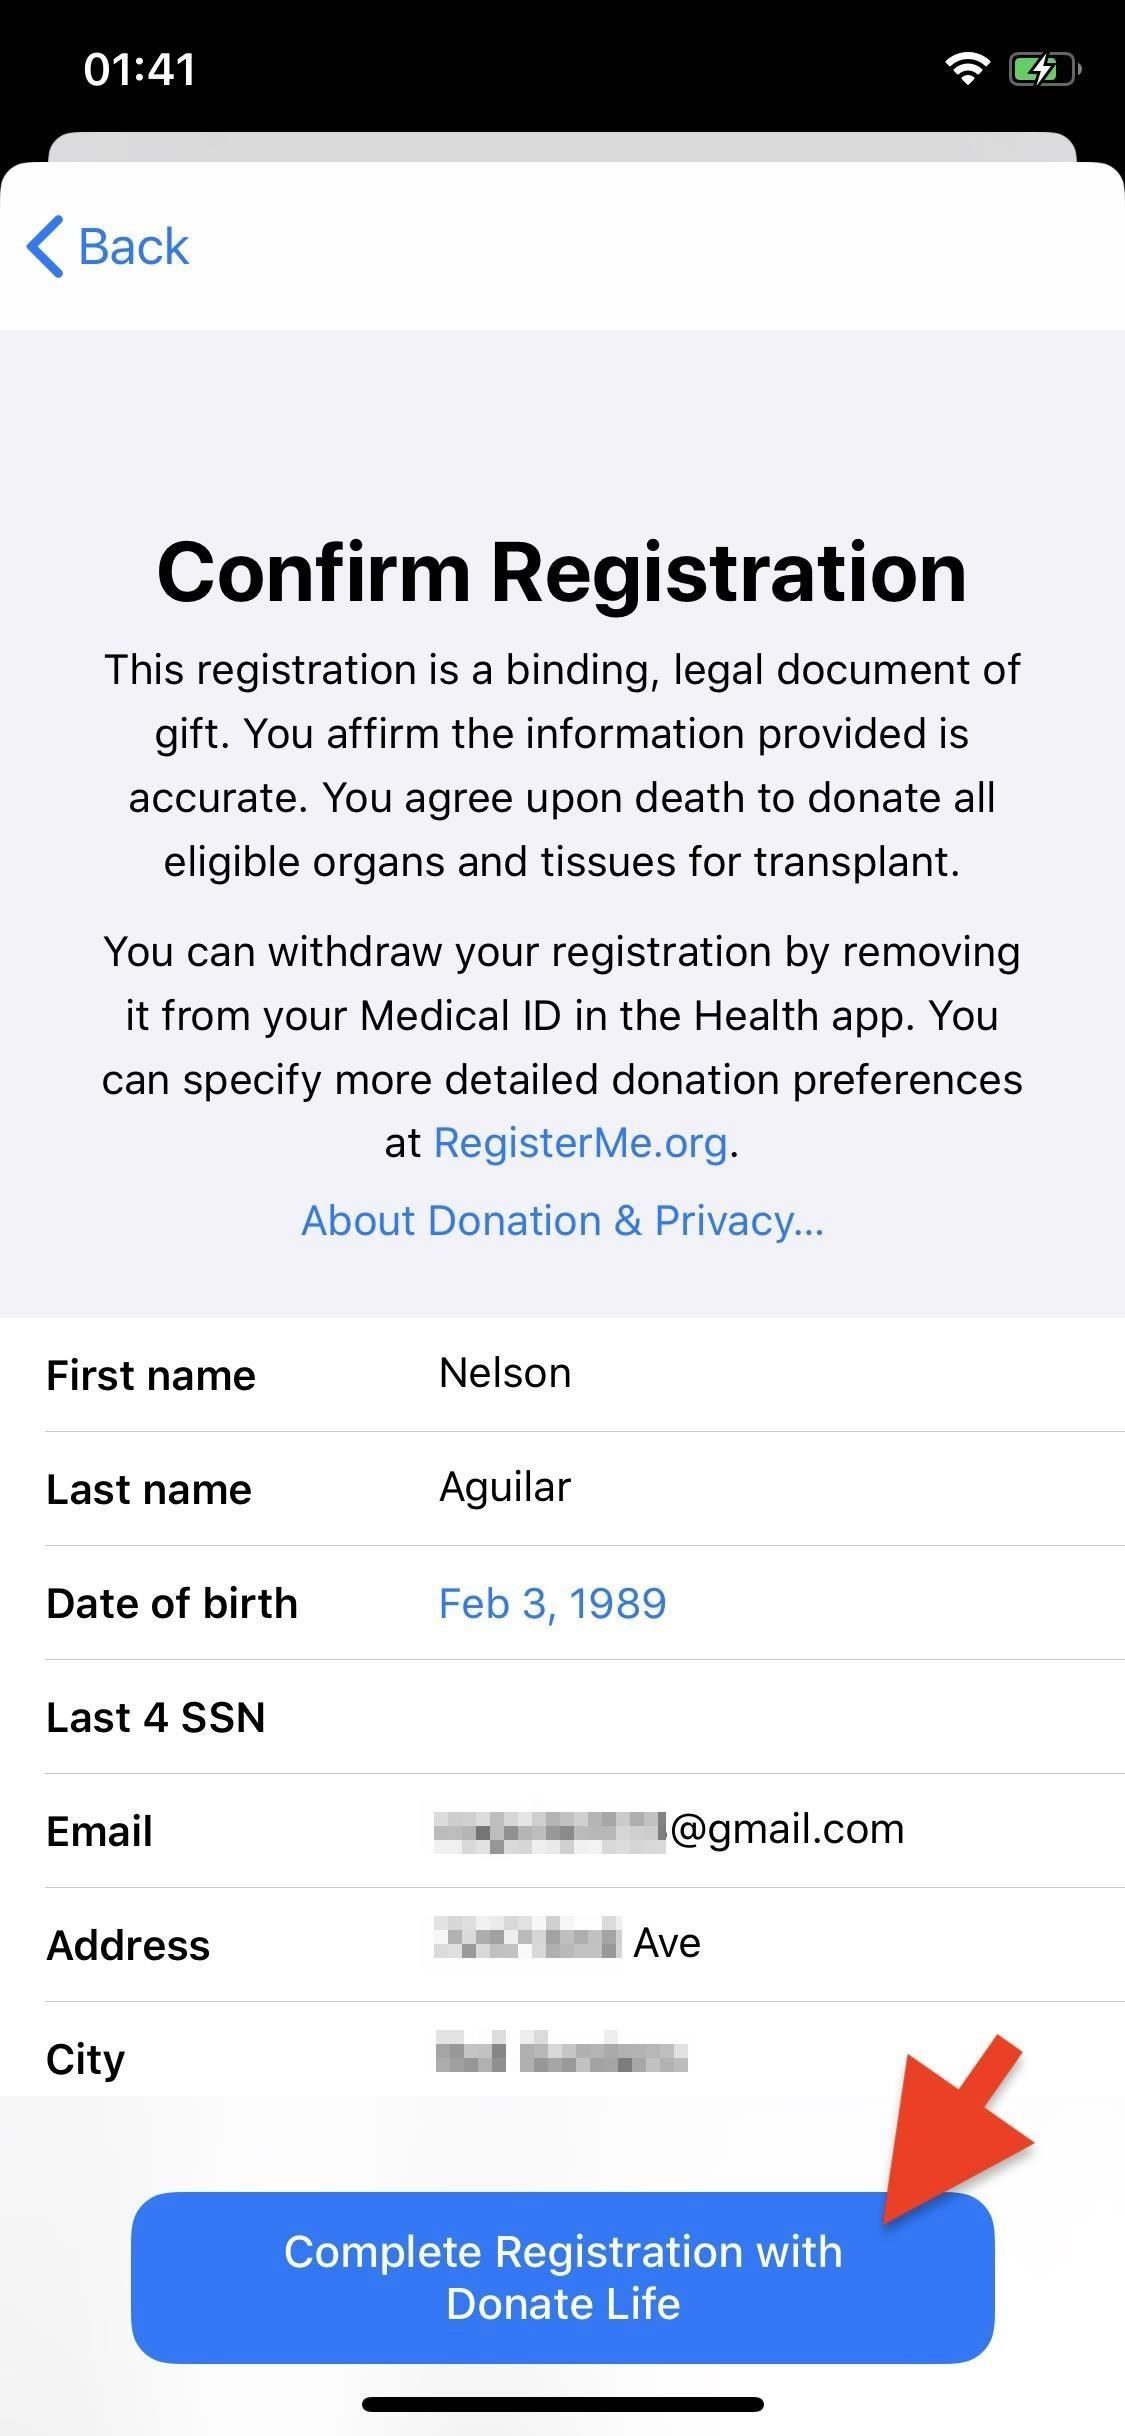
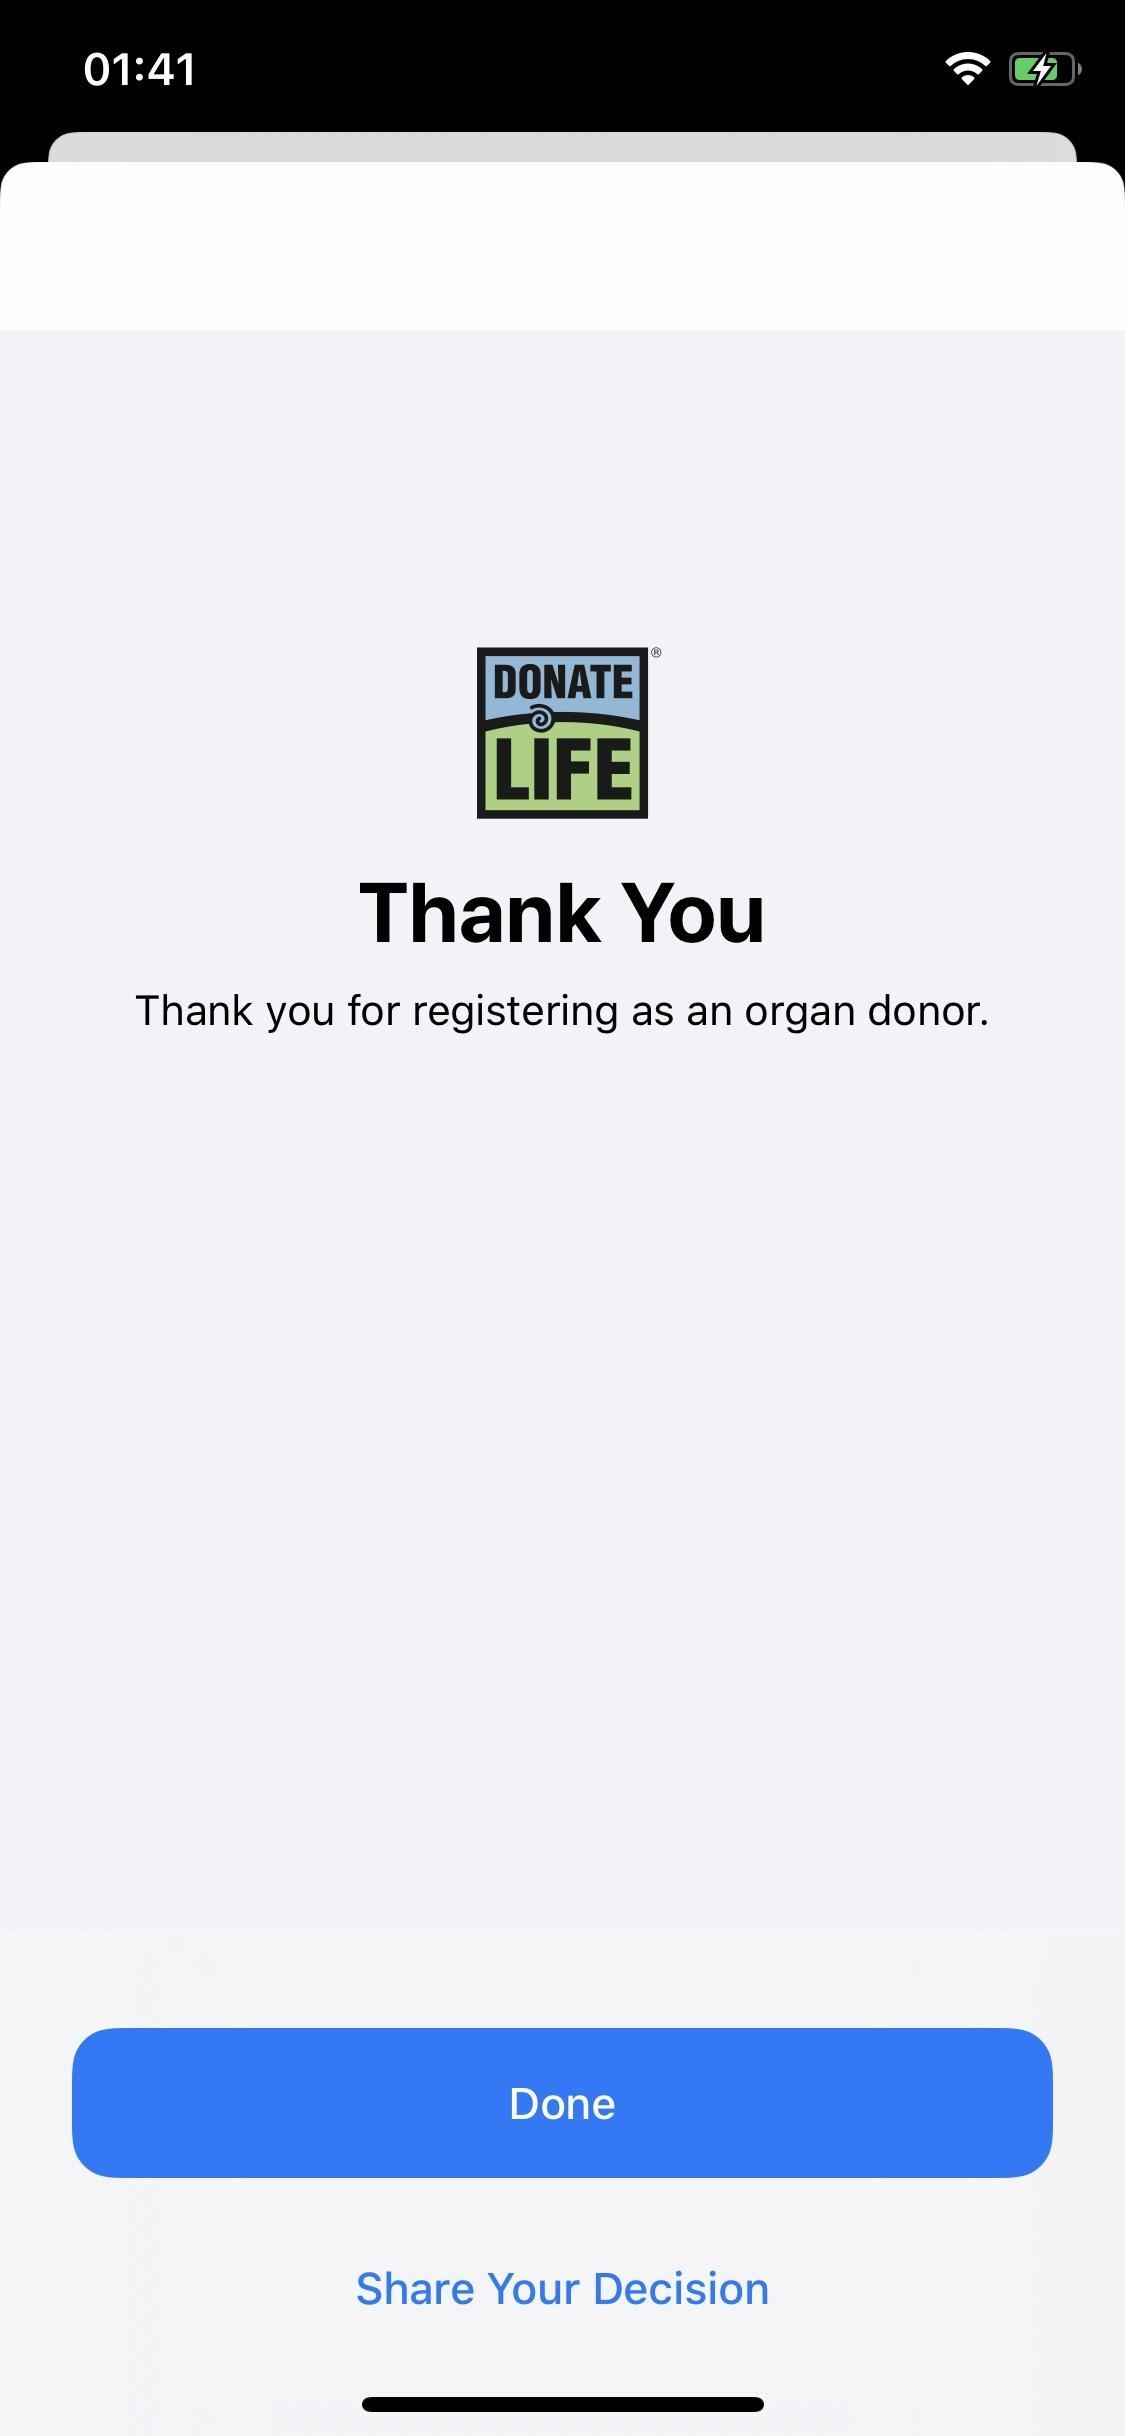
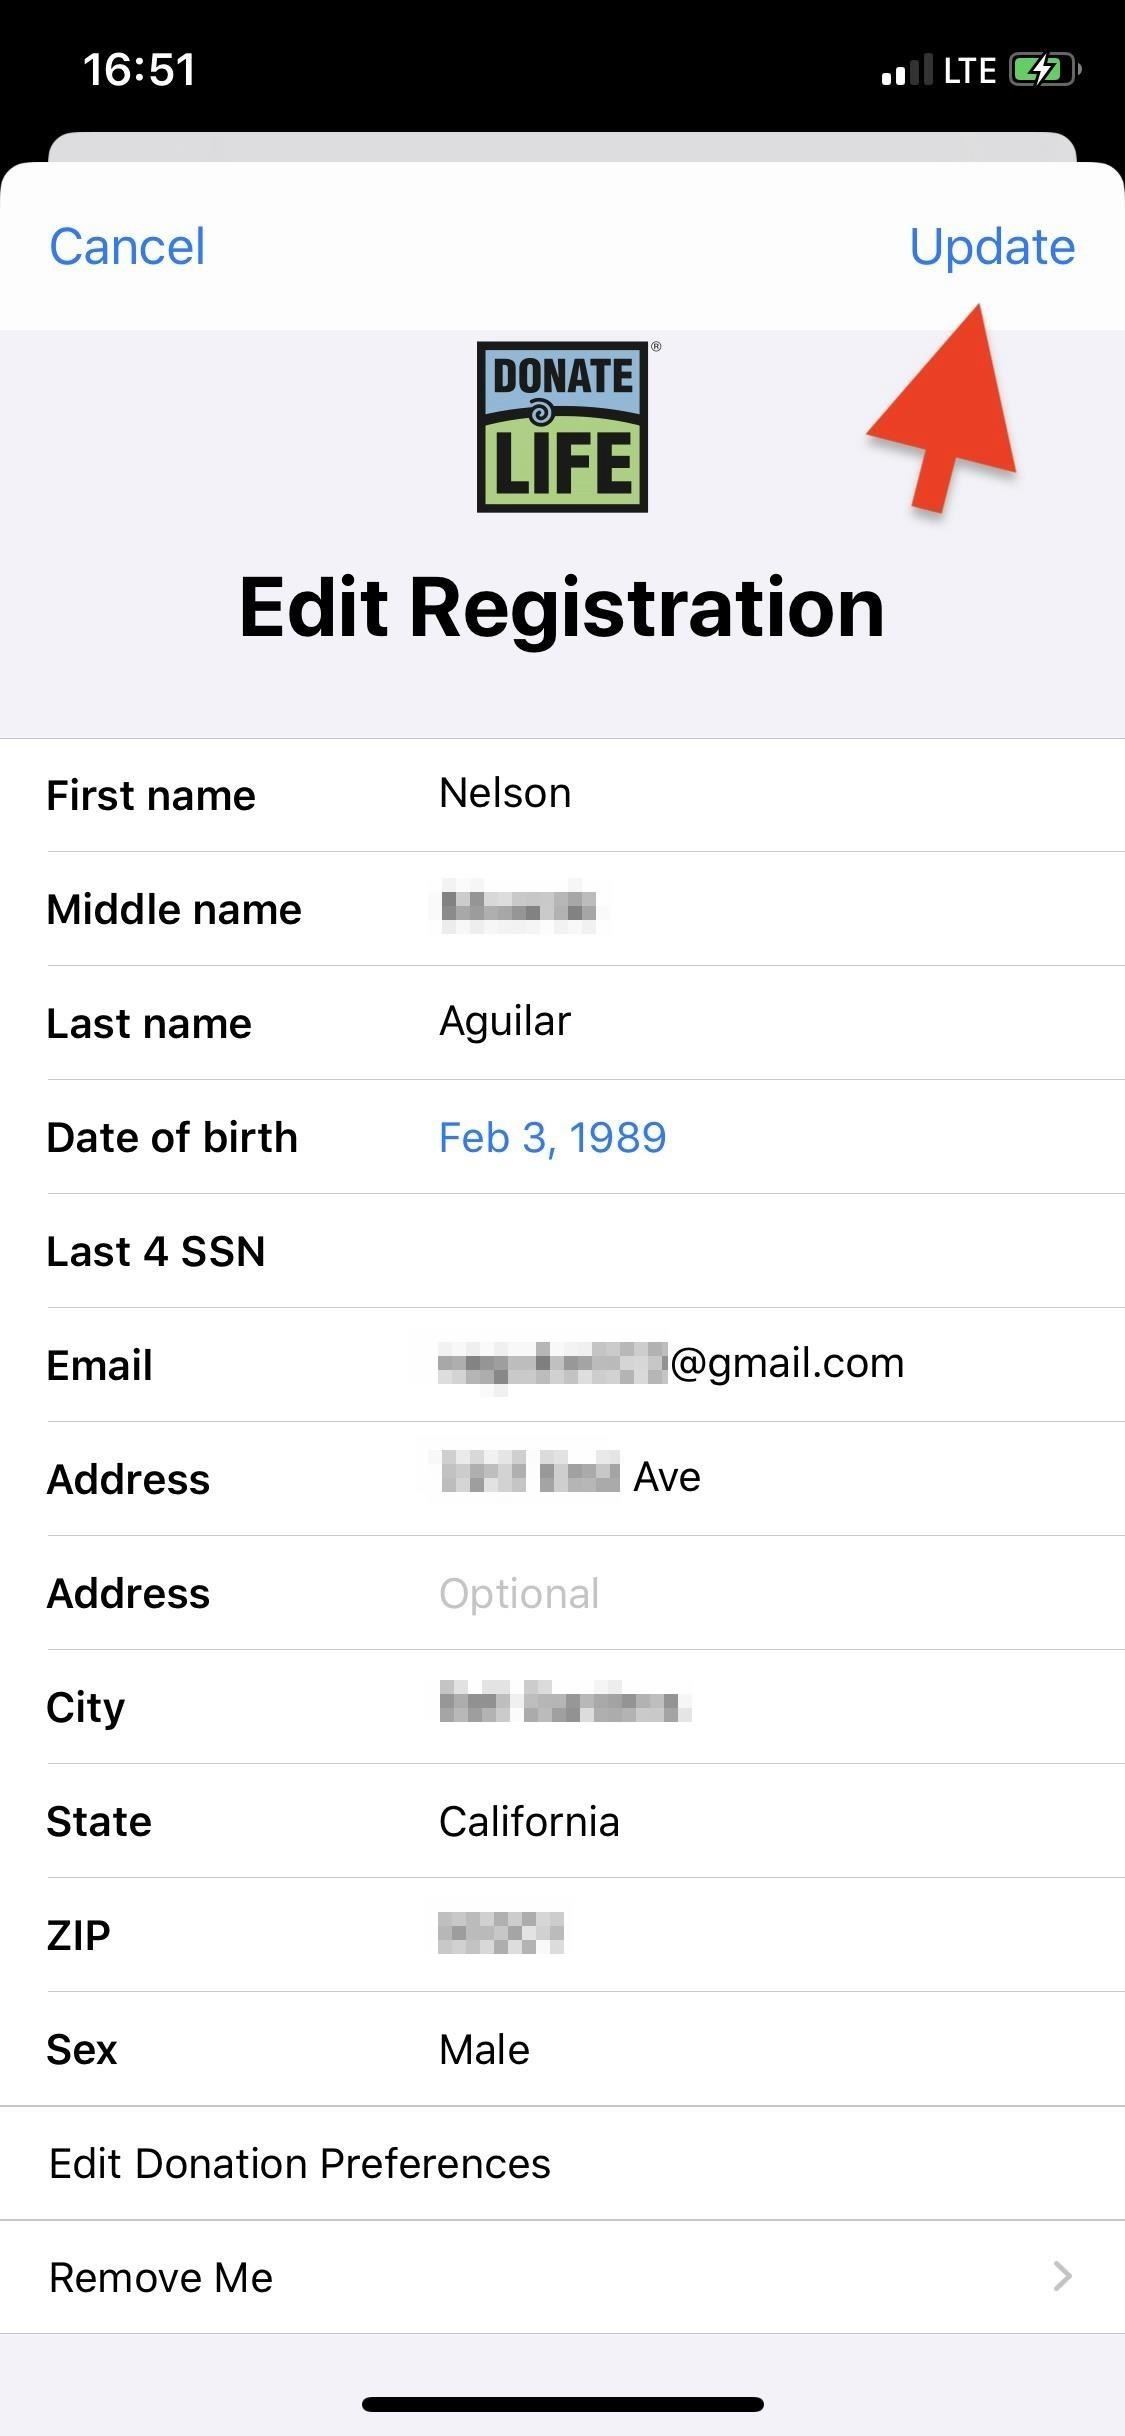
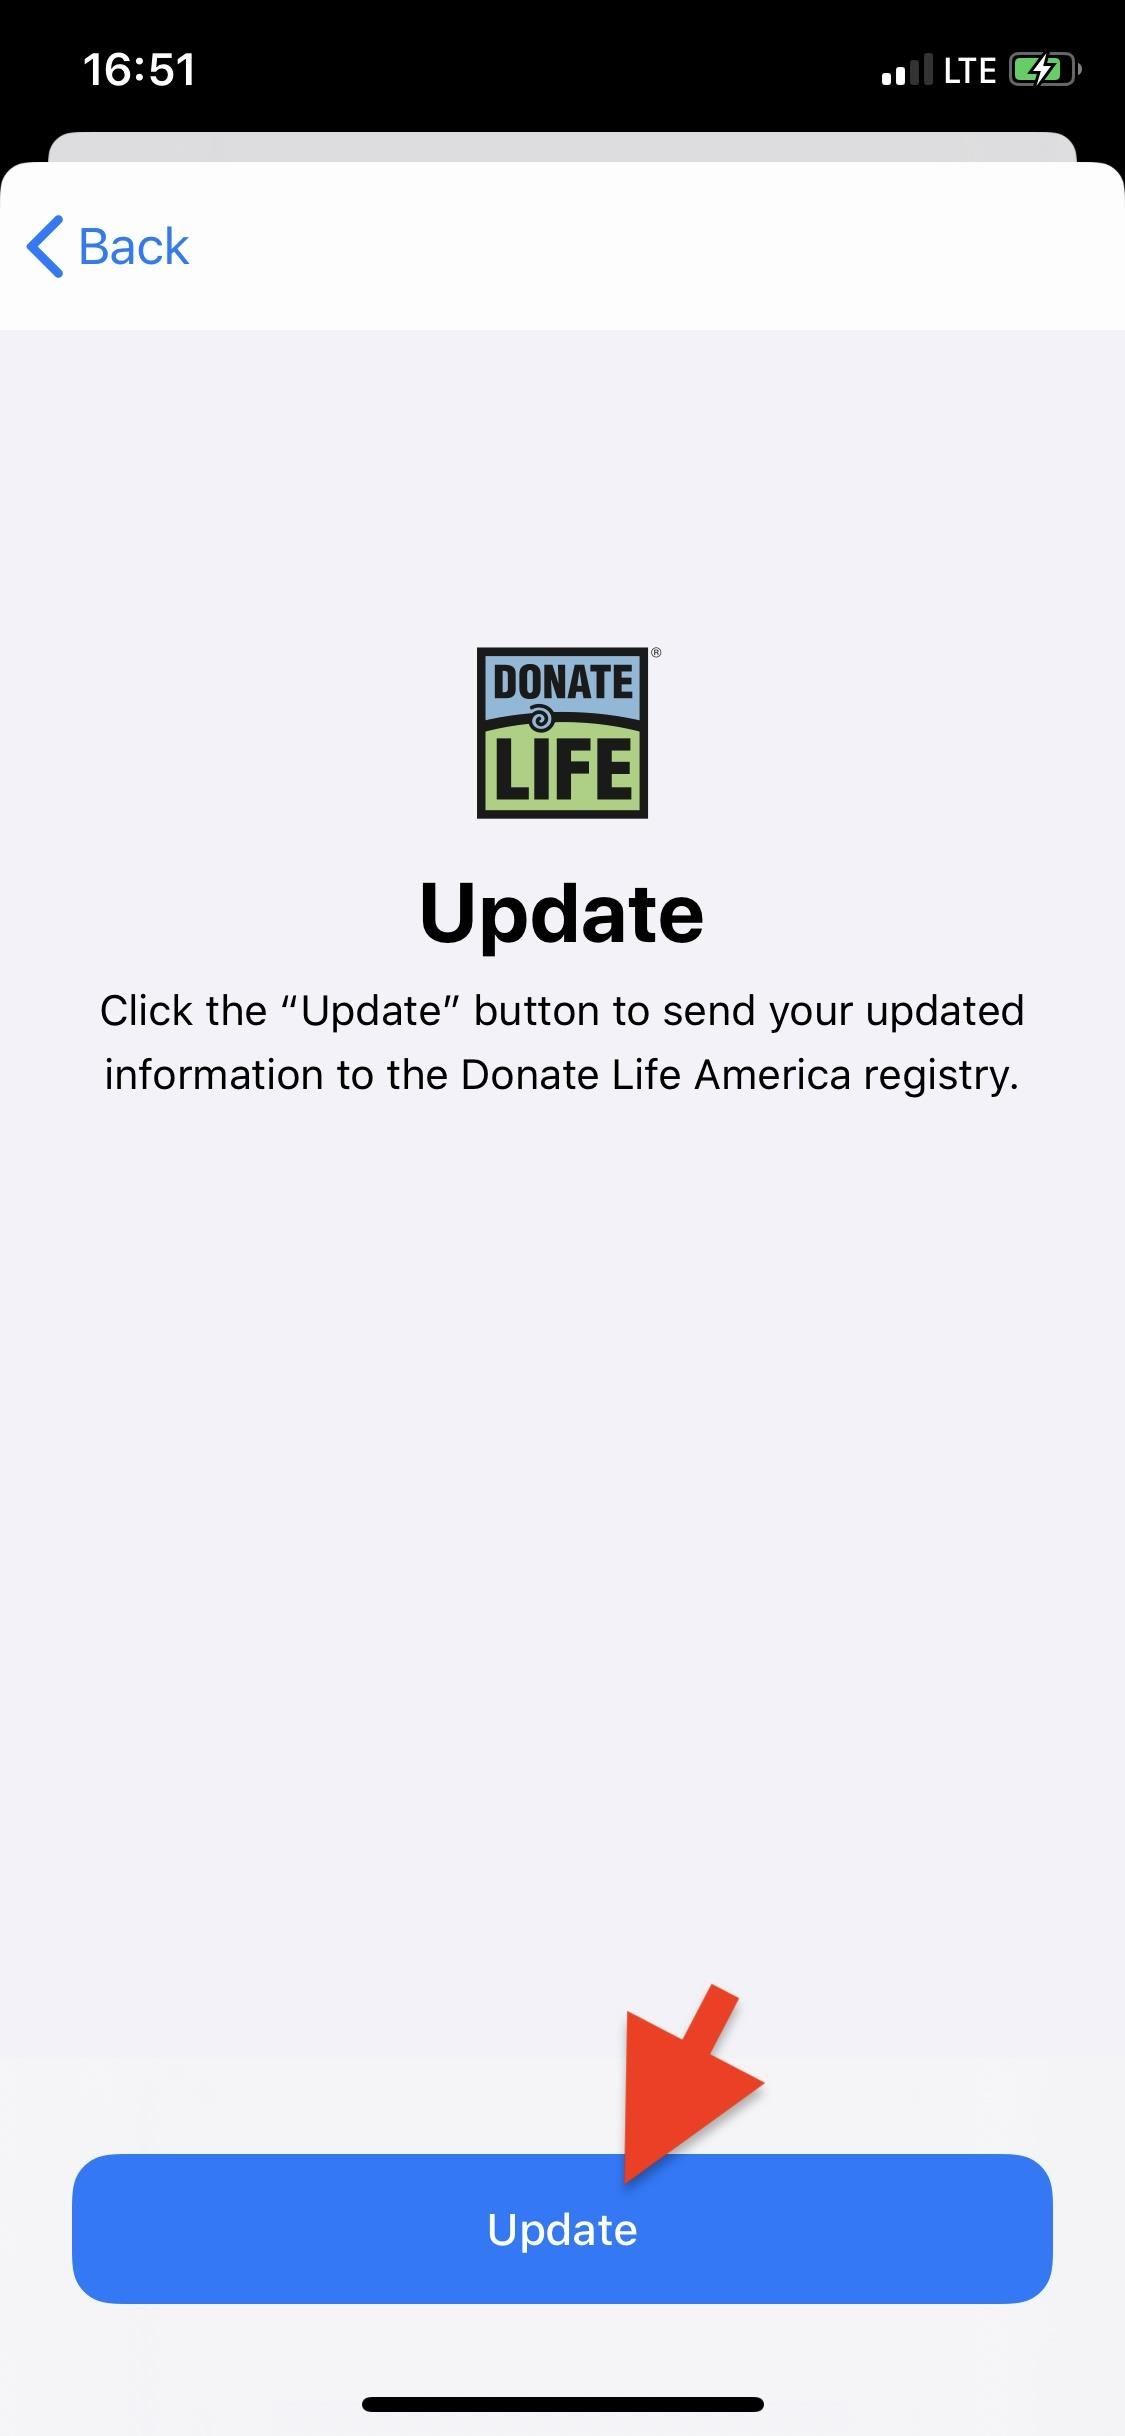
Once you fill out the form with your information (your social security is required to register), scroll down and tap "Continue." Look over your info and make sure it's correct, then tap on "Complete Registration with Donate Life." Tap "Done" when you're finished.
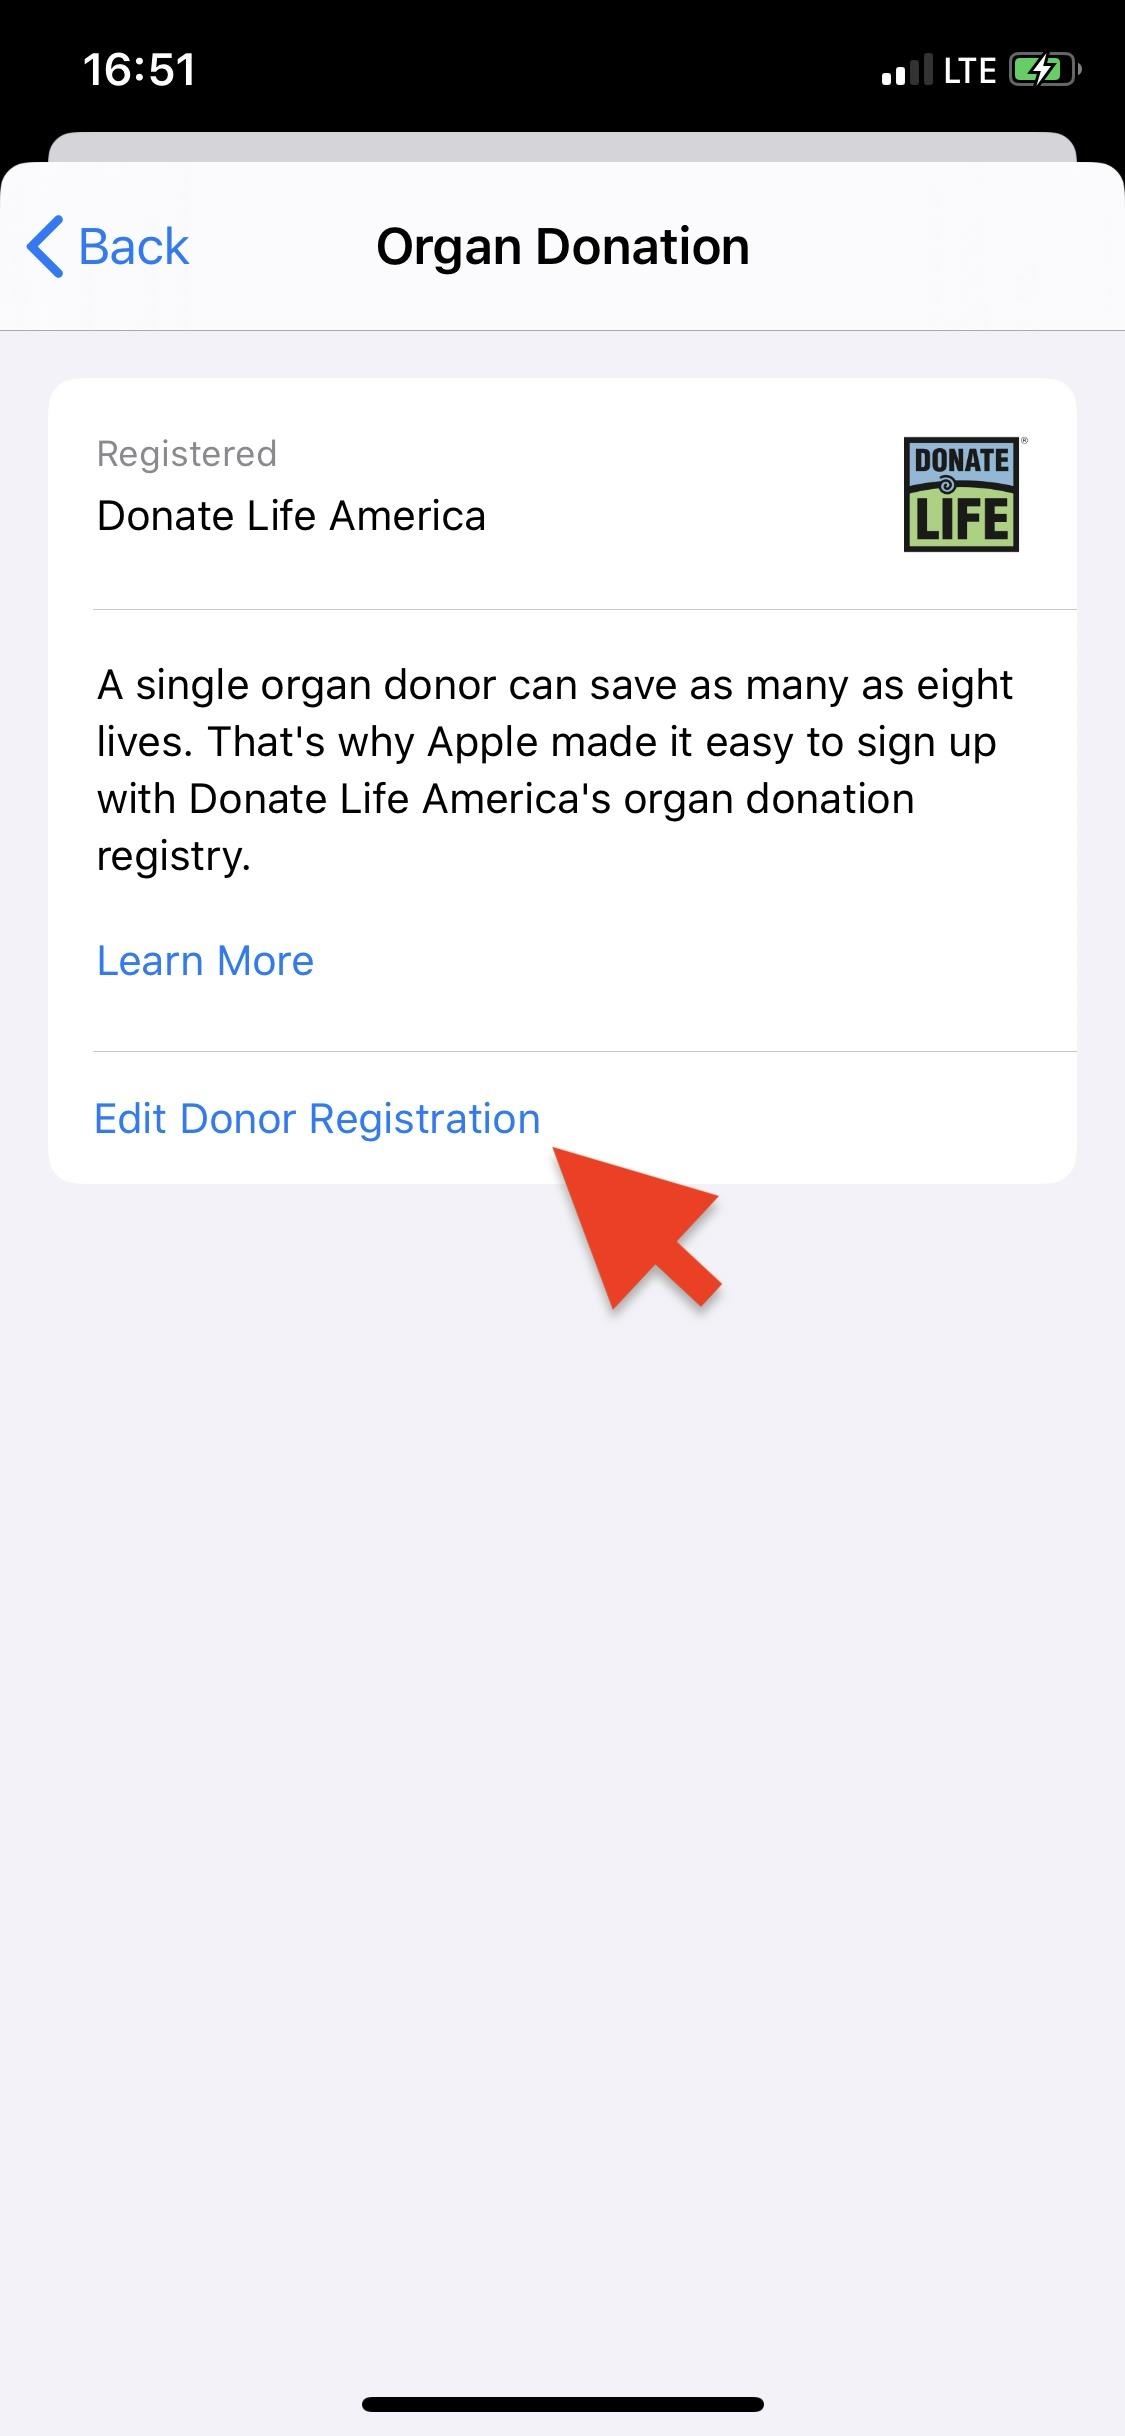
If you find out that your information is incorrect after you have submitted it, open the "Summary" tab. Tap on your profile picture, and go into "Organ Donation" under Medical Details. Next, tap on "Edit Donor Registration," update your information, and tap on "Update." To remove your registration, tap on "Remove Me."
Step 6: Access Medical ID from the Lock Screen
If you lock your iPhone, then wake it up, you won't find your new Medical ID on the lock screen. So what gives?
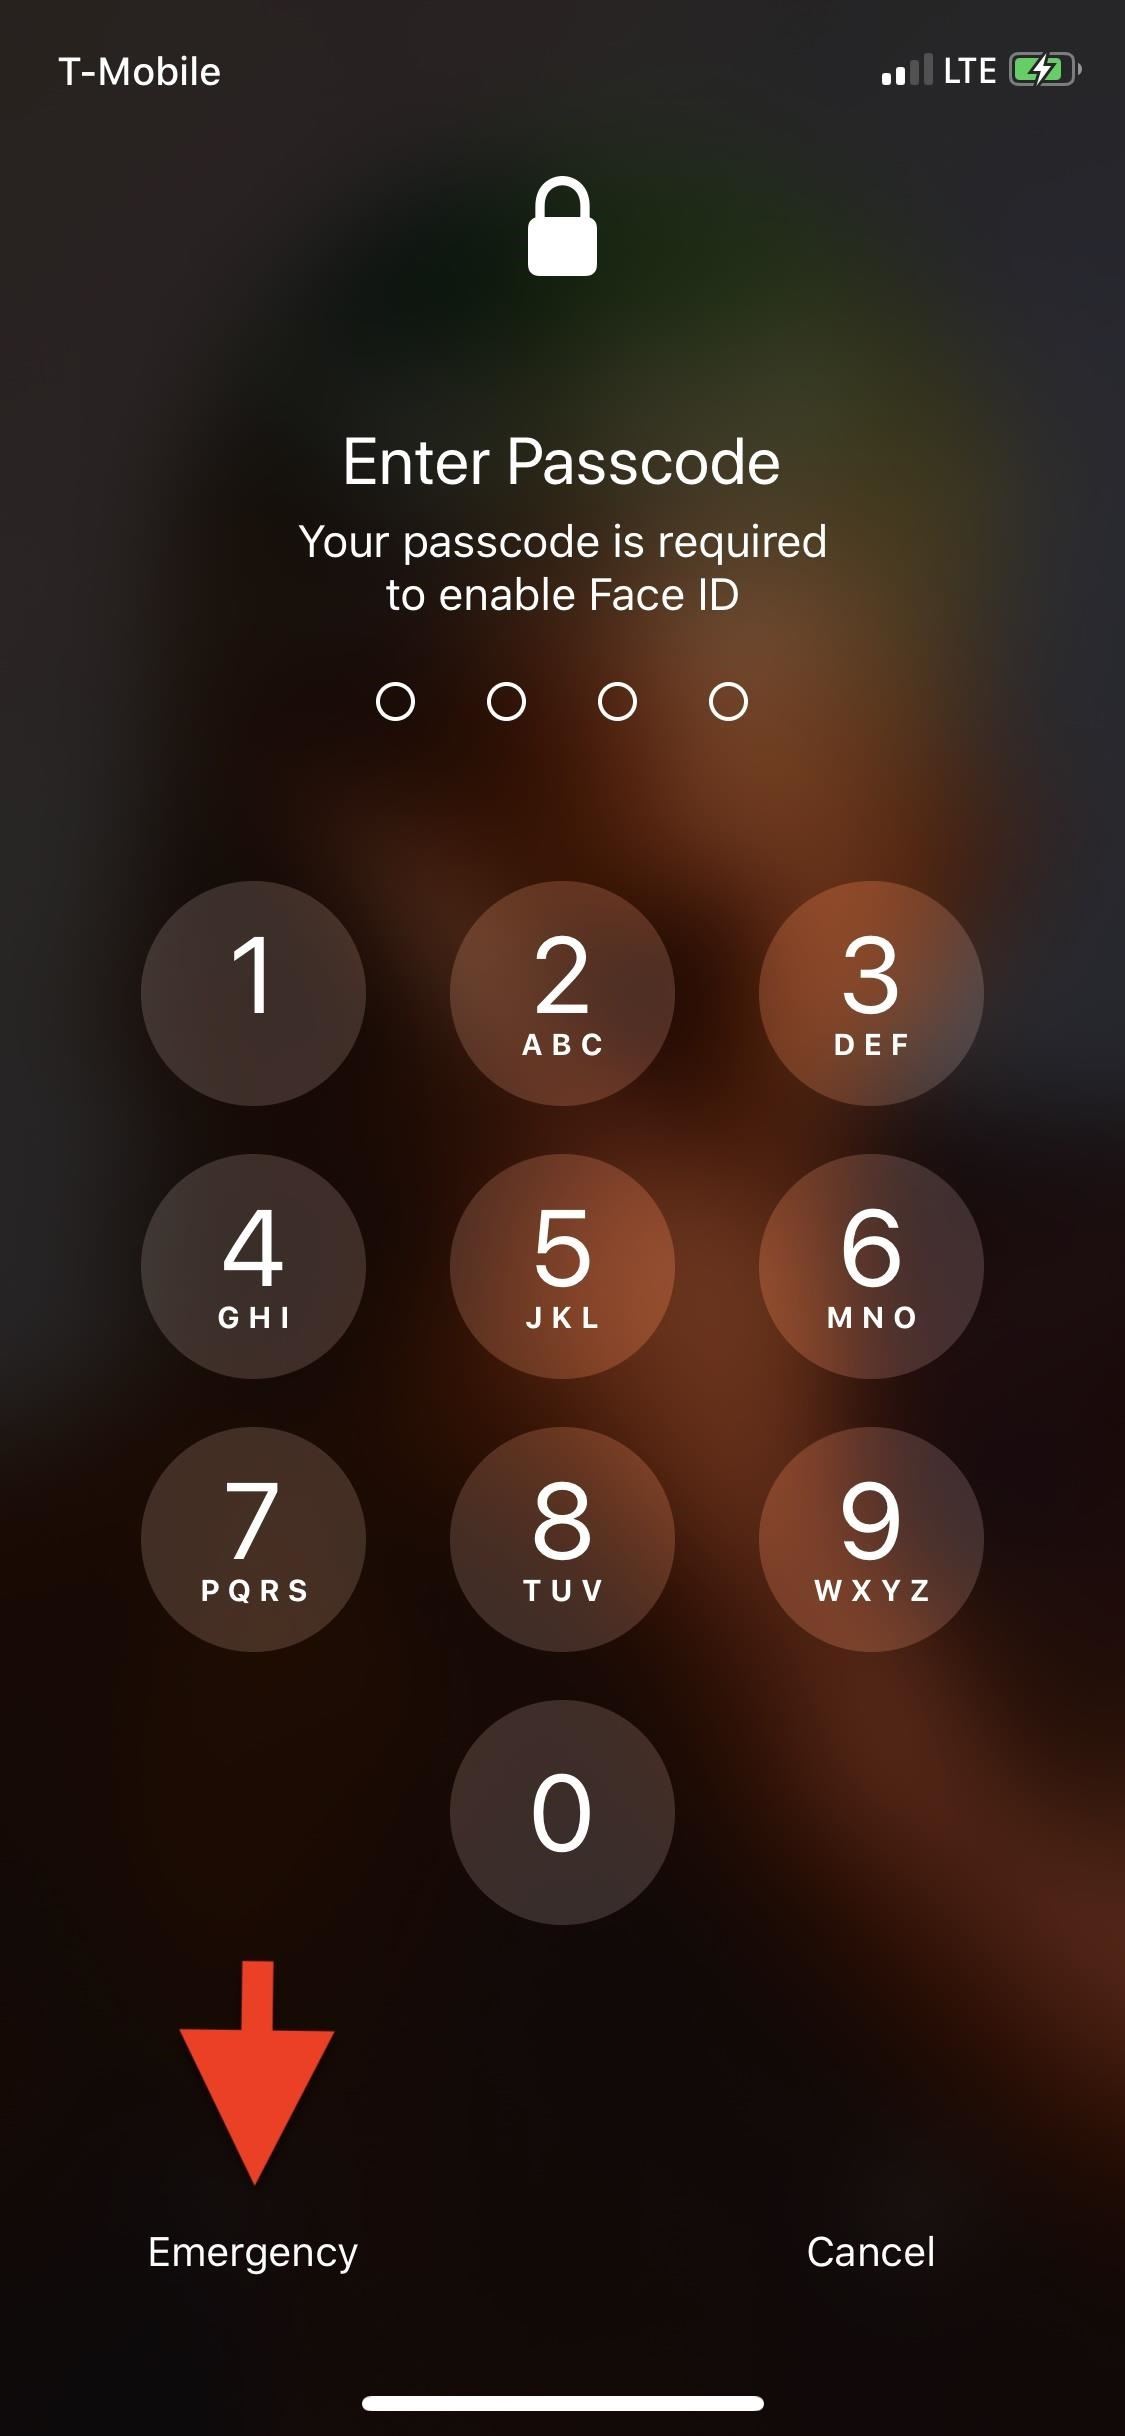
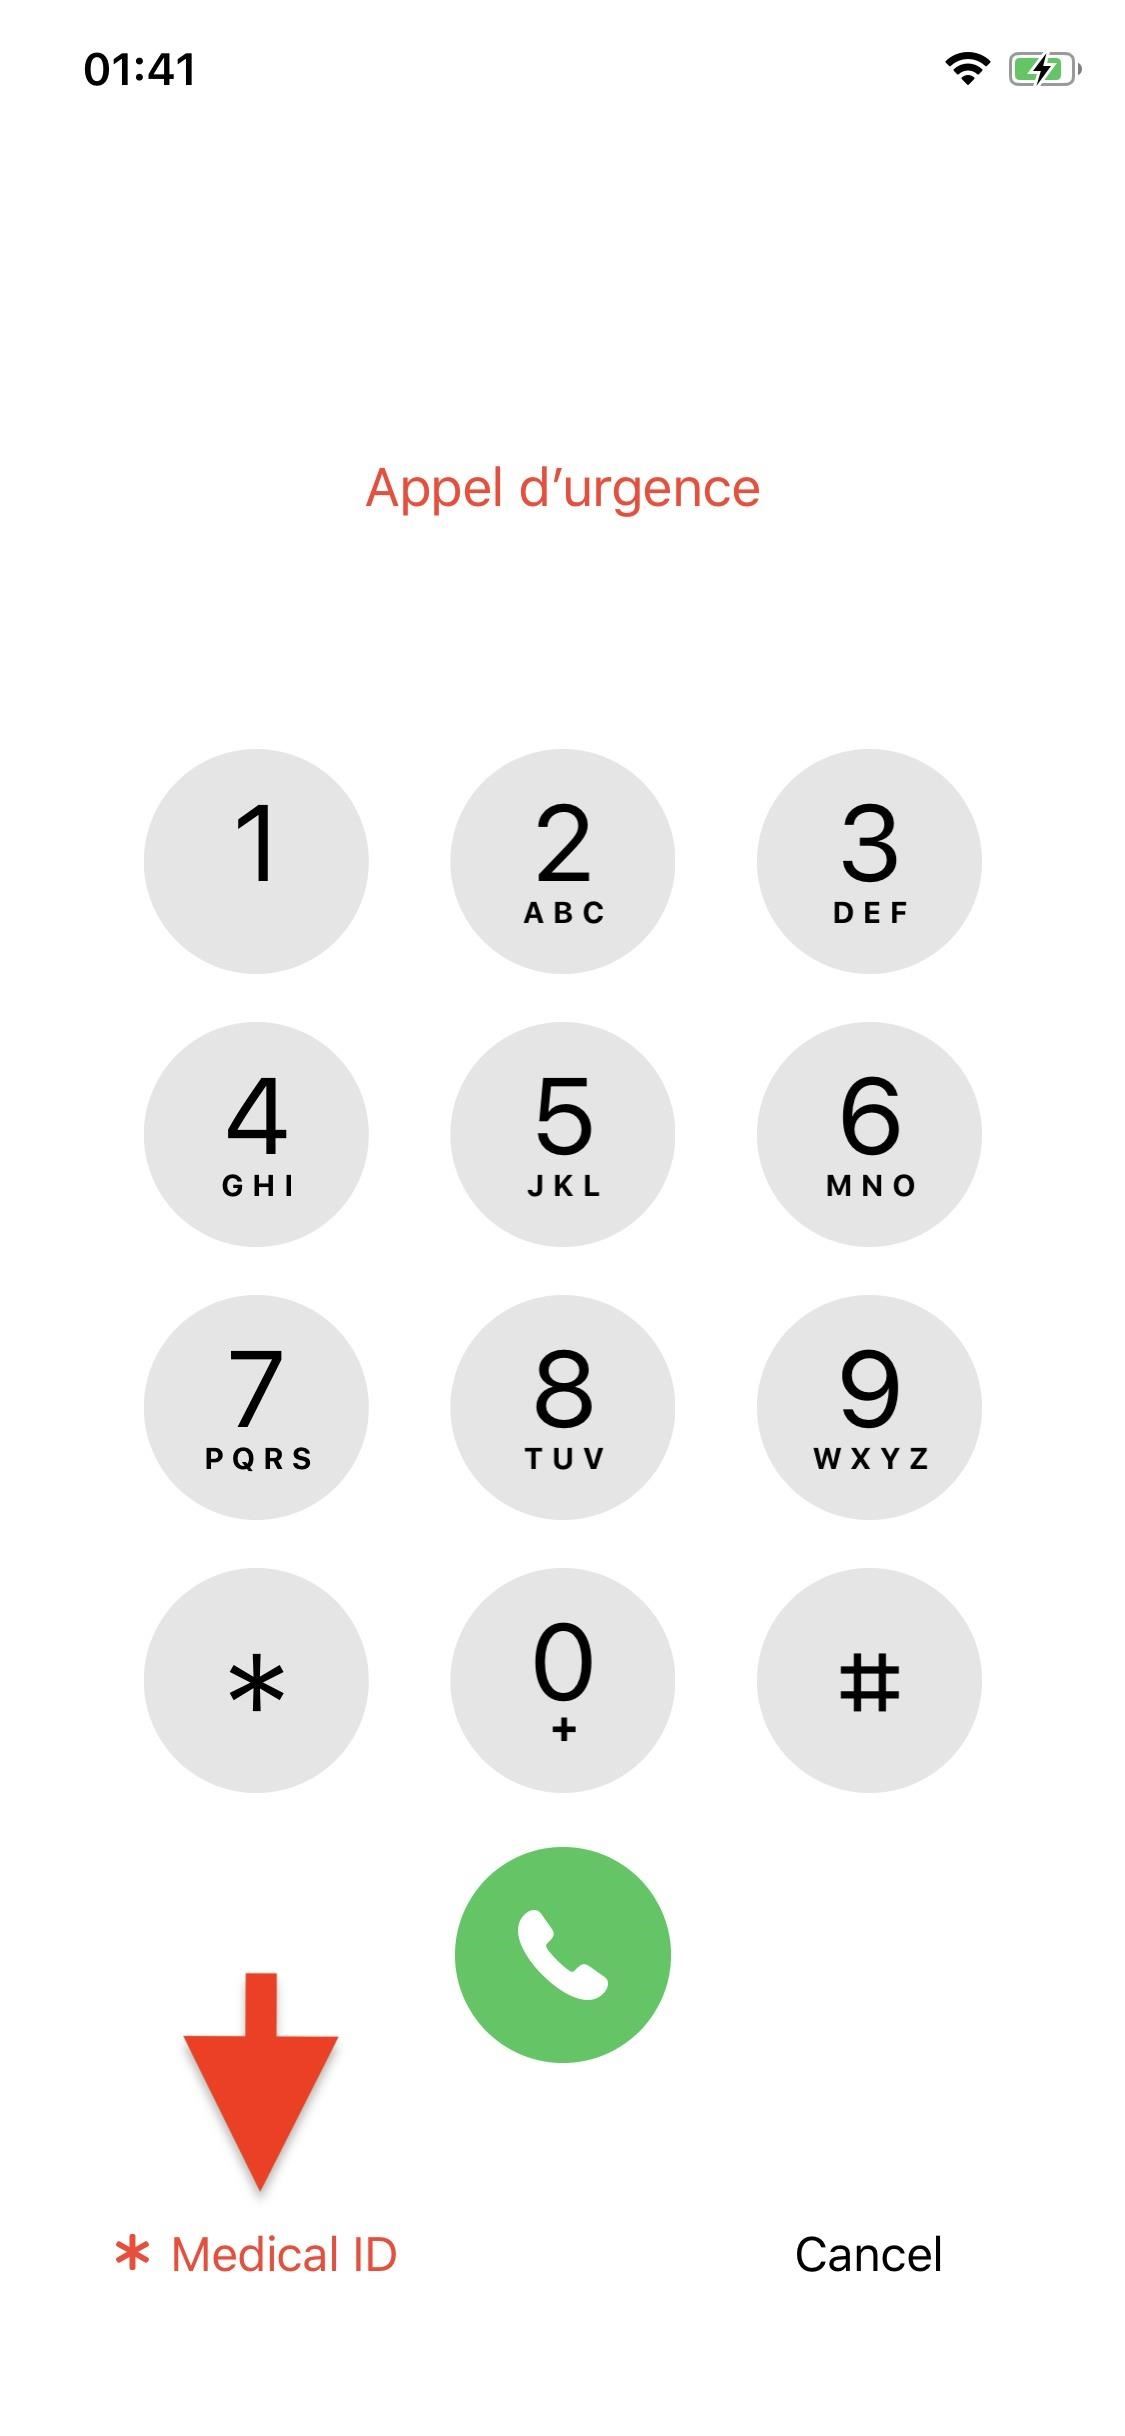
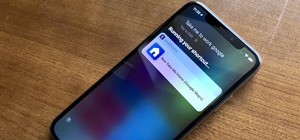
Apple doesn't place Medical IDs directly on the lock screen in iOS. Rather, your ID can be found on the lock screen's emergency call page. Get yourself to the passcode screen, tap "Emergency," then tap on "Medical ID." Your new Medical ID will appear with all the information you saved.
Medical ID comes in handy if you're able to move and think clearly but can't speak for some reason. Just pull up the Medical ID real quick and show it to whoever is treating you. However, this Medical ID is most useful to other people.
When you are unconscious, delirious, mentally unstable, or otherwise incapacitated, whoever is treating you or trying to find out information about you (like a contact) can pull up this data. But they might not know they can do this, and the only way they will is if you help spread the word right now.
Erasing Your Medical ID (If Necessary)
If you need to delete the Medical ID for any reason, whether someone is borrowing your iPhone or it's now your significant other's — or whatever else the case may be — it's easy to do. First, using one of the four methods in Step 1 to create your Medical ID,
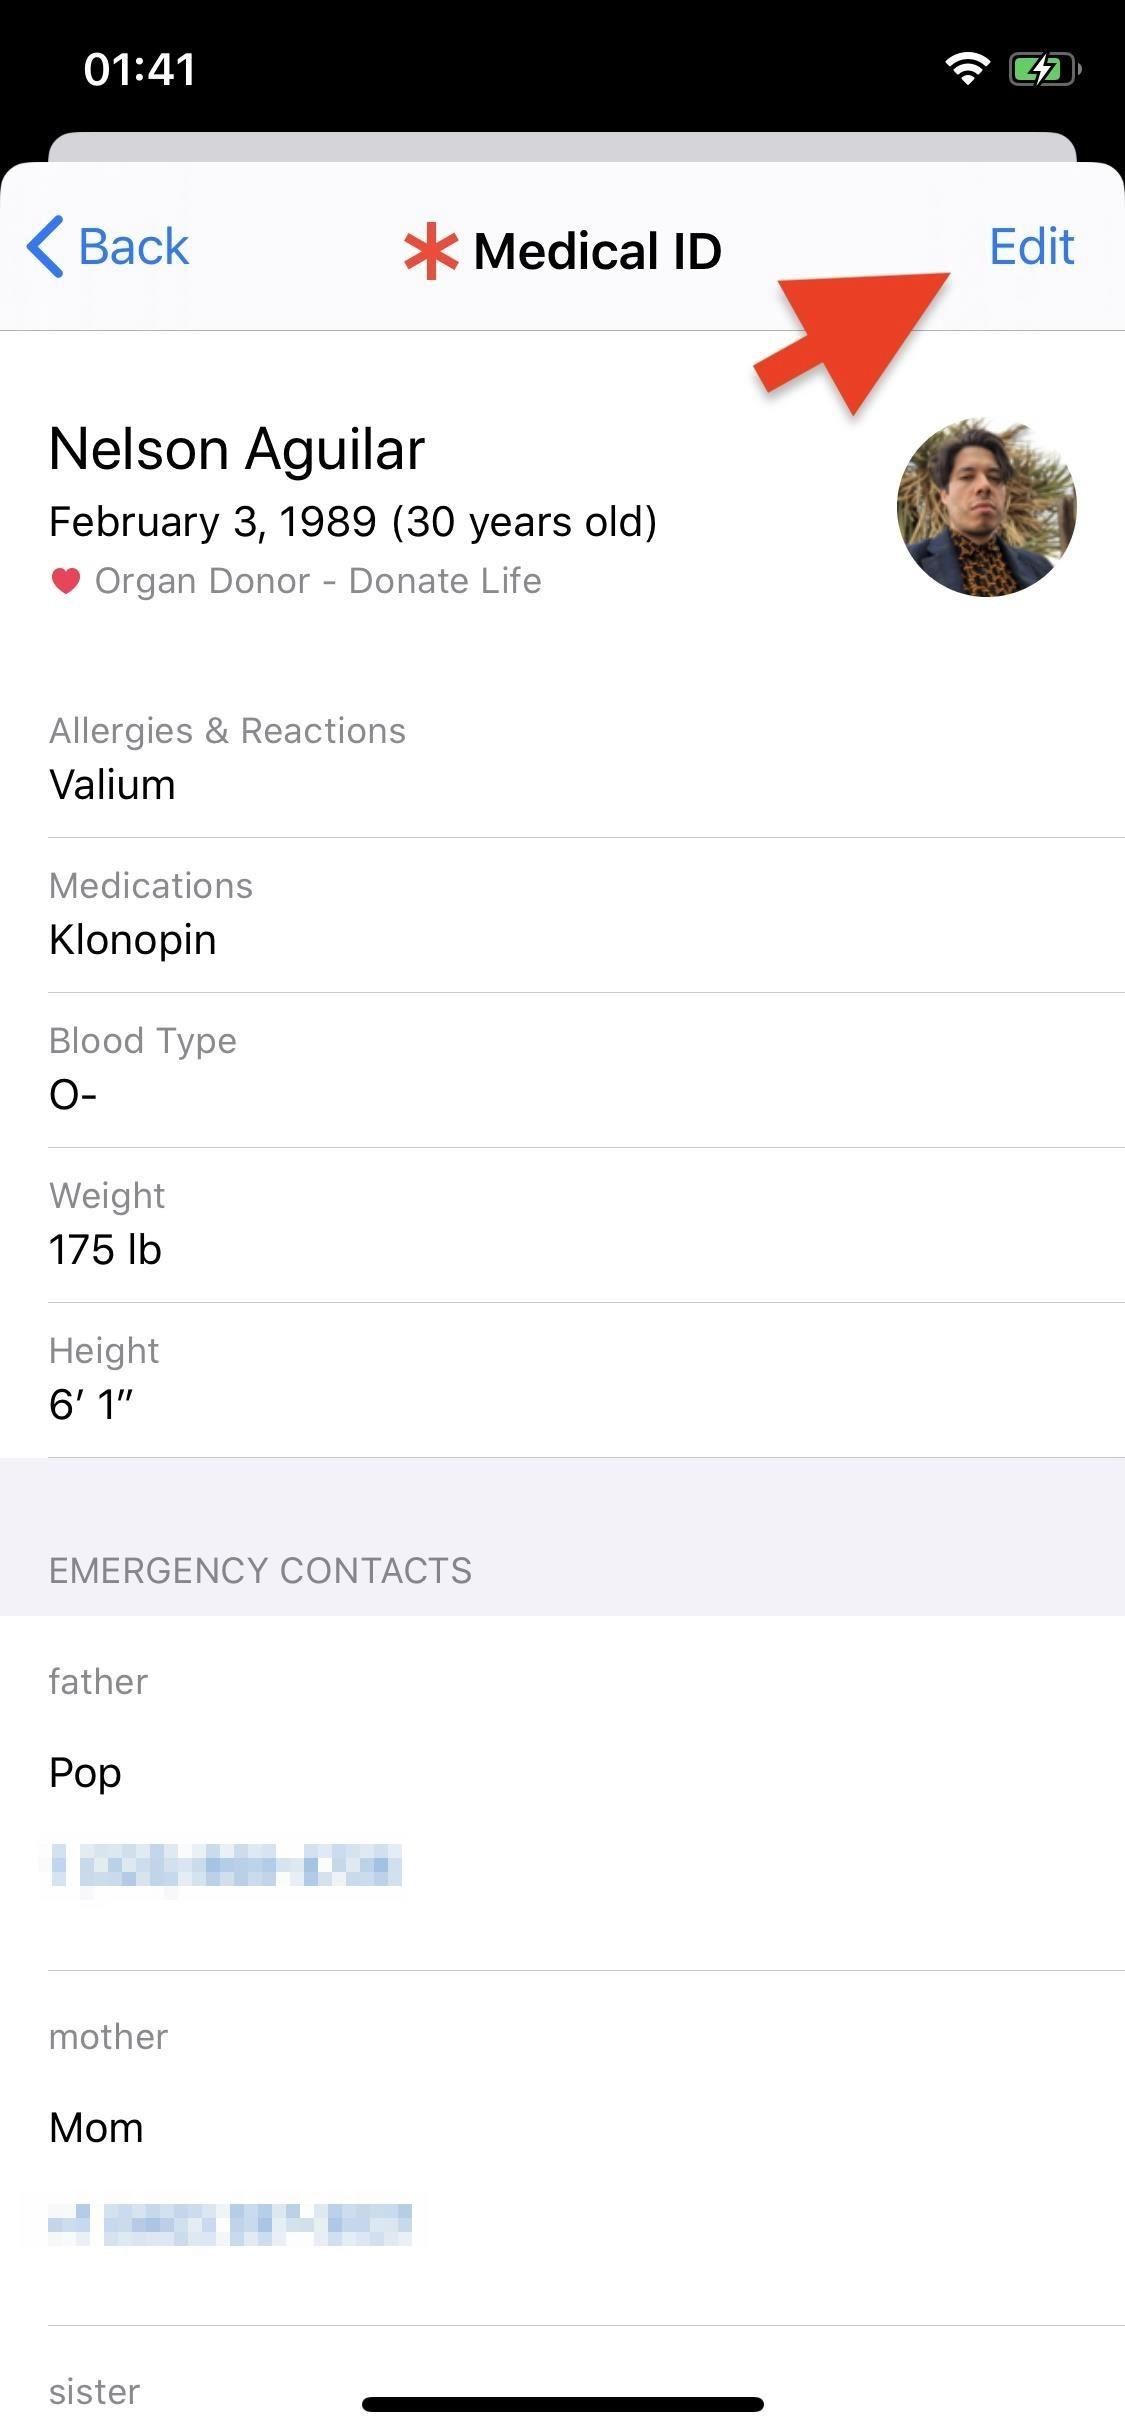
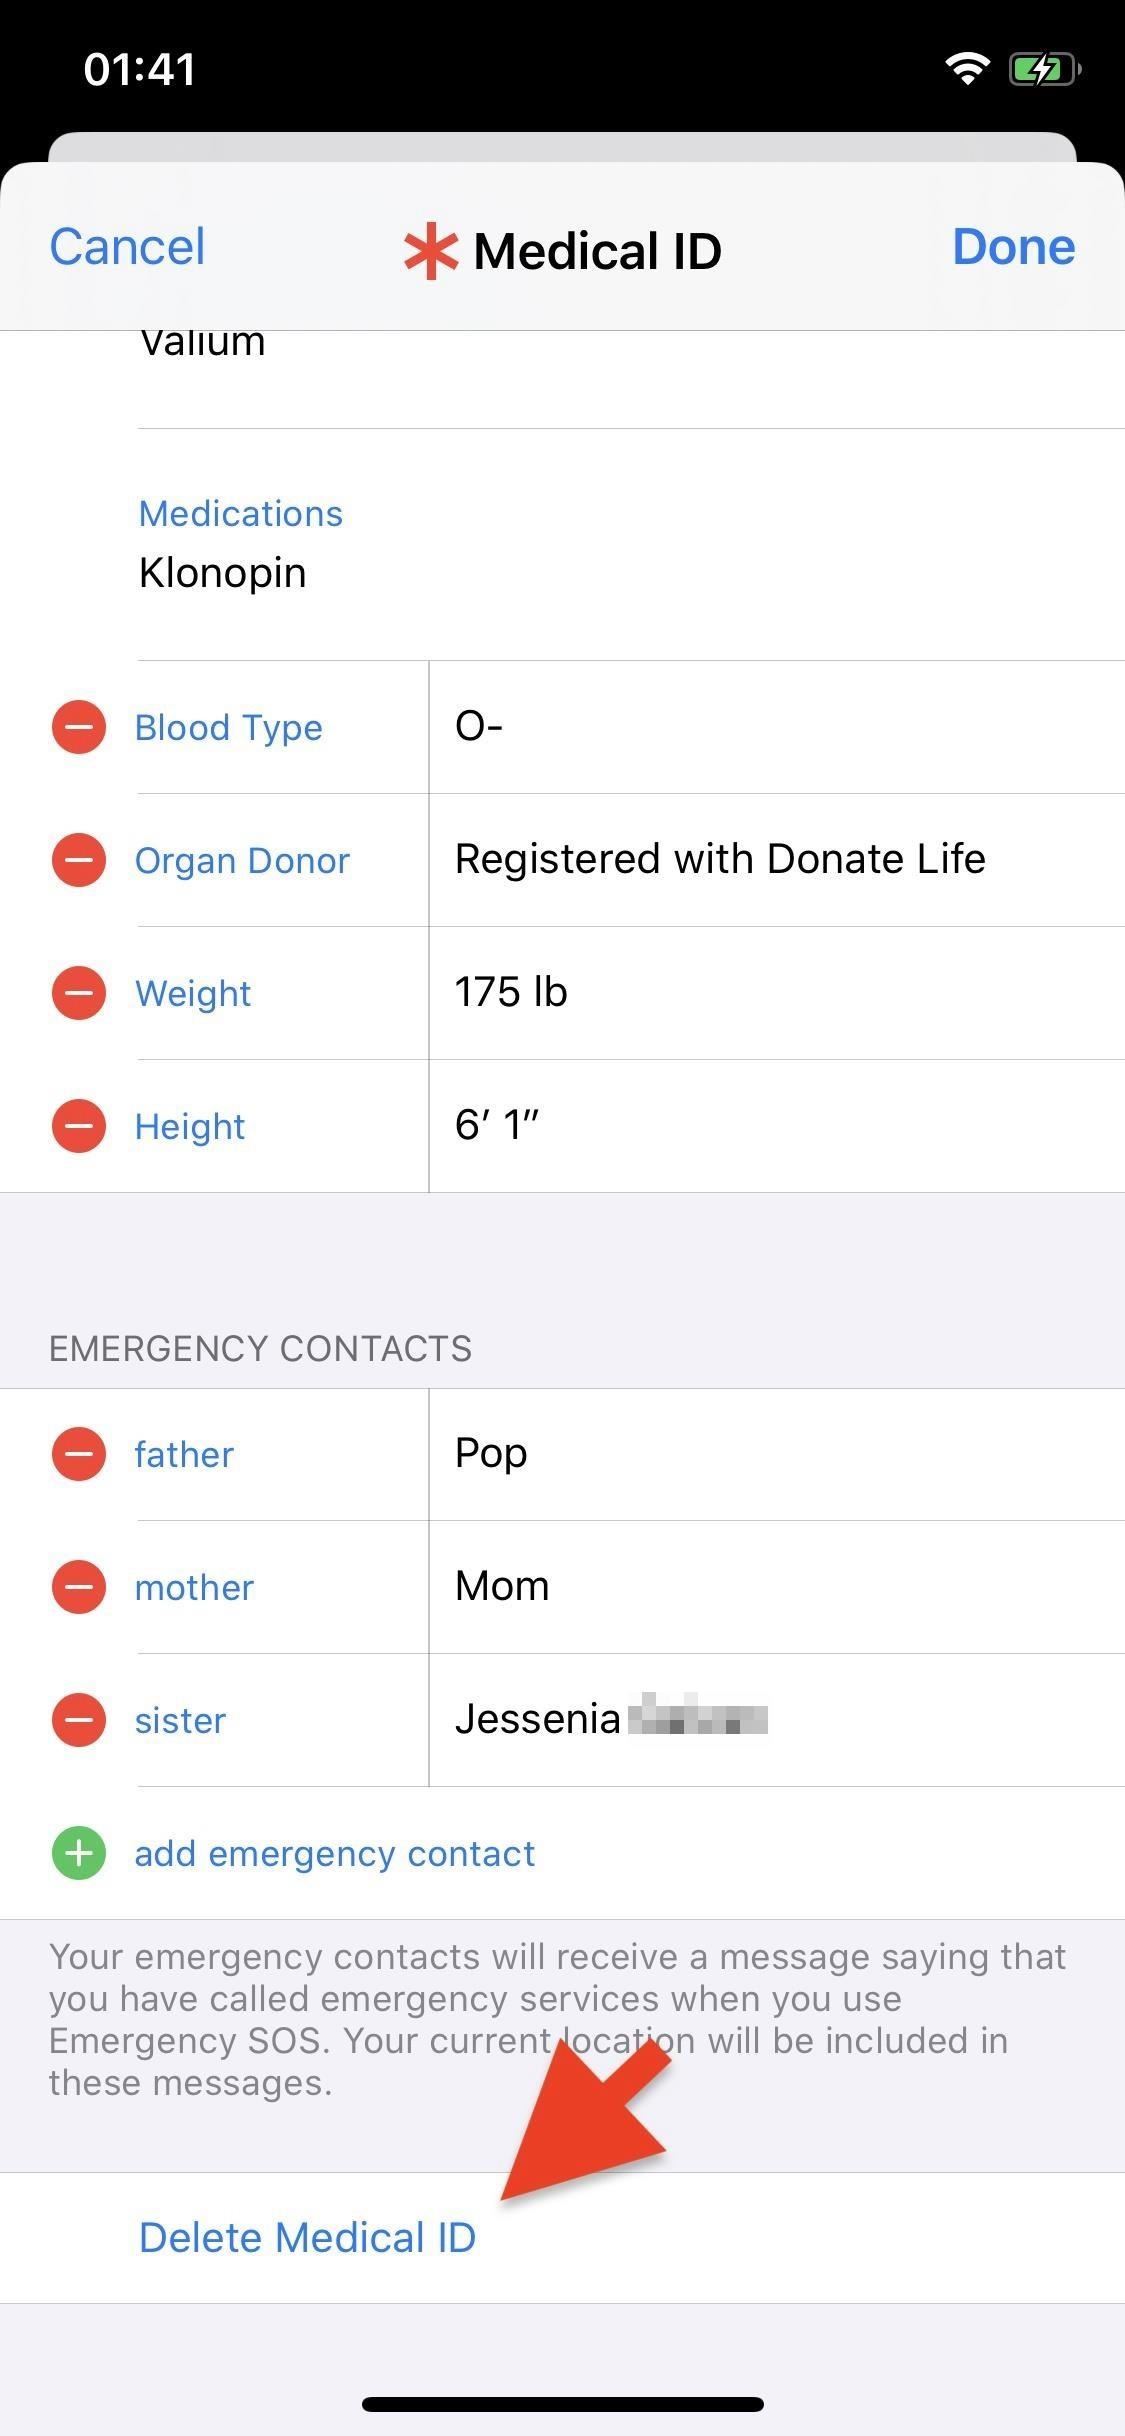
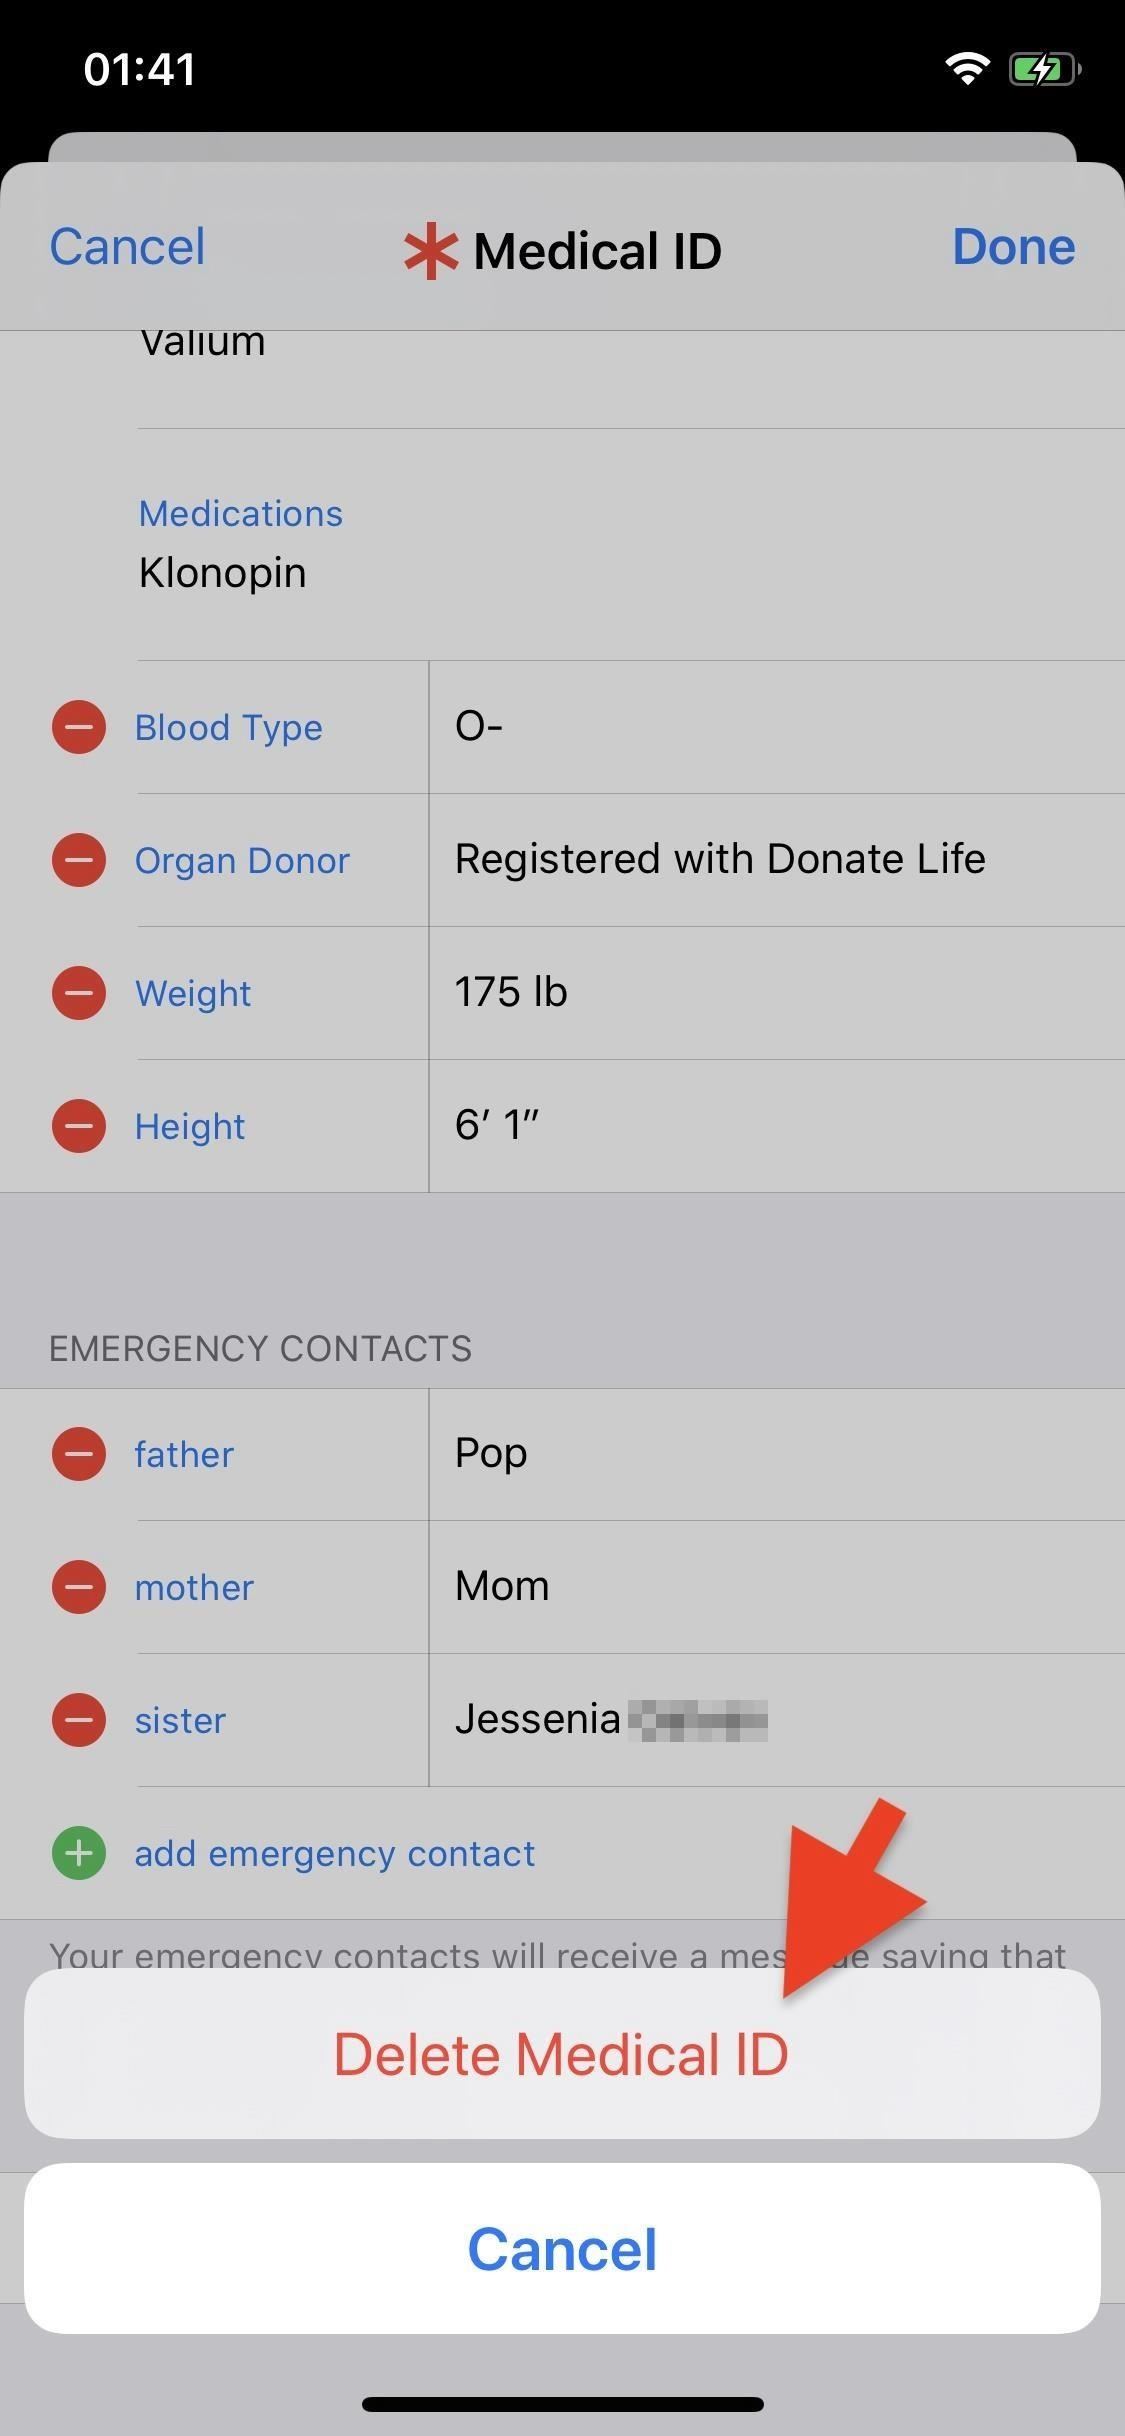
- In Health, select the "Summary" tab, tap your profile icon in the top right, then on "Medical ID" under Medical Details. Tap "Edit," then "Delete Medical ID," and confirm it on the action sheet. (Shown in the images below.)
- From either the Phone or Contacts app, tap "My Card" at the top of the contacts list, tap "Edit," then scroll to the bottom and hit "Edit Medical ID." Select "Delete Medical ID," then confirm it on the action sheet.
- In the Settings app, tap "Health," then "Medical ID," followed by "Edit." Select "Delete Medical ID," then confirm it on the action sheet.
In iOS 12 and under, open up the Health app, tap "Medical ID" in the bottom right, then "Edit" to find the "Delete Medical ID" option. You can also get started from your contact card, as mentioned above.
This article was produced during Gadget Hacks' annual Health & Fitness special coverage. Read all of the Health & Fitness series.
Just updated your iPhone? You'll find new emoji, enhanced security, podcast transcripts, Apple Cash virtual numbers, and other useful features. There are even new additions hidden within Safari. Find out what's new and changed on your iPhone with the iOS 17.4 update.


Be the First to Comment
Share Your Thoughts