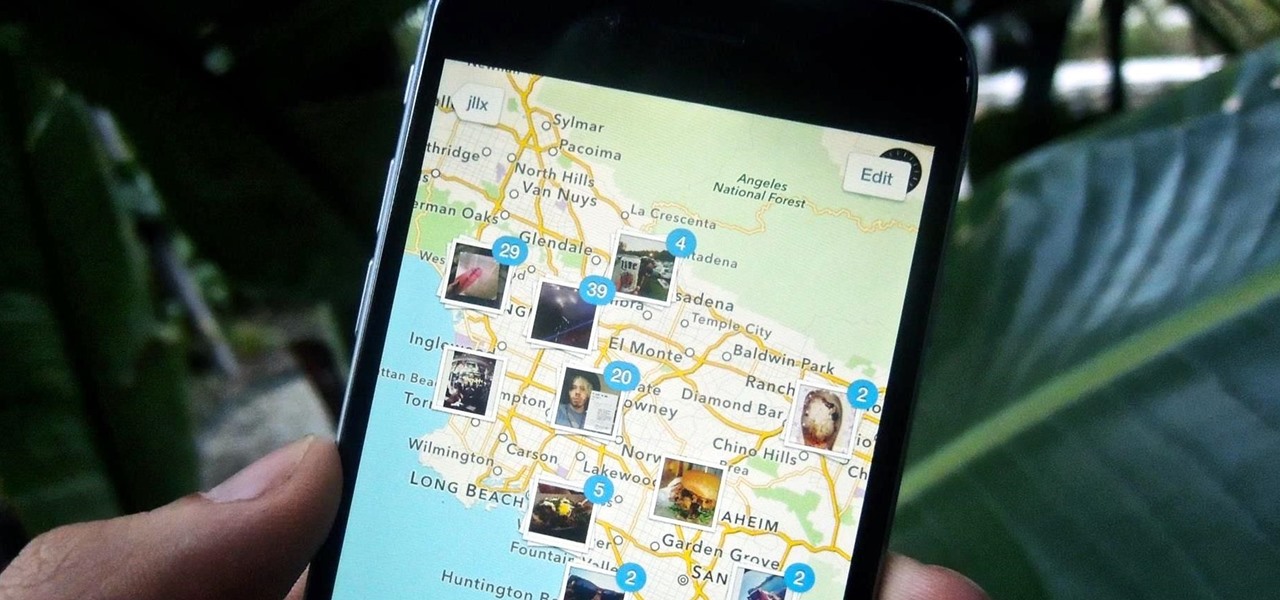

Instagram introduced Photo Maps back in 2012, a feature allowing users to showcase where they've taken photos and explore where others have been, all through an interactive map.
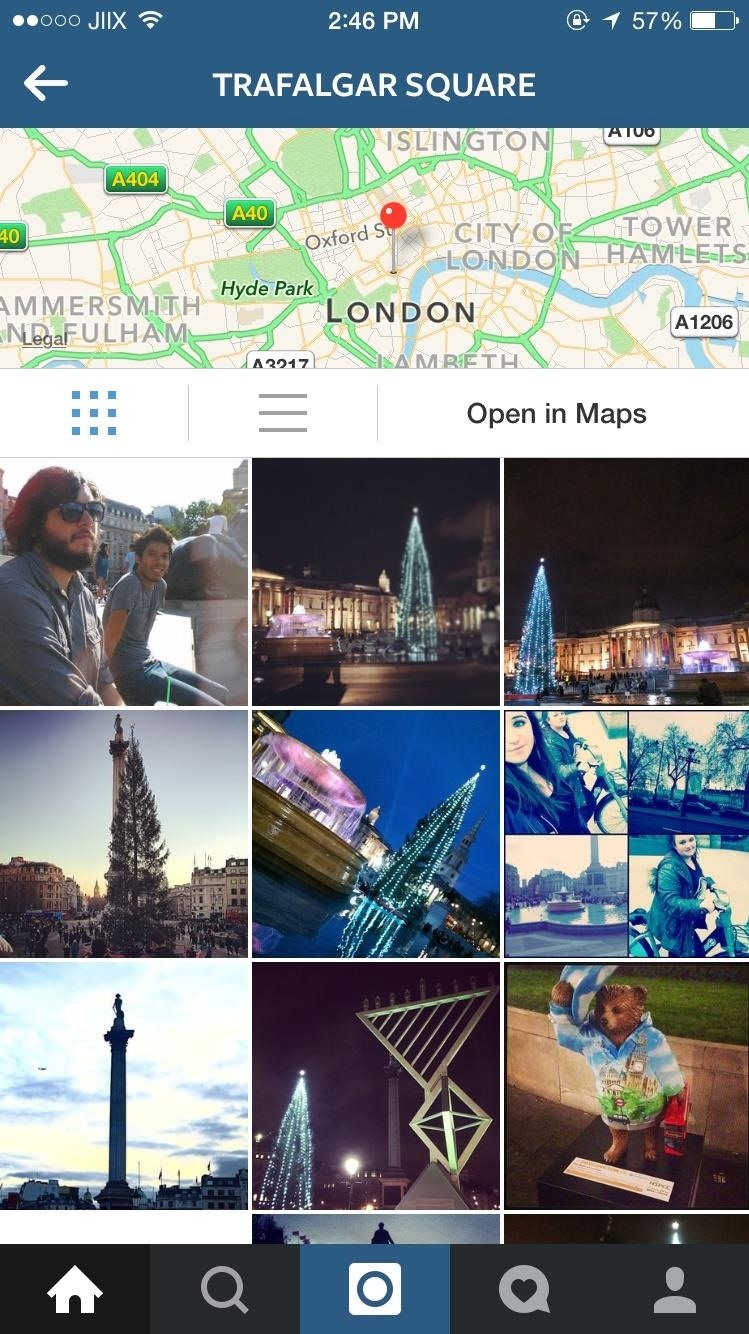
Through the hyperlinked location at the top of each photo, you can go through a timeline of all of the public photos that have been tagged in that locale, painting a comprehensive picture from the unique perspective of each and every user that experienced it.
A few years ago, I travelled to London to study abroad and I brought along my camera to capture the city, mostly to share the experience with my friends and family when I got back home. Since I was busy enjoying my time there and didn't always have readily-available internet access, I didn't upload very many pictures to Instagram.
When I got back home, I edited all the pictures I took and decided to upload a few to Instagram as a part of "Throwback Thursday" (aka #tbt), but I was disappointed to find out that I couldn't tag the photos in the location they originated from.
From my location in Los Angeles, I was only able to pull up local search results. That meant I couldn't properly tag the photographs I took of artwork at the Tate Modern, the Stonehenge monument, or the plays I watched at the Globe Theatre.
If you've found yourself with the same problem, there's actually an easy fix to tagging all of your old photos in the correct location, no matter where you took them or where your current location is.
Step 1: Use Koredoko to Set Geotag
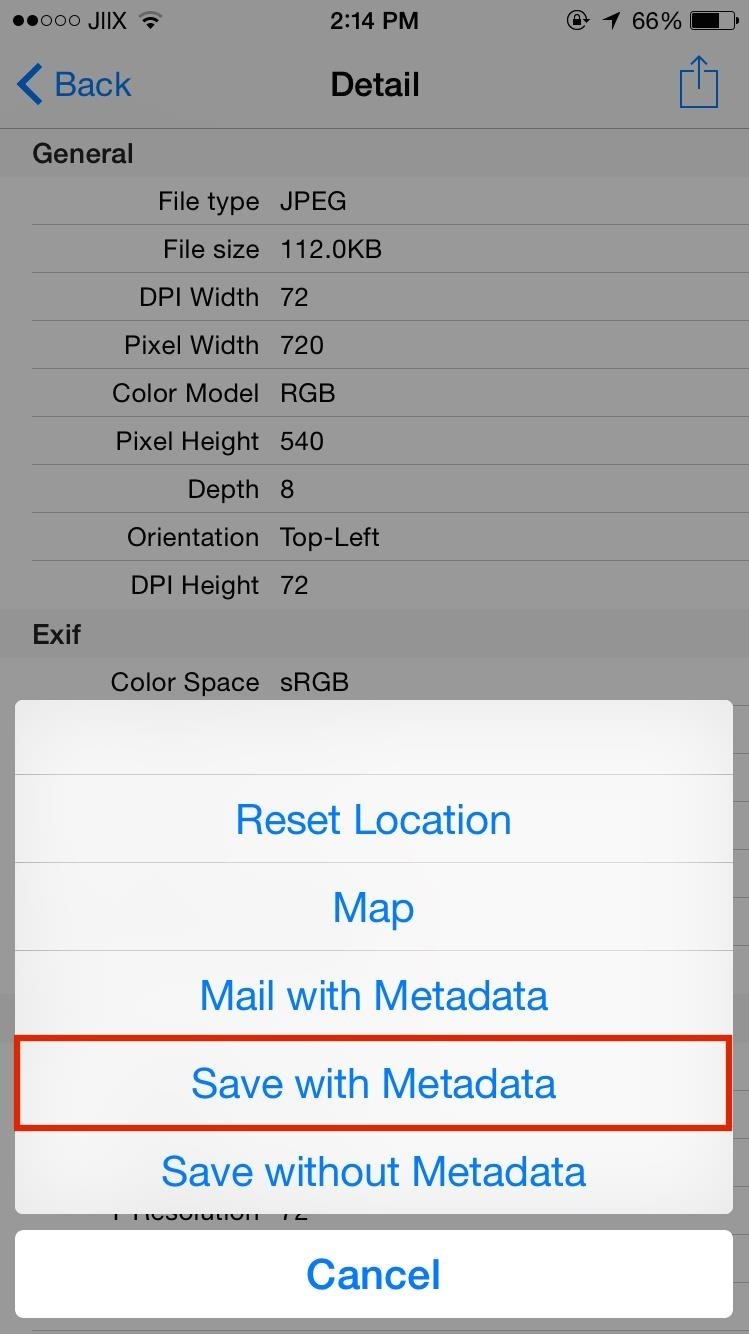
Install Koredoko from Norio Kawabata in the iOS App Store, open the app, then find the picture you want to geotag. Once you find the photo, hold your finger down on it and move it to the location you want.
I dragged my picture, which was taken in Trafalgar Square several years ago, to Westminster, London in the United Kingdom, then set the picture down near Trafalgar Square. When your location is set, tap on the information icon and select "Save with Metadata."

Step 2: Upload to Instagram
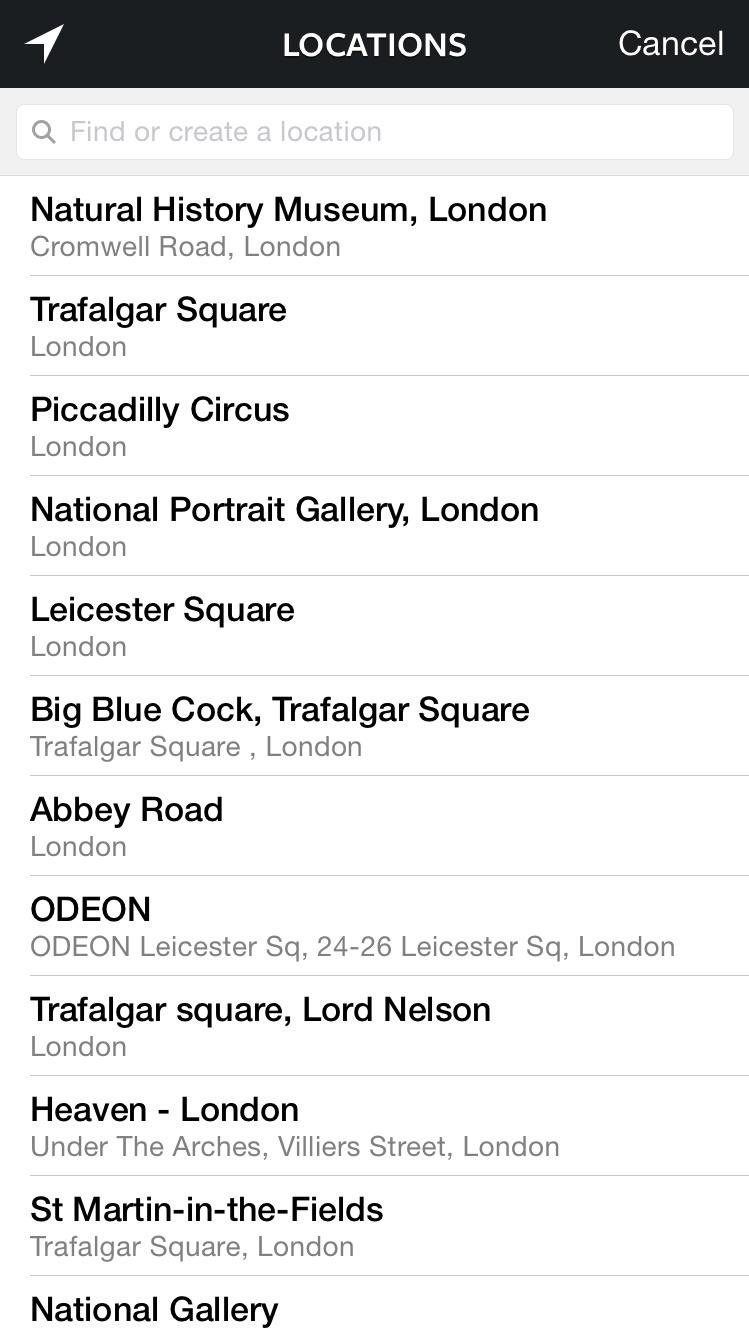
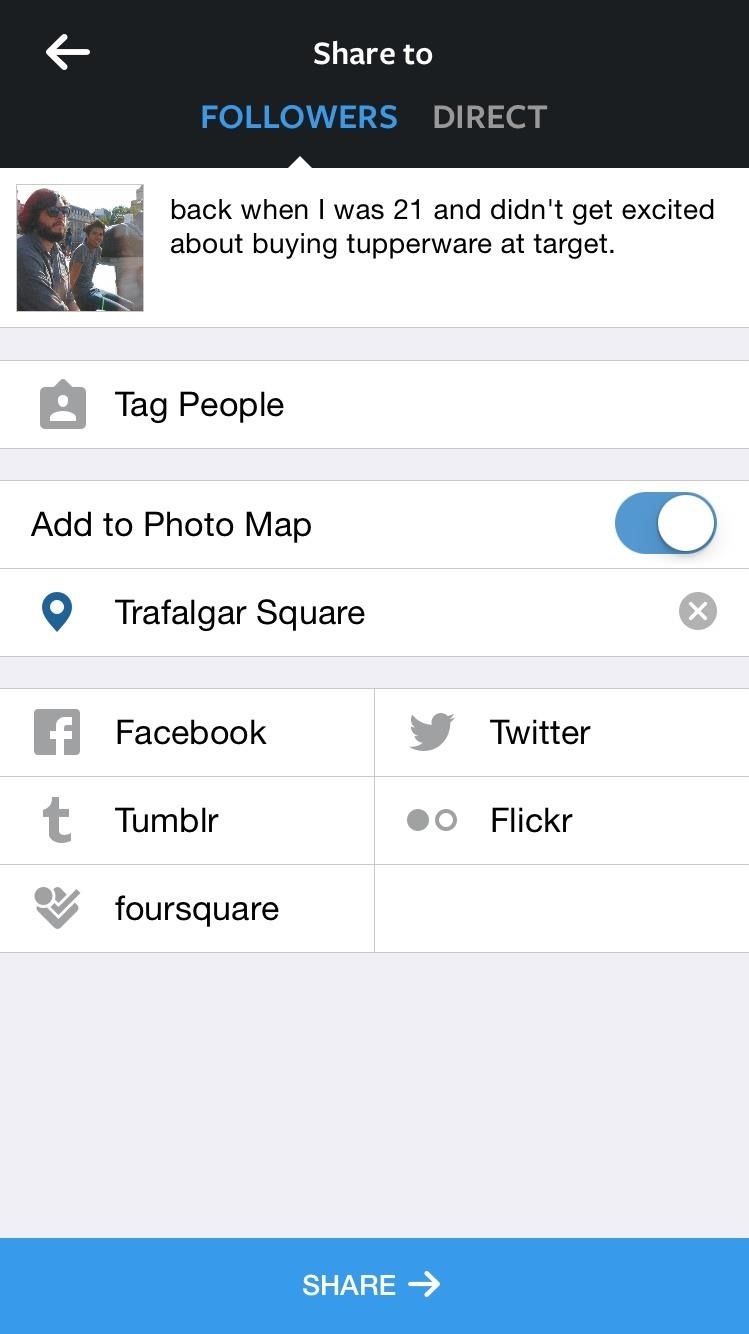
A new picture will be saved in your Camera Roll, which you'll be uploading to Instagram. Throw on all the filters you need, then go to "Name This Location." Instead of local search results, you'll see locations near the area you geotagged the picture in.
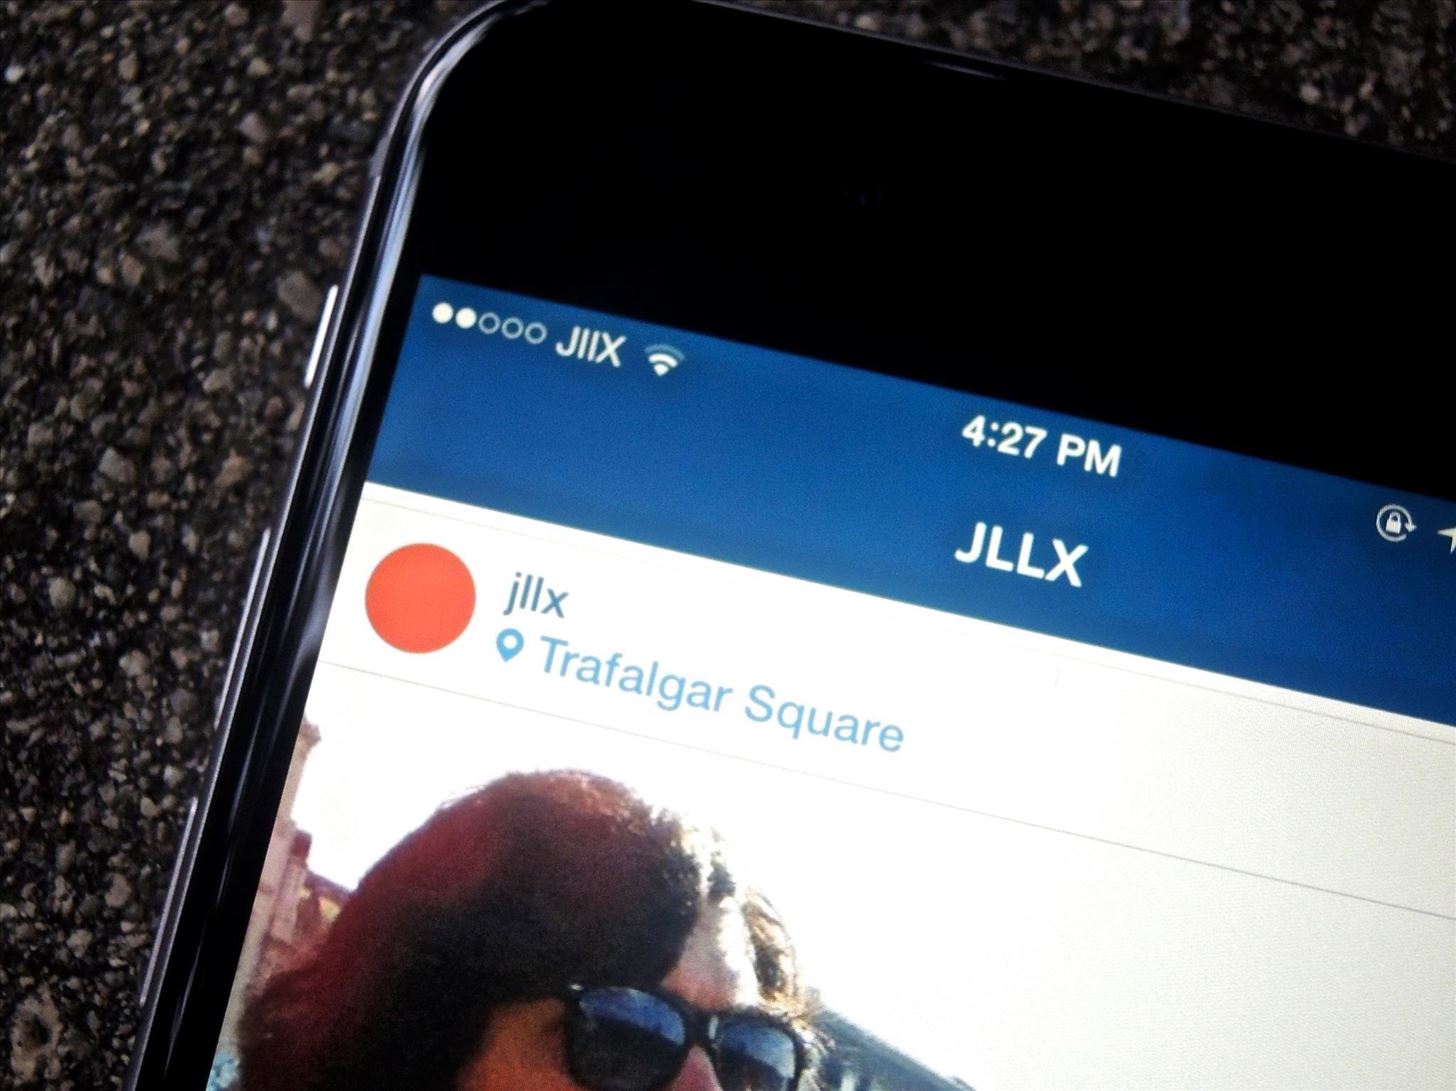
As you can see below, Trafalgar Square was the second option in the list of locations. If your location doesn't show up, search for it and you should be able to find it. After adding your caption, post it to Instagram.
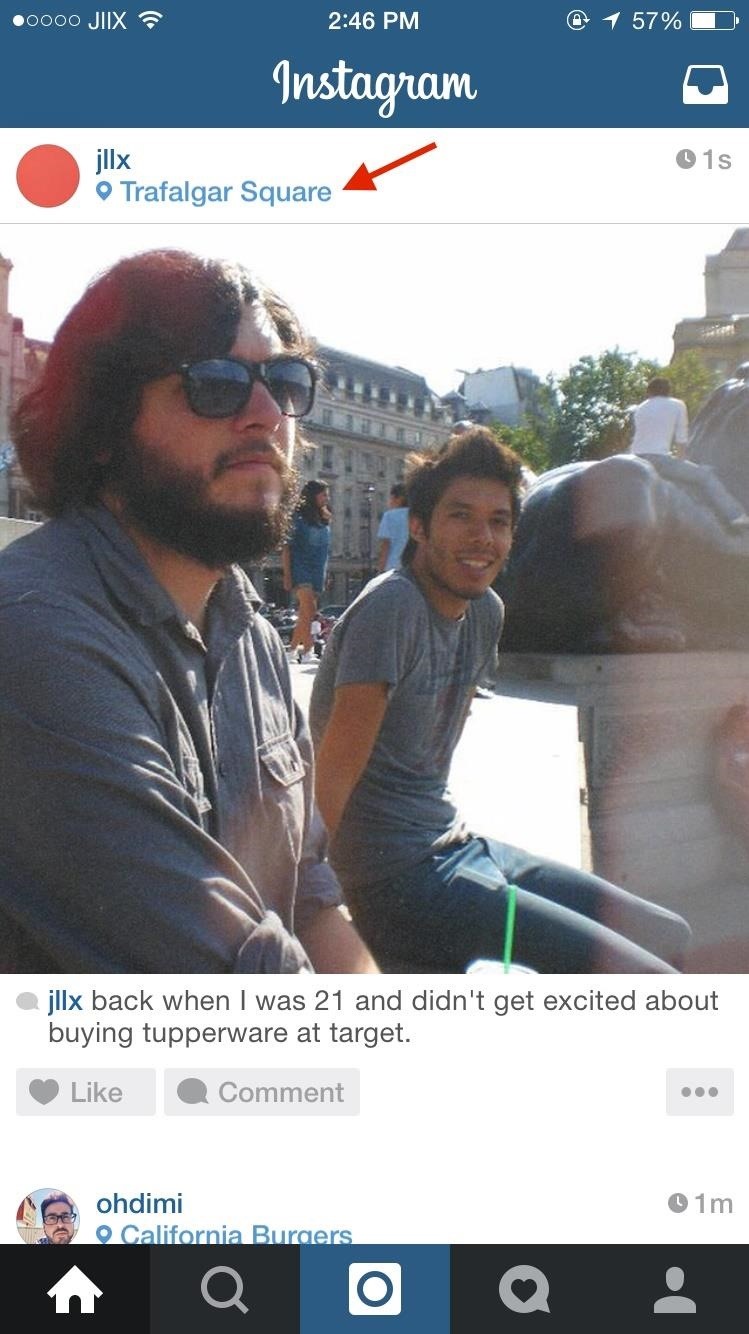
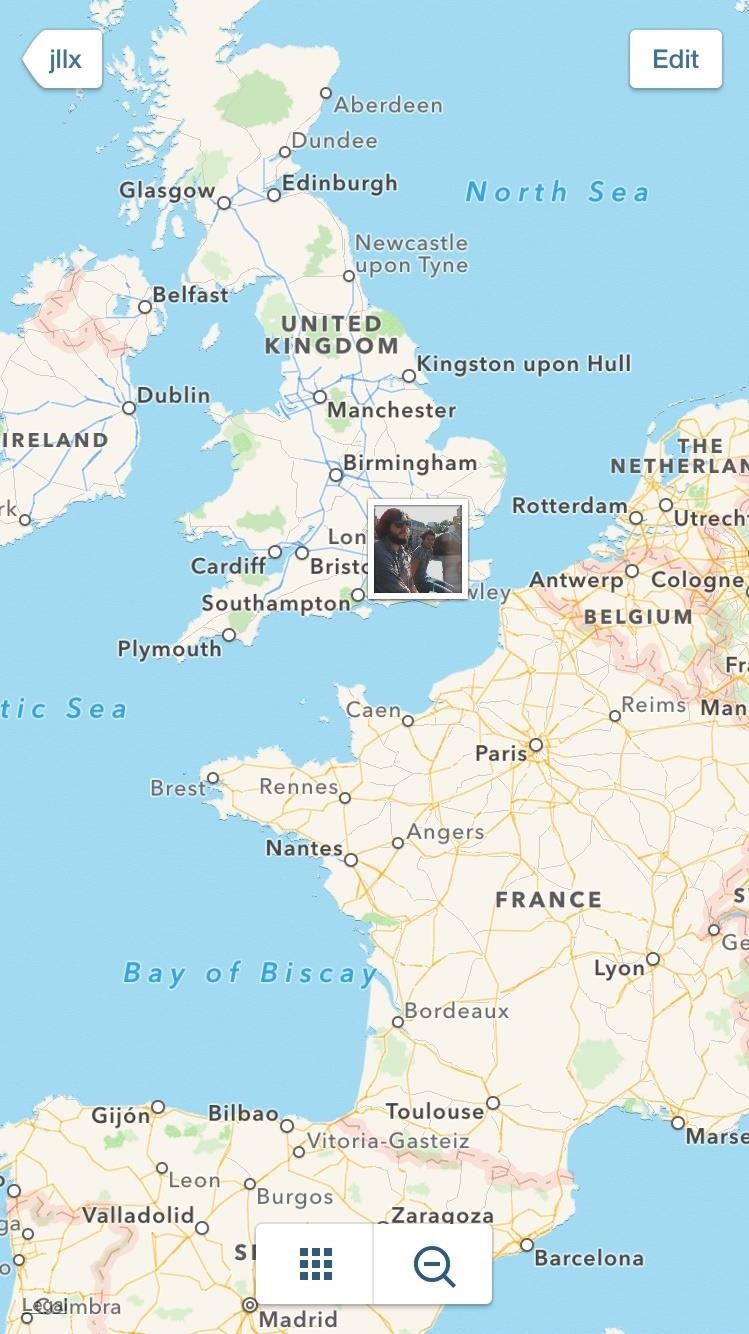
If you want to make sure it was properly placed in your photo map, tap on the blue hyperlinked location right above your post. My picture was tagged in London, even from my current location in Santa Monica, California.
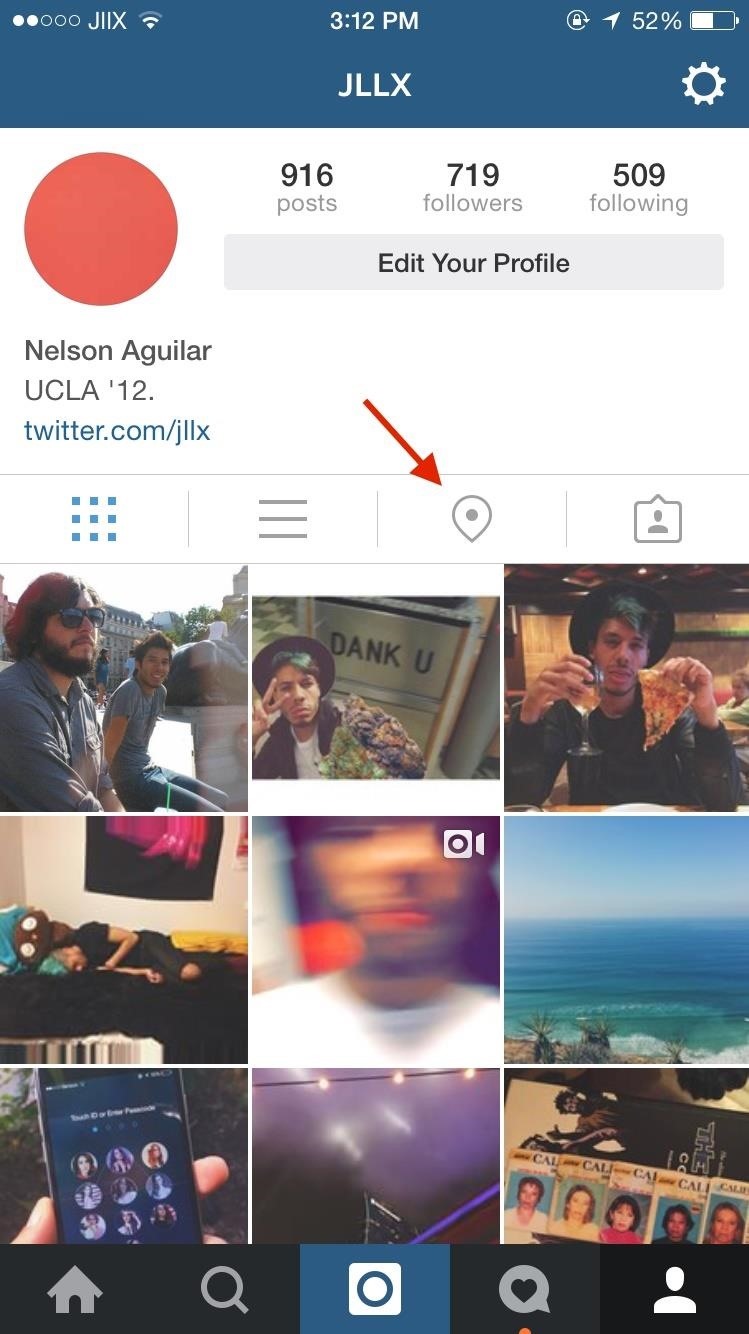
You can also go to your profile, head to the Photo Map, then check if your picture is in the right place.
Use this to tag all of those old photographs in the right location, to give your Photo Maps to look a bit more accurate and complete. Let us know how Koredoko for iOS works for you in the comments below.
Just updated your iPhone? You'll find new emoji, enhanced security, podcast transcripts, Apple Cash virtual numbers, and other useful features. There are even new additions hidden within Safari. Find out what's new and changed on your iPhone with the iOS 17.4 update.


1 Comment
hye, i have photo with no location saved. so how i could geotag my photo as it needs the photo to have at least current location to change it to the new location.
Share Your Thoughts